Bone broth is one of those timeless kitchen staples that has quietly stood the test of time.
Long before it became a wellness trend, bone broth was used in traditional cooking for its deep flavor, nourishing qualities, and ability to turn simple ingredients into something comforting and satisfying.
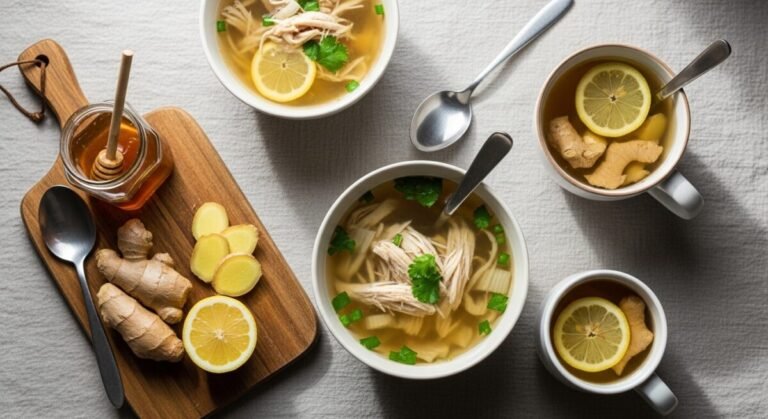
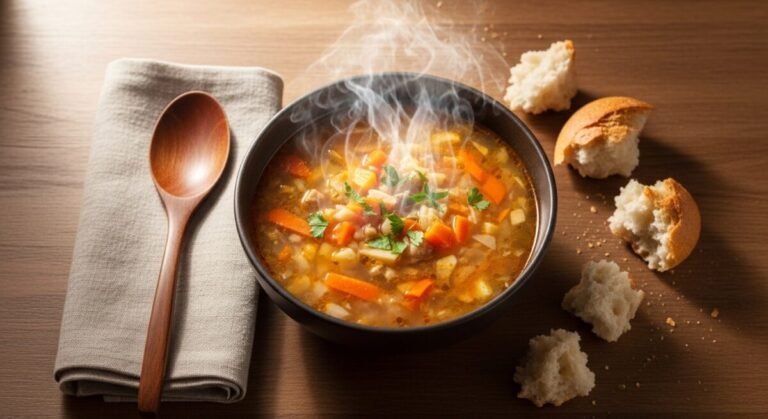
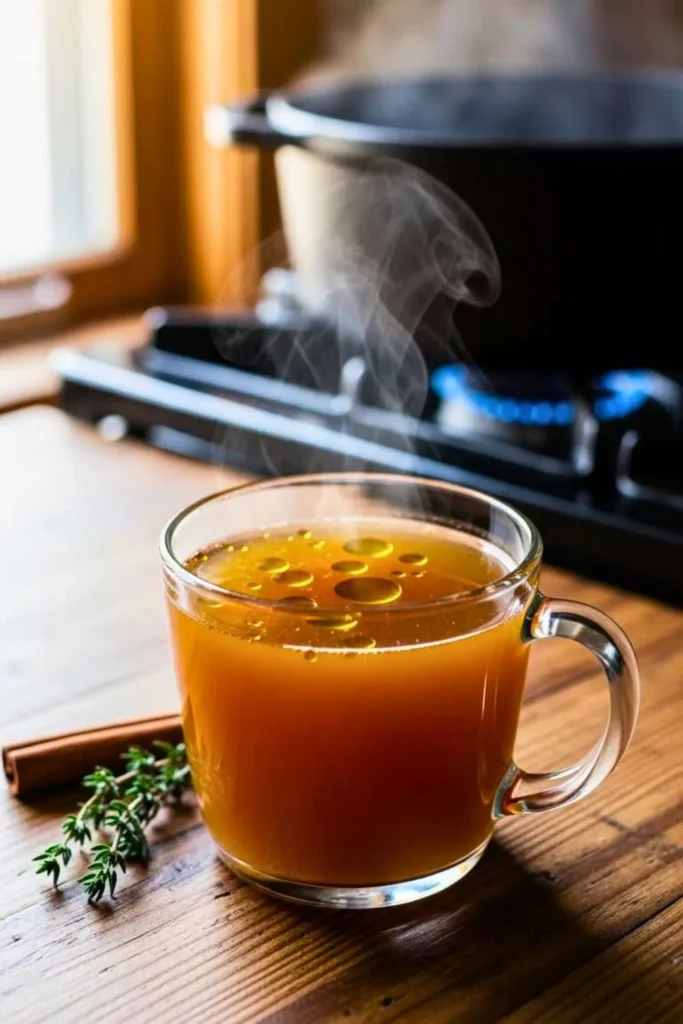
Whether you’re sipping it warm, using it as a base for soups, or cooking grains in it, homemade bone broth is richer, cleaner, and far more flavorful than anything store-bought.
Bone Broth Recipe
Slowly simmering bones make bone broth with vegetables, herbs, and a splash of acid to extract minerals, collagen, and flavor.
The long cooking time allows connective tissues to break down, resulting in a deeply savory broth with a silky mouthfeel.
When cooled, a well-made bone broth often gels—this is a sign of high collagen content and proper extraction.
This recipe is flexible and forgiving.
You can use chicken, beef, or a combination of both.
Adjust the vegetables based on what you have, and simmer them low and slow to let the flavors develop naturally.
Ingredients
- 2–3 pounds bones (chicken carcasses, beef marrow bones, knuckles, or a mix)
- 1 tablespoon apple cider vinegar
- 1 large onion, roughly chopped
- 2 carrots, chopped
- 2 celery stalks, chopped
- 4–5 garlic cloves, crushed
- 1–2 bay leaves
- 1 teaspoon black peppercorns
- Salt, to taste (added at the end)
- Water, enough to fully cover the bones
Step-by-Step Instructions
Step 1: Prepare the Bones
If using raw bones, roasting them first enhances flavor. Place bones on a baking sheet and roast at 400°F (200°C) for about 30–40 minutes until golden brown.
This step is optional but highly recommended for beef bones, as it adds depth and richness to the broth.
Step 2: Start the Simmer
Transfer the bones to a large stockpot or slow cooker. Add onion, carrots, celery, garlic, bay leaves, and peppercorns.
Pour in enough cold water to fully cover everything.
Add the apple cider vinegar and let the mixture sit for about 20–30 minutes before turning on the heat. This resting time helps draw minerals from the bones.
Step 3: Cook Low and Slow
Bring the pot to a gentle boil, then immediately reduce to a low simmer. Skim off any foam that rises to the surface during the first hour.
- Chicken bones: simmer 12–24 hours
- Beef bones: simmer 24–48 hours
Keep the heat low—just enough for occasional bubbles. A slow simmer is key to a clear, flavorful broth.
Step 4: Strain the Broth
Once simmering is complete, remove the pot from heat.
Carefully strain the broth through a fine-mesh sieve or cheesecloth into another pot or large bowl. Discard the solids.
Step 5: Season and Store
Add salt to taste after straining. Let the broth cool, then store it in airtight containers in the refrigerator for up to 5 days or freeze for longer storage.
A solid layer of fat on top acts as a natural seal and can be removed or stirred back in when reheating.
Different Variations
Chicken Bone Broth
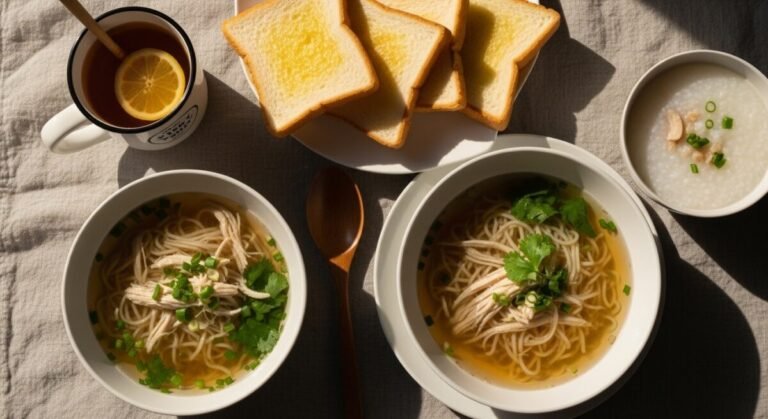
Chicken bone broth is lighter in flavor and cooks faster than beef broth. Using chicken feet along with carcasses increases collagen content, resulting in a broth that gels beautifully when chilled. It’s ideal for sipping, soups, and light sauces.
Beef Bone Broth
Beef bone broth is richer, darker, and more robust. Marrow bones and knuckles produce a deeply savory broth that works well as a base for stews and hearty soups. Roasting the bones beforehand is especially important for maximum flavor.
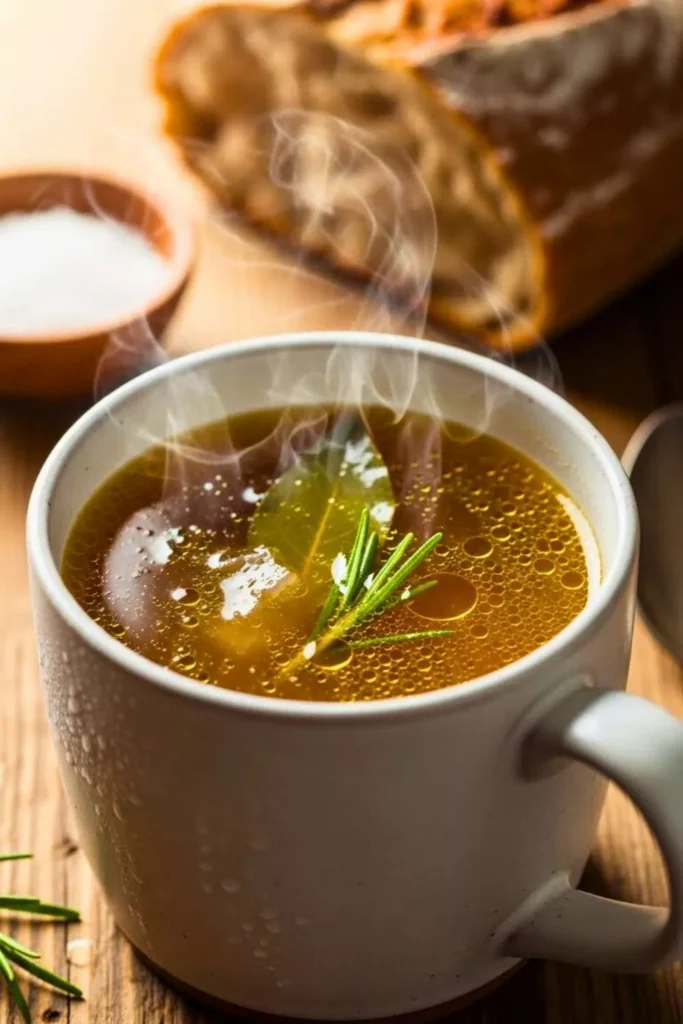
Herb-Infused Bone Broth
For a more aromatic broth, add fresh herbs like thyme, rosemary, or parsley during the last hour of cooking. This prevents the herbs from becoming bitter while still infusing the broth with fresh flavor.
Health Benefits of Bone Broth
Bone broth is valued for its collagen, gelatin, and mineral content. These nutrients support joint health, digestion, and skin elasticity.
While it’s not a cure-all, bone broth is a nourishing addition to a balanced diet, especially during colder months or recovery periods.
How to Use Bone Broth in Cooking
Bone broth is incredibly versatile.
Use it as a base for soups, cook rice or quinoa in it for extra flavor, reduce it into sauces, or simply warm it up and drink it on its own.
Its depth enhances both simple and complex dishes.
Storage and Shelf Life Tips
Proper storage is essential for homemade bone broth. Refrigerate it promptly after cooling and freeze it in portion-sized containers for convenience.
Frozen bone broth keeps well for up to 6 months without losing quality.
Conclusion
Making bone broth at home is a simple yet rewarding process that transforms humble ingredients into something deeply nourishing and flavorful.
With patience and proper temperature control, you’ll end up with a rich broth that enhances countless dishes and brings comfort to your kitchen.
Once you’ve made it yourself, store-bought versions rarely compare.