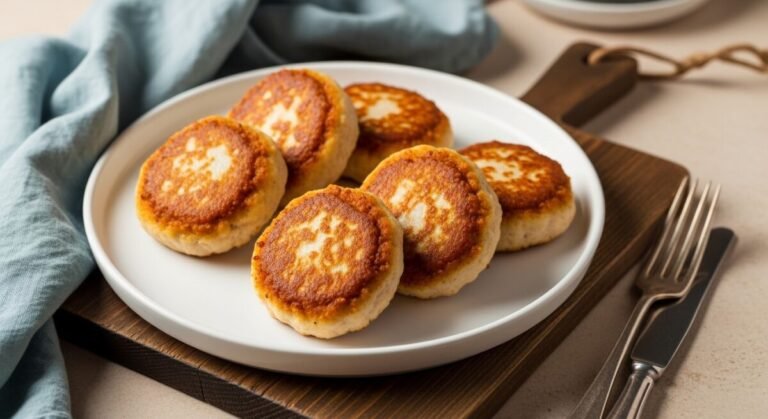
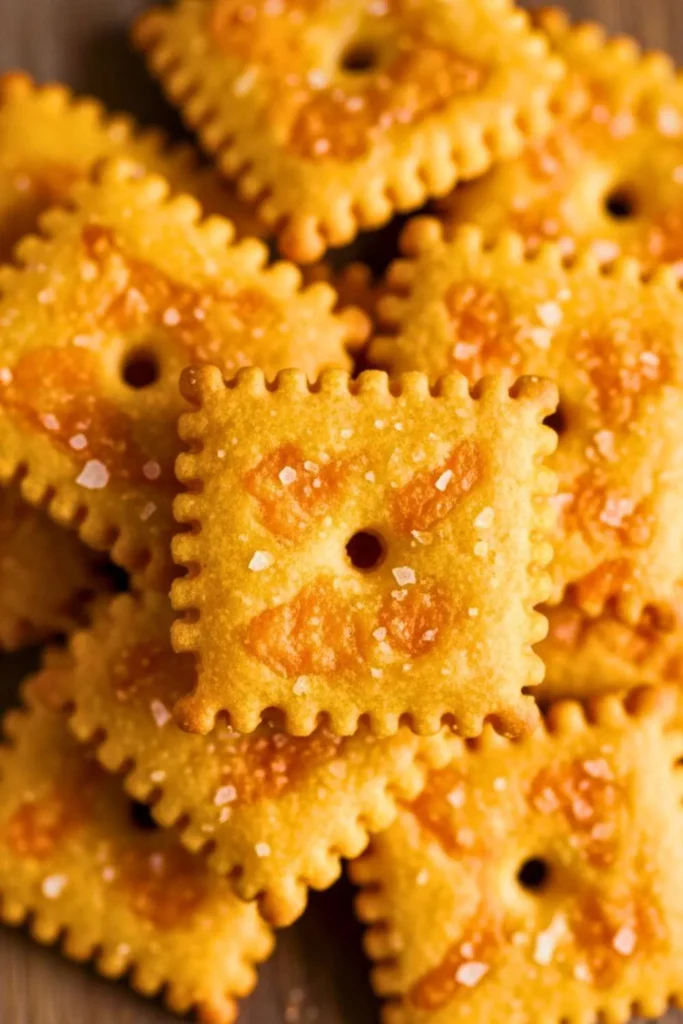
Cheez-Its are one of those classic snacks that almost everyone loves—crispy, cheesy, and perfectly salty.
While store-bought Cheez-Its are convenient, making them at home is surprisingly easy and incredibly rewarding. Homemade Cheez-Its give you full control over the ingredients, the cheese flavor, and even the level of crispiness.
This recipe delivers crunchy, real-cheese crackers that taste fresh, bold, and far better than anything from a box.
Cheez-It Recipe
This homemade Cheez-It recipe creates thin, crispy crackers with a deep cheesy flavor and a satisfying crunch.
Made with real cheddar cheese, butter, and simple pantry ingredients, these crackers bake evenly and develop a golden color with tiny bubbles—just like the classic snack.
You can customize them with spices, herbs, or different cheeses to suit your taste.
They are perfect for snacking, lunchboxes, party platters, or serving alongside soups and dips.
Ingredients
- 1 cup sharp cheddar cheese, finely grated (use real cheese, not pre-shredded)
- 4 tablespoons unsalted butter, cold and cubed
- 1 cup all-purpose flour
- ½ teaspoon salt (adjust to taste)
- 2 tablespoons ice-cold water
- Optional: paprika, garlic powder, onion powder, or cayenne pepper
Step-by-Step Instructions
Step 1: Prepare the Dough
In a food processor, add the flour, salt, and cold butter cubes. Pulse several times until the mixture looks like coarse crumbs.
Add the grated cheddar cheese and pulse again until evenly combined.
Slowly add the ice-cold water, one tablespoon at a time, pulsing just until the dough begins to come together. The dough should be firm but not sticky.
Step 2: Chill the Dough
Transfer the dough onto a clean surface and gently press it into a flat disk. Wrap it tightly in plastic wrap and refrigerate for at least 30 minutes.
Chilling helps relax the gluten and makes rolling the dough much easier while also improving the cracker texture.
Step 3: Roll and Shape
Preheat your oven to 375°F (190°C). Line a baking sheet with parchment paper. Roll the chilled dough between two sheets of parchment paper until it is very thin—about 1/8 inch thick.
Remove the top parchment and use a knife or pizza cutter to cut the dough into small square shapes.
Use a skewer or toothpick to poke a small hole in the center of each cracker to prevent puffing.
Step 4: Bake to Perfection
Carefully transfer the parchment paper with the cut crackers onto the baking sheet. Bake for 14–18 minutes, rotating the pan halfway through.
The crackers should be lightly golden around the edges and firm to the touch. Let them cool completely on the baking sheet; they will crisp up more as they cool.

Tips for Extra Crispy Cheez-Its
For ultra-crispy crackers, make sure the dough is rolled very thin and evenly. Uneven thickness can cause some crackers to burn while others stay soft.
Also, allowing the crackers to cool fully before storing is crucial, as trapped steam can make them lose their crunch.
If needed, you can bake them for an extra 1–2 minutes while watching closely.
Flavor Variations and Add-Ins
This recipe is very flexible and easy to customize. You can replace sharp cheddar with white cheddar, smoked cheddar, or a mix of cheddar and parmesan for a deeper flavor.
Adding spices like smoked paprika, black pepper, or chili flakes gives the crackers a bold twist. For a herby version, mix in dried rosemary or thyme directly into the dough.
Storage and Shelf Life
Once completely cooled, store homemade Cheez-Its in an airtight container at room temperature. They stay fresh and crispy for up to one week.
If they soften slightly, you can re-crisp them in a 300°F (150°C) oven for 5 minutes. Avoid storing them while warm, as moisture will reduce their crunch.
Conclusion
Making Cheez-Its at home is simple, fun, and incredibly satisfying. With real cheese, basic ingredients, and a little time, you can create a crunchy snack that’s fresher and more flavorful than store-bought versions.
Whether you enjoy them plain, spicy, or herbed, these homemade Cheez-Its are guaranteed to become a go-to snack for your kitchen.
Try them once, and you may never go back to packaged crackers again.