You’re about to start a tasty, hands-on adventure. These 23 easy fermented foods for beginners recipes focus on simple ingredients and clear steps. I’ll guide you through jars, timings, and the small signs to watch for.
You’ll find drinks, condiments, vegetables, dairy, and sourdough basics. Each recipe is designed to fit a home kitchen and build confidence quickly.
Try one or two, and you’ll soon enjoy the bright flavors and healthful tang of homemade ferments.
23 Simple Fermented Foods For Beginners Recipes You Can Start Today
Fermentation is easier than you think. Below are straightforward recipes that use common tools and pantry staples. Each recipe tells you exactly what to do and how long to wait.
1. Classic Sauerkraut
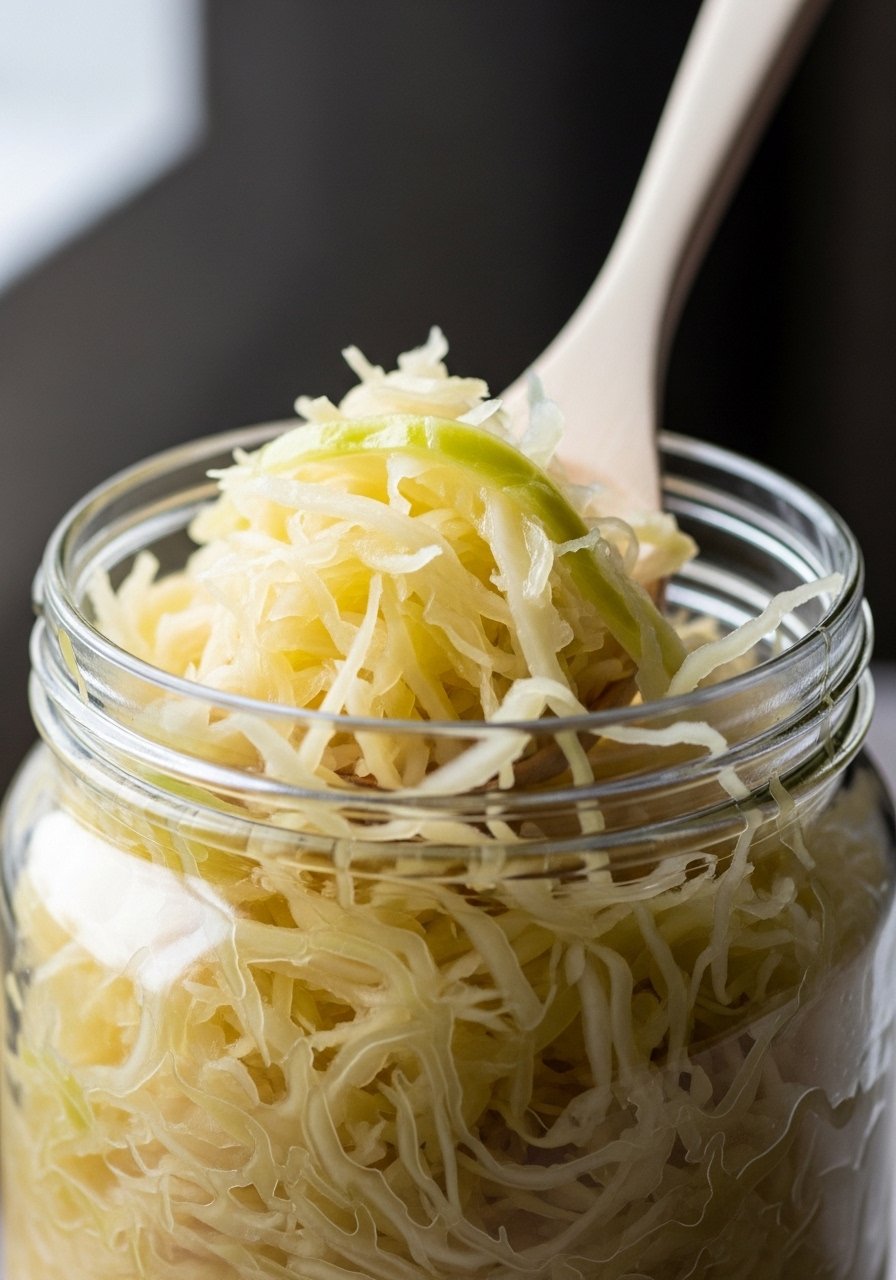
A crisp, tangy cabbage ferment with bright acidity and a satisfying crunch. It mellows as it ages and pairs with sandwiches, sausages, or bowls.
Ingredients
- 1 medium green cabbage (about 2–3 lbs), thinly shredded
- 1–1.5 tbsp fine sea salt (approx. 1.5% salt by weight)
- 1 tsp caraway seeds (optional)
Step-by-Step Instructions
- Prepare Cabbage — Shred and weigh: Remove core, finely shred cabbage. Weigh to calculate salt if precise (roughly 1.5% of cabbage weight).
- Massage And Salt — Release juices: In a large bowl, sprinkle salt and massage 5–10 minutes until cabbage softens and releases liquid.
- Pack Jar — Press down: Pack cabbage tightly into a clean jar using a tamper or spoon so liquid rises above the cabbage. Add caraway if using.
- Weigh And Cover — Submerge: Place a fermentation weight or a small jar to keep cabbage under brine. Seal with a fermentation lid or loose lid.
- Ferment — Wait and taste: Leave at 65–72°F for 1–3 weeks. Burp daily if using a regular lid. Start tasting after 7 days; longer = tangier.
2. Basic Napa Kimchi
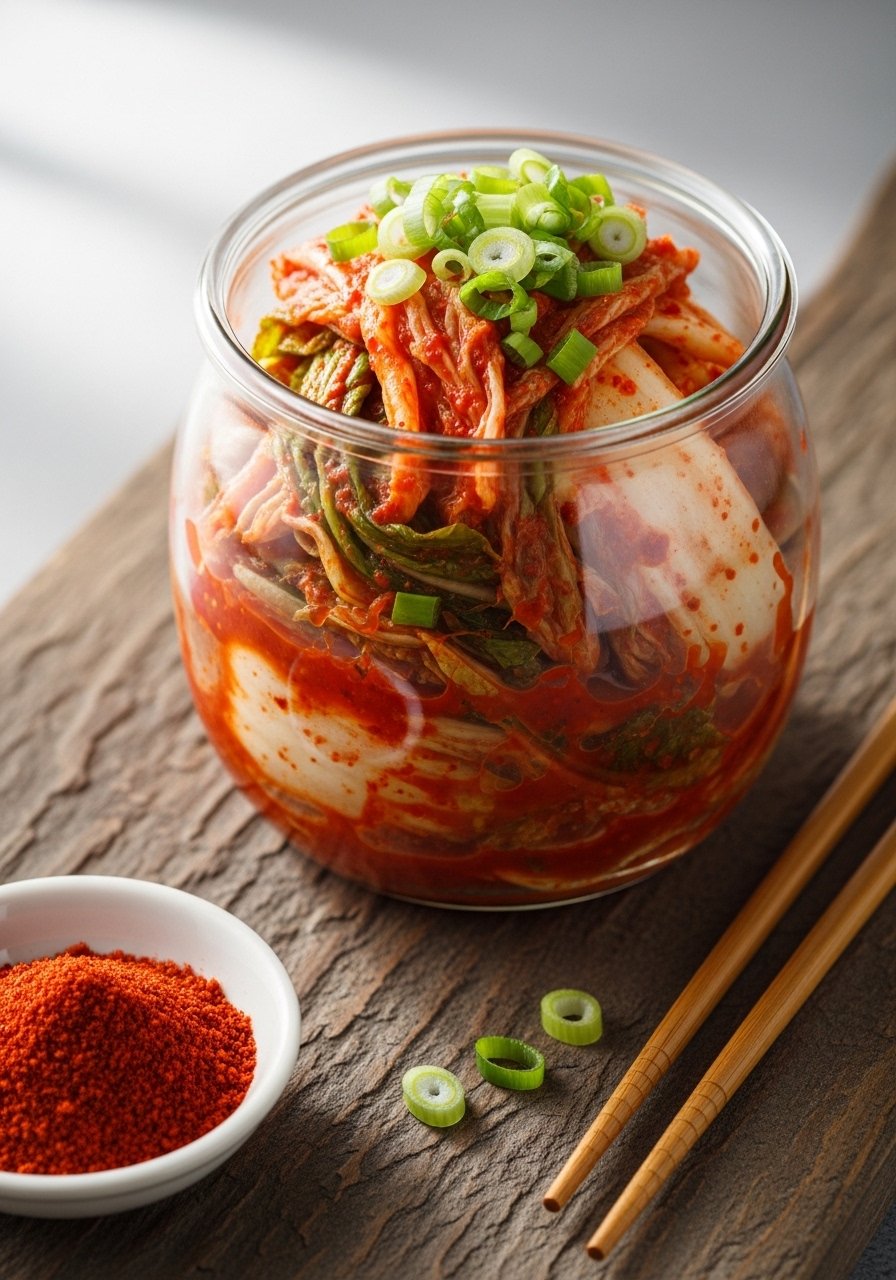
Classic Korean-style kimchi with spicy, sour, and savory notes. Crunchy napa cabbage meets garlic, ginger, and chili for bold flavor.
Ingredients
- 1 medium napa cabbage (about 2–3 lbs), quartered and salted
- 3 tbsp coarse sea salt (for salting cabbage)
- 4–6 green onions, sliced
- 1 medium carrot, julienned
- 3 tbsp Korean chili flakes (gochugaru)
- 2 tbsp fish sauce or soy sauce (for vegetarian)
- 1 tbsp grated ginger, 4 cloves garlic, minced
- 1 tsp sugar
Step-by-Step Instructions
- Salt The Cabbage — Wilt leaves: Soak cabbage quarters in salted water (3 tbsp salt in 4 cups water) for 1–2 hours, flipping halfway, until flexible. Rinse and drain.
- Make Paste — Mix seasonings: Combine chili flakes, fish sauce, ginger, garlic, and sugar into a paste. Adjust heat to taste.
- Mix Veggies — Coat thoroughly: In a bowl, combine drained cabbage, green onions, carrot, and paste. Use gloves to rub seasoning into leaves.
- Pack And Weight — Submerge in jar: Tightly pack into a jar, pressing until brine appears. Use a weight to keep vegetables submerged.
- Ferment — Room-temp or fridge: Let ferment at 65–72°F for 3–7 days, tasting daily. Refrigerate once it reaches desired tang.
3. Refrigerator Cucumber Pickles (Lacto-Fermented)
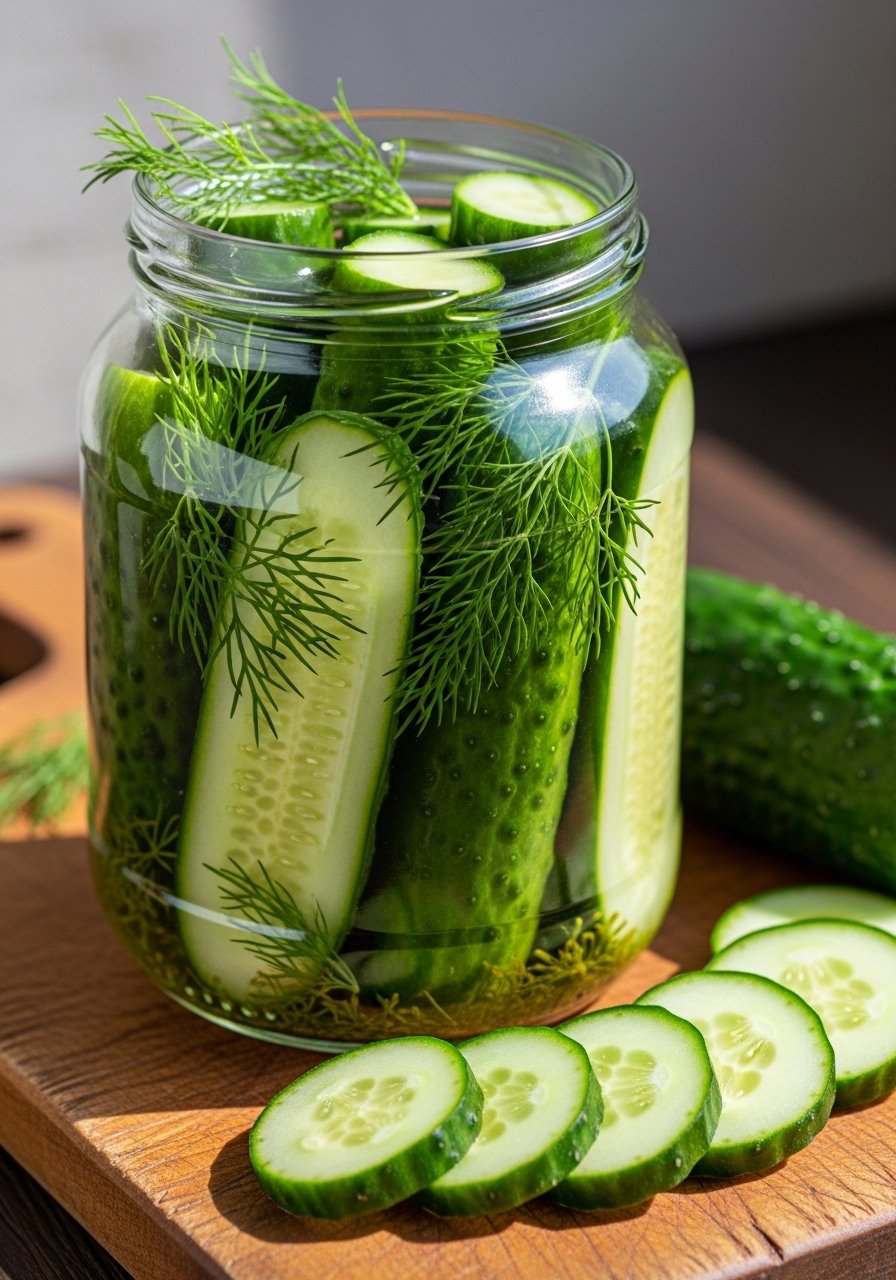
Quick, crunchy, and tart with a classic dill flavor. These are fermented at cool temps and refrigerated once tangy.
Ingredients
- 1 lb small cucumbers, scrubbed and halved lengthwise
- 1 tbsp sea salt per cup of water (for brine)
- 2 cloves garlic, smashed
- 2–3 sprigs fresh dill
- 1 tsp whole peppercorns
Step-by-Step Instructions
- Make Brine — Dissolve salt: Mix 1 tbsp salt per cup of filtered water until dissolved. Cool to room temp.
- Pack Jar — Add aromatics: Pack cucumbers, garlic, dill, and peppercorns into a jar.
- Pour Brine — Submerge cucumbers: Pour brine over cucumbers, leaving 1 inch headspace. Ensure cucumbers are under brine.
- Weight And Cover — Keep submerged: Use a weight or small sealed bag with brine to hold cucumbers down. Cover loosely.
- Ferment — Chill after tangy: Leave at 65–70°F for 3–7 days, then refrigerate. Taste daily to check crunch and acidity.
4. Dilly Green Beans (Fermented)
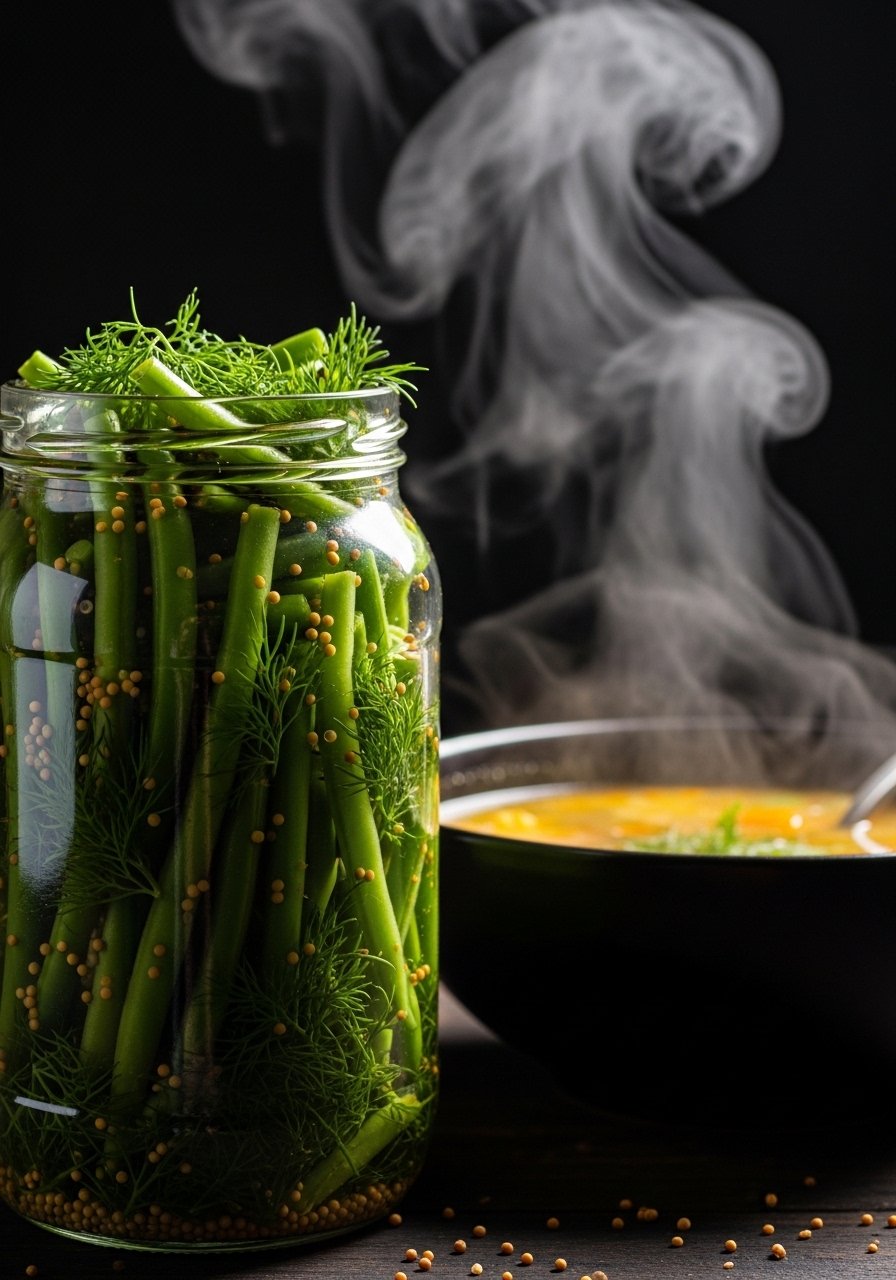
Crunchy, savory beans with dill and mustard. These develop a mild tang and keep their snap when fermented correctly.
Ingredients
- 1 lb green beans, trimmed
- 1 tbsp sea salt per cup water (for brine)
- 2 sprigs fresh dill
- 1 tsp mustard seeds
- 2 garlic cloves, peeled
Step-by-Step Instructions
- Pack Beans — Stand upright: Pack beans vertically in a jar with garlic, dill, and mustard seeds.
- Make Brine — Mix salt: Dissolve salt in filtered water and let cool. Pour over beans.
- Weigh Down — Ensure coverage: Use a weight to keep beans submerged under brine.
- Ferment — Monitor color: Leave at 65–70°F for 5–10 days. Beans should retain bright color and have a crisp bite.
- Store — Refrigerate to slow fermentation once you like the tang.
5. Fermented Carrots With Ginger

Sweet carrots gain a lively, slightly sour edge with a warm ginger bite. They stay crisp and are great as snacks or sides.
Ingredients
- 1 lb carrots, peeled and cut into sticks
- 1–1.5 tbsp sea salt per lb carrots (or 1 tbsp per cup brine)
- 1-inch piece fresh ginger, thinly sliced
- 1 cup filtered water (adjust for jar size)
Step-by-Step Instructions
- Pack Carrots — Layer ginger: Pack carrot sticks and ginger tightly in a jar.
- Make Brine — Salt water: Dissolve salt in filtered water. Pour to cover carrots fully.
- Weight And Cover — Submerge carrots: Keep carrots under brine with a weight and seal loosely.
- Ferment — Check texture: Let ferment at 65–72°F for 3–7 days. Carrots should be tangy but still crisp.
- Refrigerate — Slow fermentation: Move to the fridge to maintain crunch and flavor.
6. Beet Kvass (Probiotic Drink)
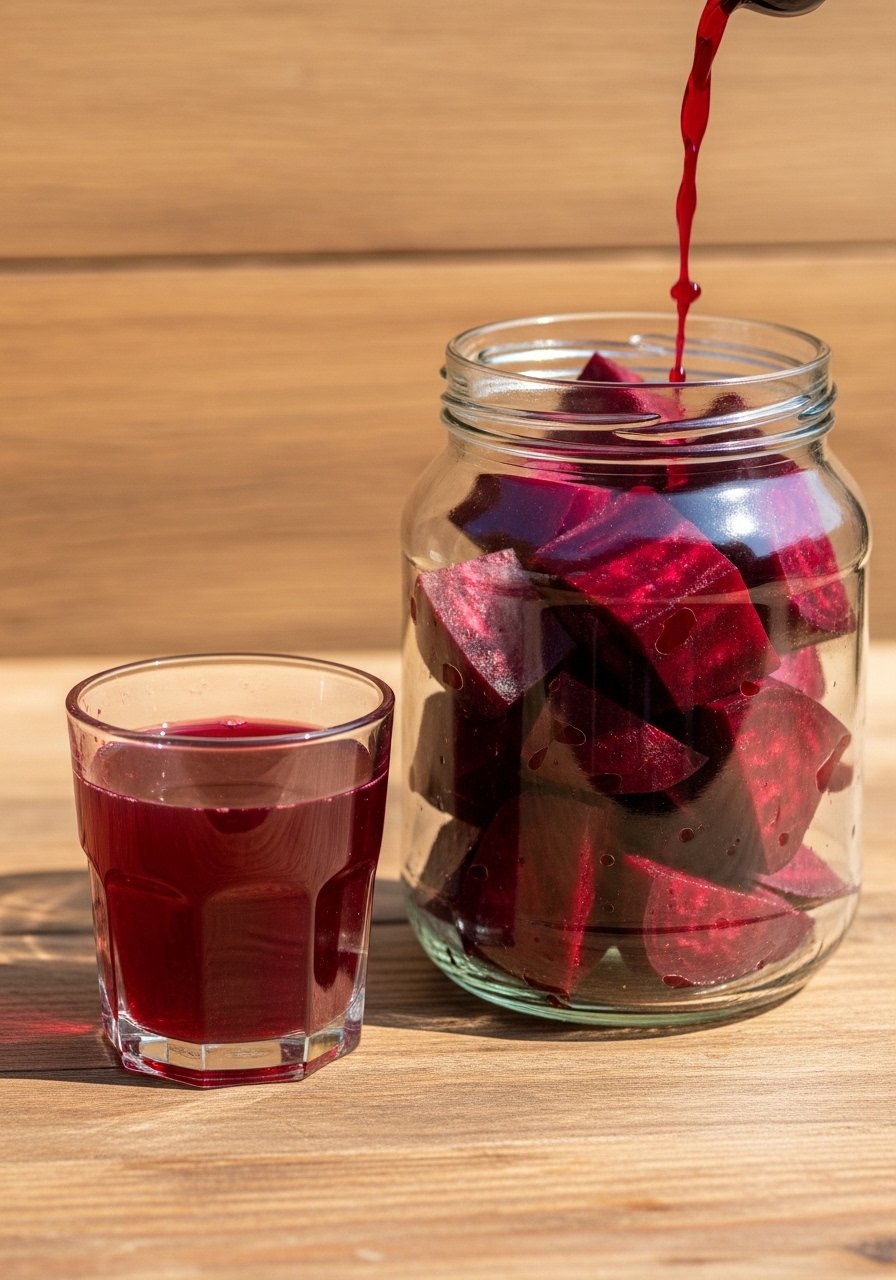
A deeply colored, earthy drink with gentle tang. Beet kvass is quick to start and has a refreshing, savory finish.
Ingredients
- 2 medium beets, peeled and chopped (about 2 cups)
- 1 tbsp sea salt
- Filtered water to cover
- Optional: 1-inch ginger slice
Step-by-Step Instructions
- Pack Beets — Into jar: Place chopped beets and ginger in a jar.
- Add Salt And Water — Cover fully: Sprinkle salt and add filtered water to submerge beets, leaving 1–2 inches headspace.
- Cover And Ferment — Room temp: Cover with a cloth or lid and ferment at 68–72°F for 3–5 days; taste daily.
- Strain And Bottle — Transfer: Once tangy, strain liquid into a bottle and refrigerate. Use beets as starter for next batch.
- Serve — Chill and sip: Drink 2–4 oz daily as a tonic.
7. Sliced Lacto-Fermented Beets
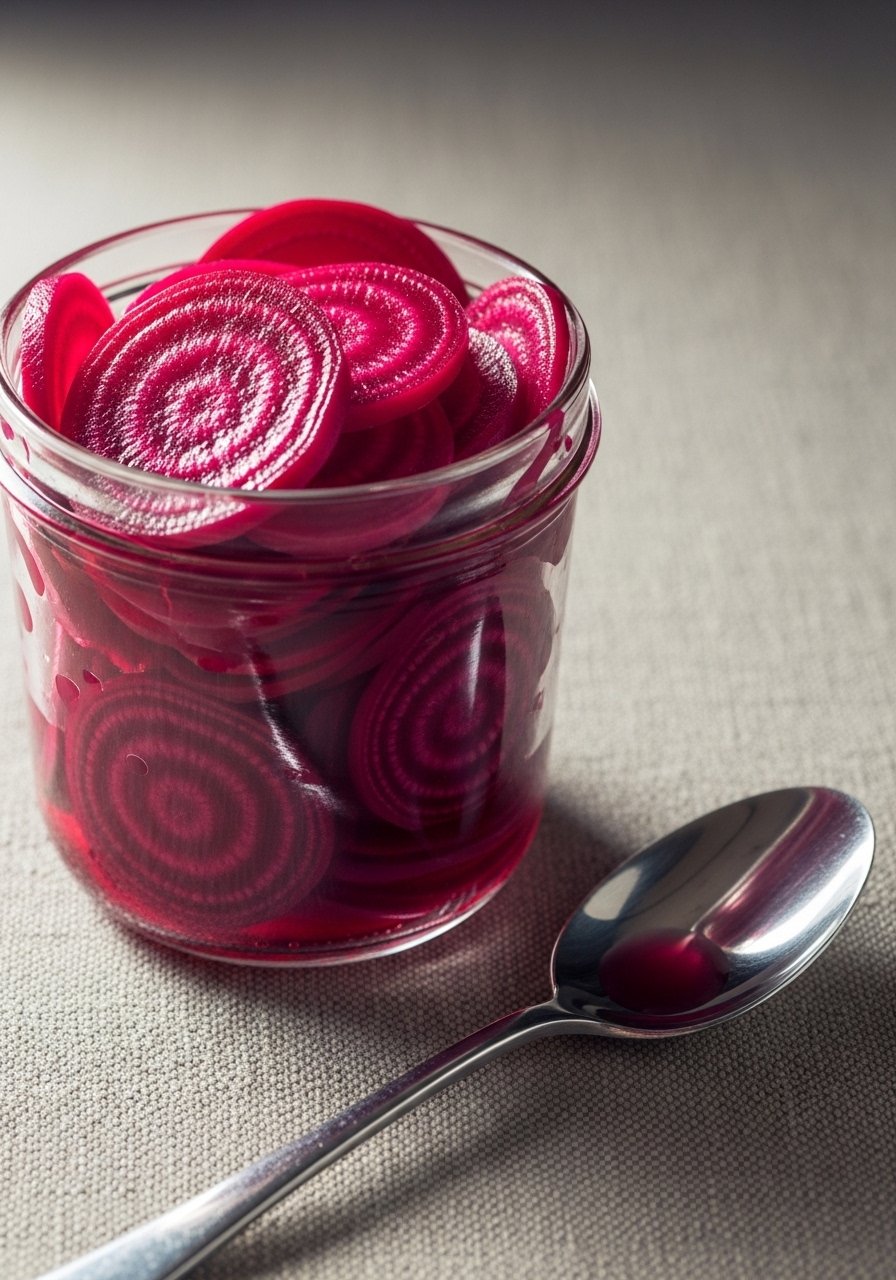
Sliced beets become bright, tangy, and mildly sweet. They’re ready faster than cooked pickles and retain a firm texture.
Ingredients
- 2 large beets, peeled and sliced 1/4-inch thick
- 1 tbsp sea salt per 2 cups water (approx.)
- 1 bay leaf and 4 peppercorns (optional)
Step-by-Step Instructions
- Slice And Pack — Neat layers: Layer beet slices and aromatics in a jar.
- Make Brine — Dissolve salt: Cover with brine so beets are fully submerged.
- Weight And Seal — Keep submerged: Use a weight and loosely seal.
- Ferment — Watch color: Leave at 65–70°F for 5–10 days until tangy and bright.
- Refrigerate — Store in fridge and enjoy with salads or cheese plates.
8. Homemade Yogurt (Stovetop Method)
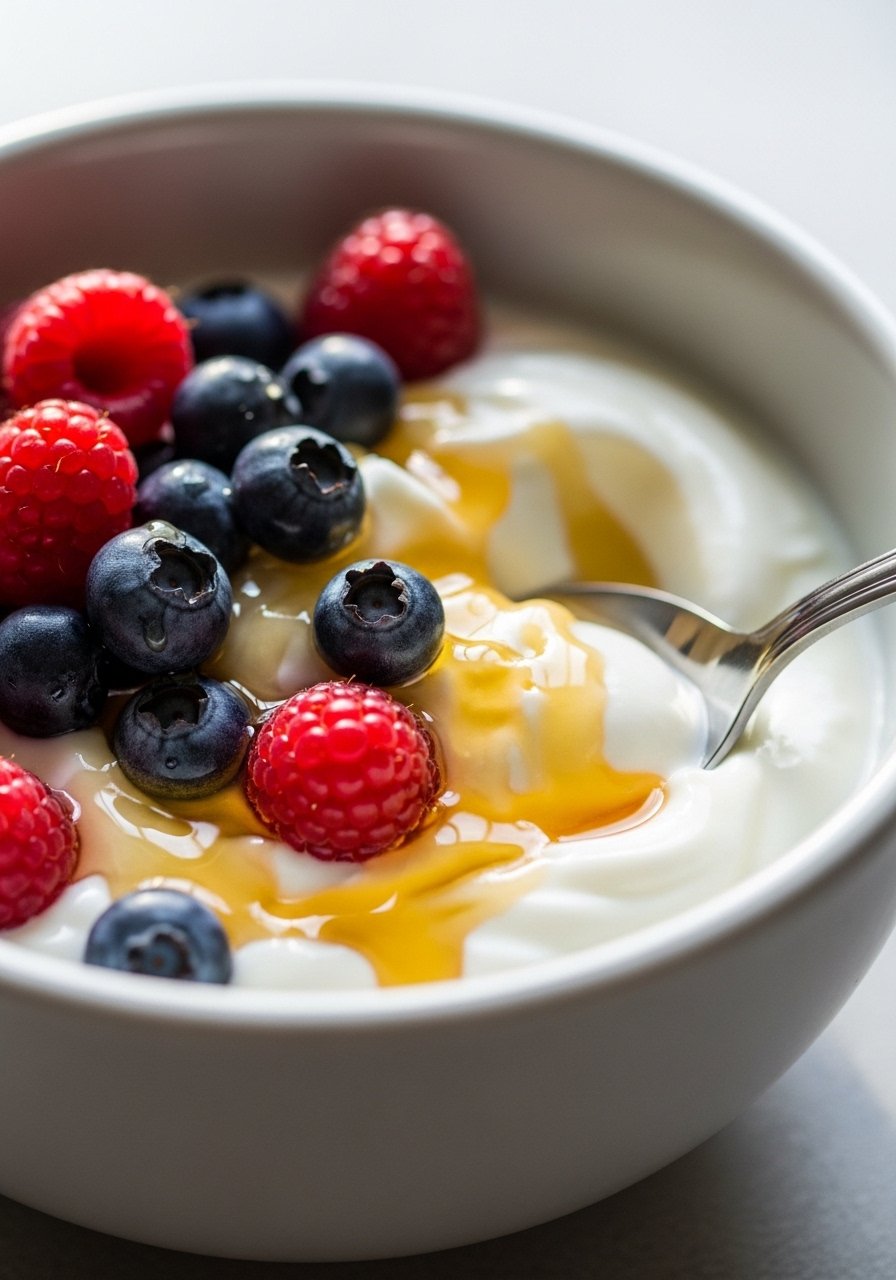
Creamy, tangy homemade yogurt made with milk and a starter. It’s fresher and often tangier than store varieties.
Ingredients
- 1 quart whole milk (can use 2% or nonfat)
- 2 tbsp plain yogurt with live cultures (store-bought or from a previous batch)
Step-by-Step Instructions
- Heat Milk — Scald: Heat milk to 180°F on the stove to change proteins (watch for tiny bubbles). Remove from heat.
- Cool Milk — Bring down temp: Let milk cool to 110°F (comfortably warm). Use a kitchen thermometer if unsure.
- Add Starter — Stir gently: Whisk 2 tbsp of yogurt into a cup of warm milk, then return to pot and mix evenly.
- Incubate — Keep warm: Transfer to jars or a container and keep at 105–110°F for 6–8 hours using an oven light, yogurt maker, or insulated thermos.
- Chill And Set — Firm up: Refrigerate 2–4 hours before serving.
9. Labneh (Strained Yogurt Cheese)
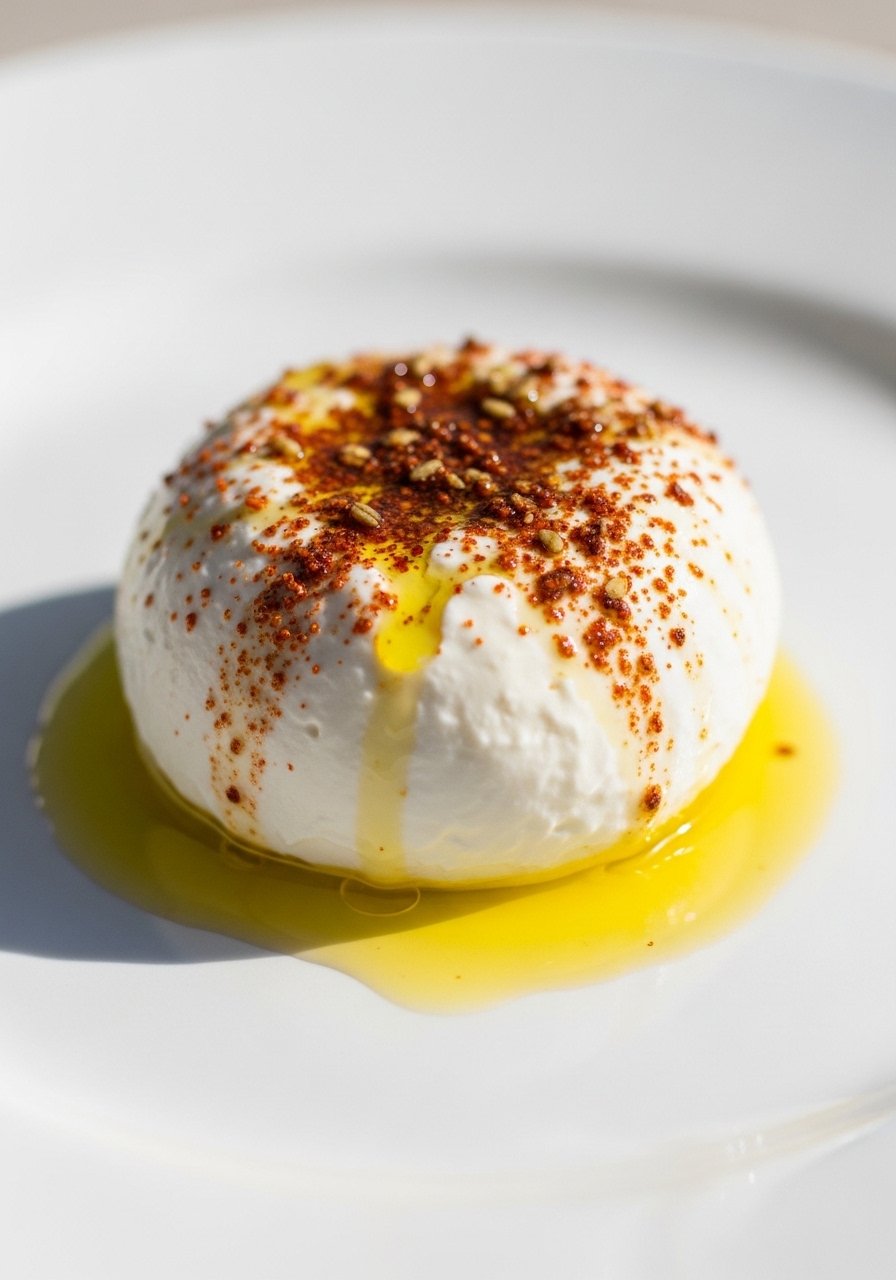
Tangy, spreadable, and rich. Labneh is strained yogurt that makes a versatile dip or spread.
Ingredients
- 4 cups homemade or store plain yogurt (full-fat gives best texture)
- 1/2 tsp fine salt
Step-by-Step Instructions
- Mix Yogurt And Salt — Season: Stir salt into yogurt until evenly mixed.
- Line And Pour — Strain: Line a fine mesh sieve or colander with cheesecloth over a bowl and pour in yogurt.
- Tie And Drain — Refrigerate to strain: Gather cloth and hang or tie so whey drains; refrigerate and drain 12–24 hours for thick labneh.
- Shape And Store — Form into balls: Scoop thick labneh into jars, drizzle oil if desired. Store in fridge up to 2 weeks.
- Serve — Use as spread or dip with bread and veggies.
10. Milk Kefir
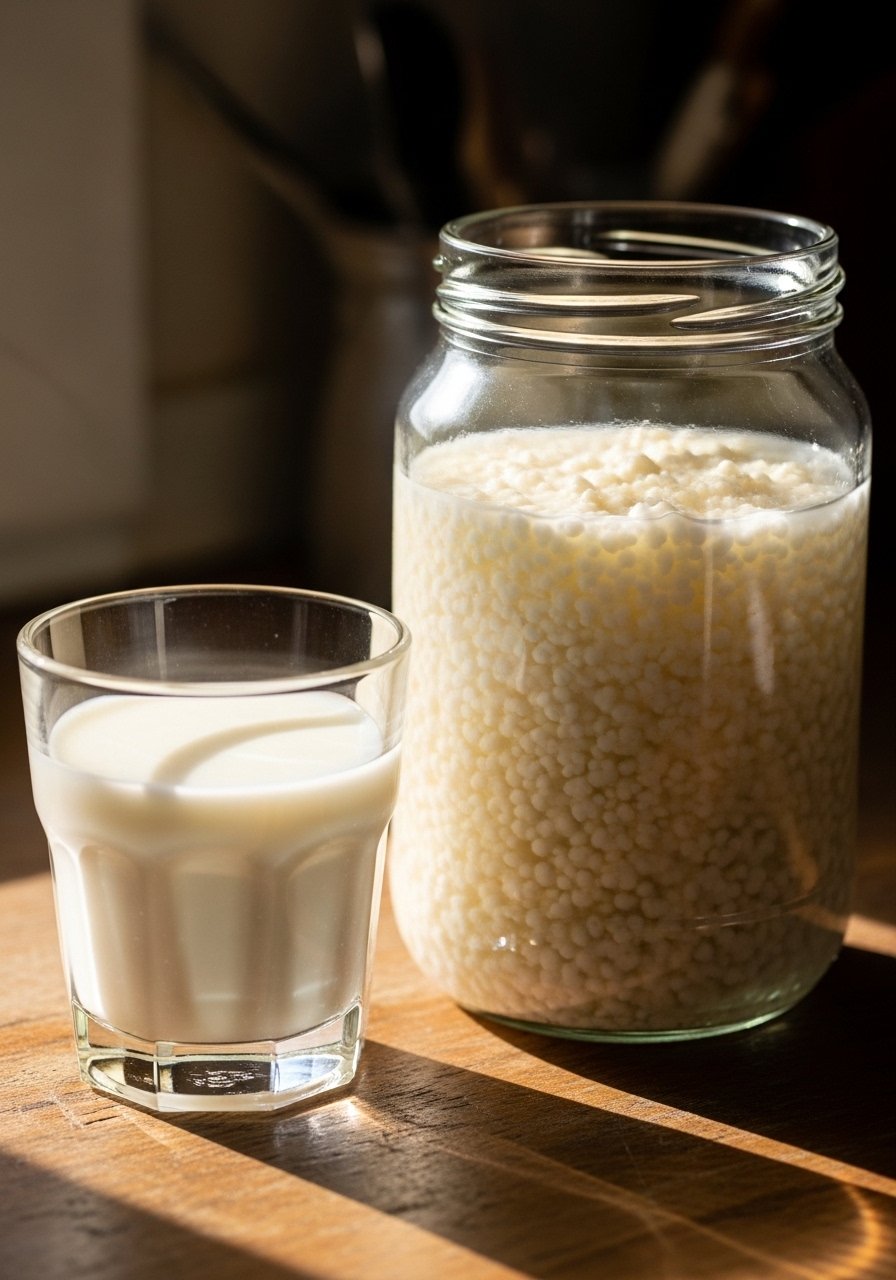
Tangy, drinkable cultured milk with a creamy texture and probiotic kick. Ferments fast at room temperature.
Ingredients
- 1–2 tbsp active milk kefir grains
- 4 cups whole milk (or preferred milk)
Step-by-Step Instructions
- Combine Grains And Milk — Jar setup: Place kefir grains in a jar and pour milk over.
- Cover And Ferment — Room-temp: Cover with breathable cloth and leave at 68–72°F for 18–36 hours; look for thickening and tang.
- Strain Grains — Separate: Strain kefir through a plastic or stainless sieve into a clean jar; return grains to fresh milk.
- Chill — Flavor and store: Refrigerate kefir; it thickens and becomes tangier when cold.
- Use Grains — Continue cycles: Grains can be reused indefinitely with regular feeding.
11. Water Kefir

A gentle, fizzy probiotic beverage made with water kefir grains. Flavor with fruit or citrus for a refreshing soda alternative.
Ingredients
- 3–4 tbsp water kefir grains
- 1/4 cup sugar + 4 cups water (use mineral or filtered water)
- Optional: 1/4 cup dried fruit (figs/raisins) and lemon slice
Step-by-Step Instructions
- Make Sugar Water — Dissolve sugar: Mix sugar in warm water, cool to room temp. Add minerals or dried fruit.
- Add Grains — Combine: Add kefir grains to the sugar water in a jar.
- Ferment — Cover: Use a cloth and ferment at 68–75°F for 24–48 hours until slightly effervescent.
- Strain And Bottle — Separate grains: Strain out grains and bottle liquid. Optionally do a second ferment with fruit for 24–48 hours to increase fizz.
- Reuse Grains — Feed again: Return grains to fresh sugar water for the next batch.
12. Kombucha (Basic Continuous Brew)
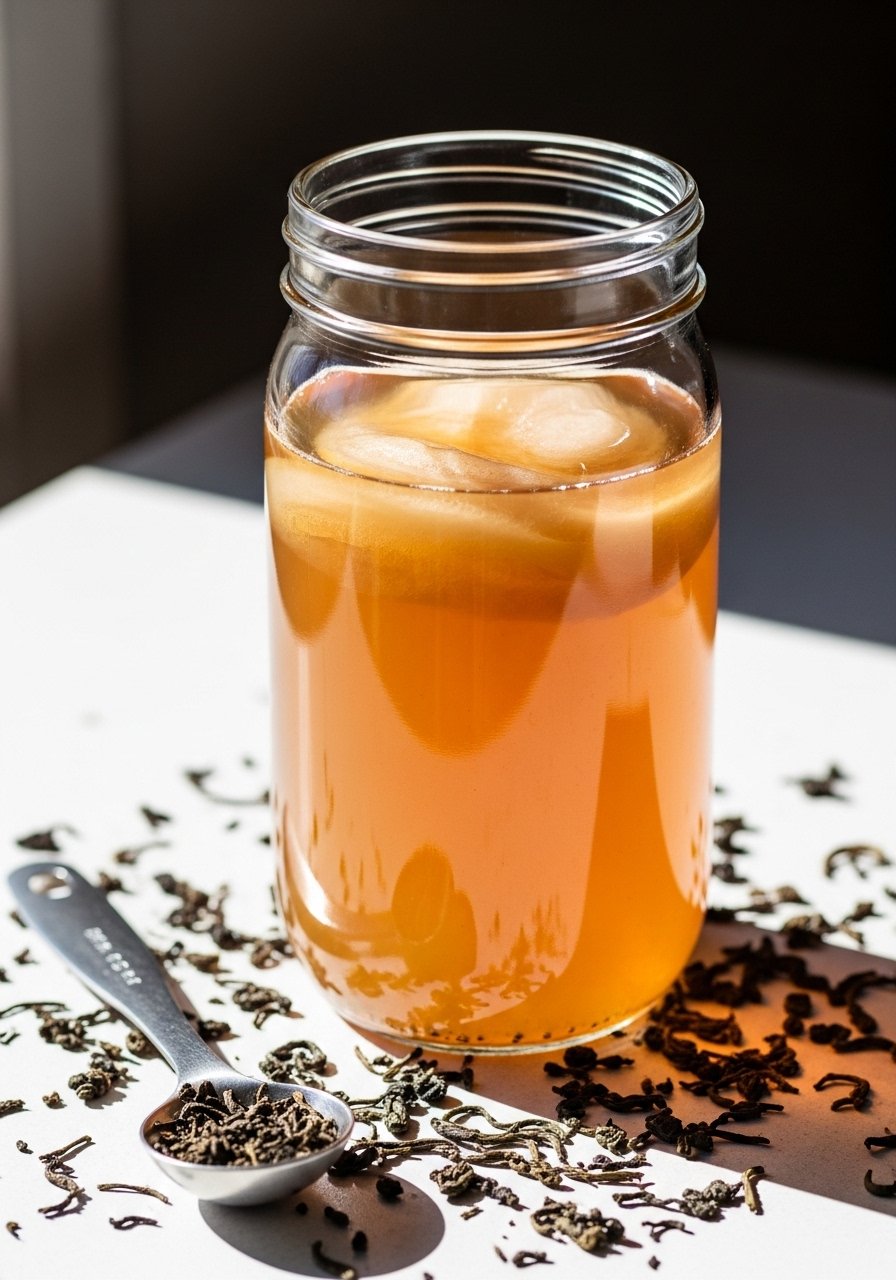
Tangy, effervescent tea fermented with a SCOBY. Start with sweet tea, then brew and bottle for fizziness.
Ingredients
- 1 gallon water, 8–10 tea bags (black or green), 1 cup sugar
- 2 cups starter kombucha (from previous batch or store)
- 1 SCOBY (symbiotic culture)
Step-by-Step Instructions
- Brew Tea — Steep: Boil water, steep tea 5–10 minutes, dissolve 1 cup sugar, then cool to room temp.
- Add Starter And SCOBY — Jar prep: Pour cooled sweet tea into a wide-mouth jar, add starter kombucha, then gently place SCOBY on surface.
- Cover And Ferment — Let it rest: Cover with breathable cloth and ferment at 70–80°F for 7–14 days. Taste after day 7.
- Bottle And Second Ferment — Add flavor: Pour kombucha into bottles, add fruit/herbs for 2–5 days to carbonate, then refrigerate. Use swing-top bottles for safe carbonation.
- Maintain SCOBY — Keep a portion: Reserve some kombucha and SCOBY as starter for next batch.
13. Ginger Bug (Fermentation Starter)
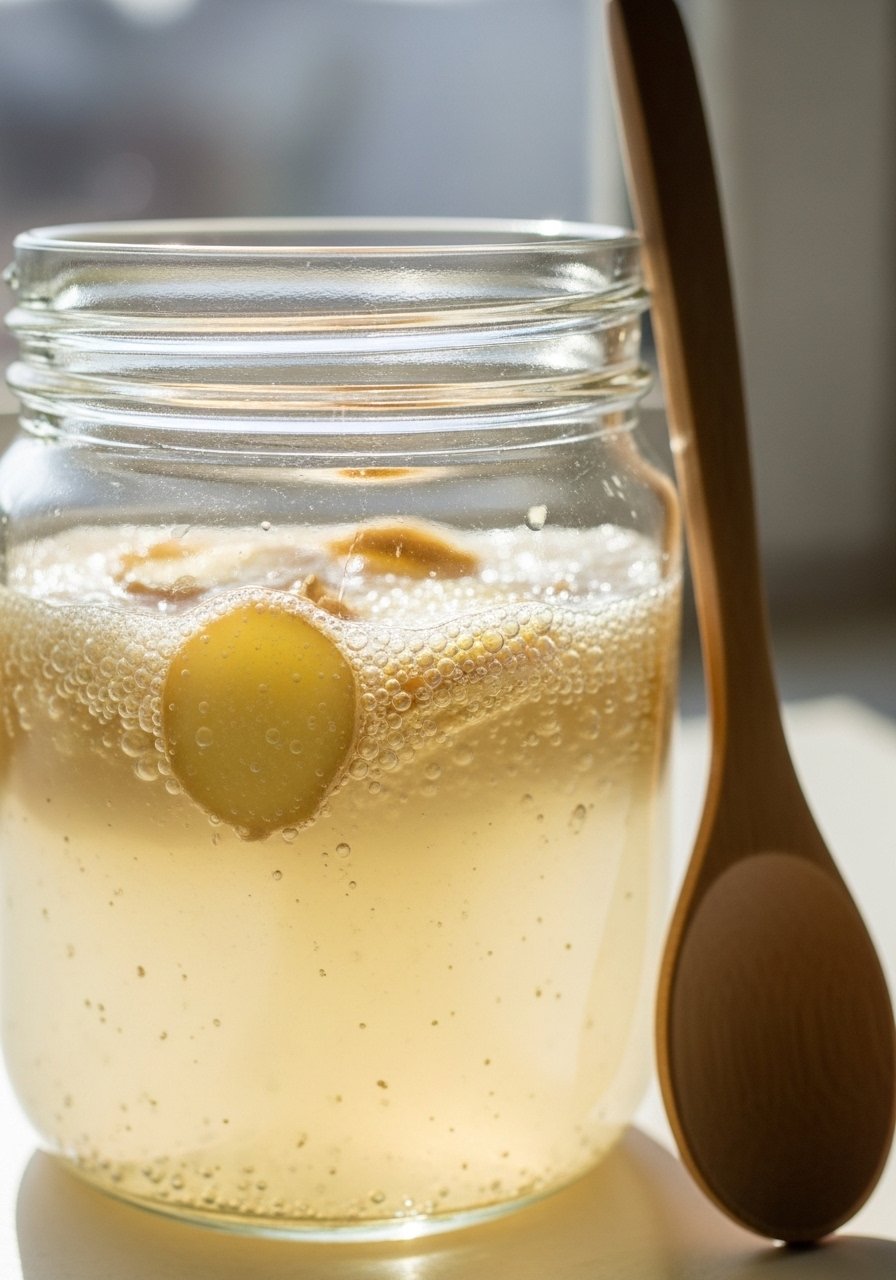
A lively starter culture of wild yeasts used to ferment homemade sodas and beverages. It’s simple to maintain.
Ingredients
- 2 tbsp grated ginger (with skin)
- 2 tbsp sugar
- 1 cup filtered water
Step-by-Step Instructions
- Combine Ingredients — Jar start: Add ginger and sugar to a jar, pour in water, stir.
- Feed Daily — Build culture: Each day for 4–7 days, add 1 tsp grated ginger and 1 tsp sugar, stirring gently.
- Look For Bubbles — Active sign: Bubbles and a yeasty smell indicate readiness, usually 4–7 days.
- Use For Fermentation — Starter: Add a few tablespoons to sweetened tea or juice to start fermentation for sodas.
- Maintain — Feed weekly: Keep in fridge and feed weekly, or store short-term at room temp and feed daily.
14. Tepache (Pineapple Fermented Drink)
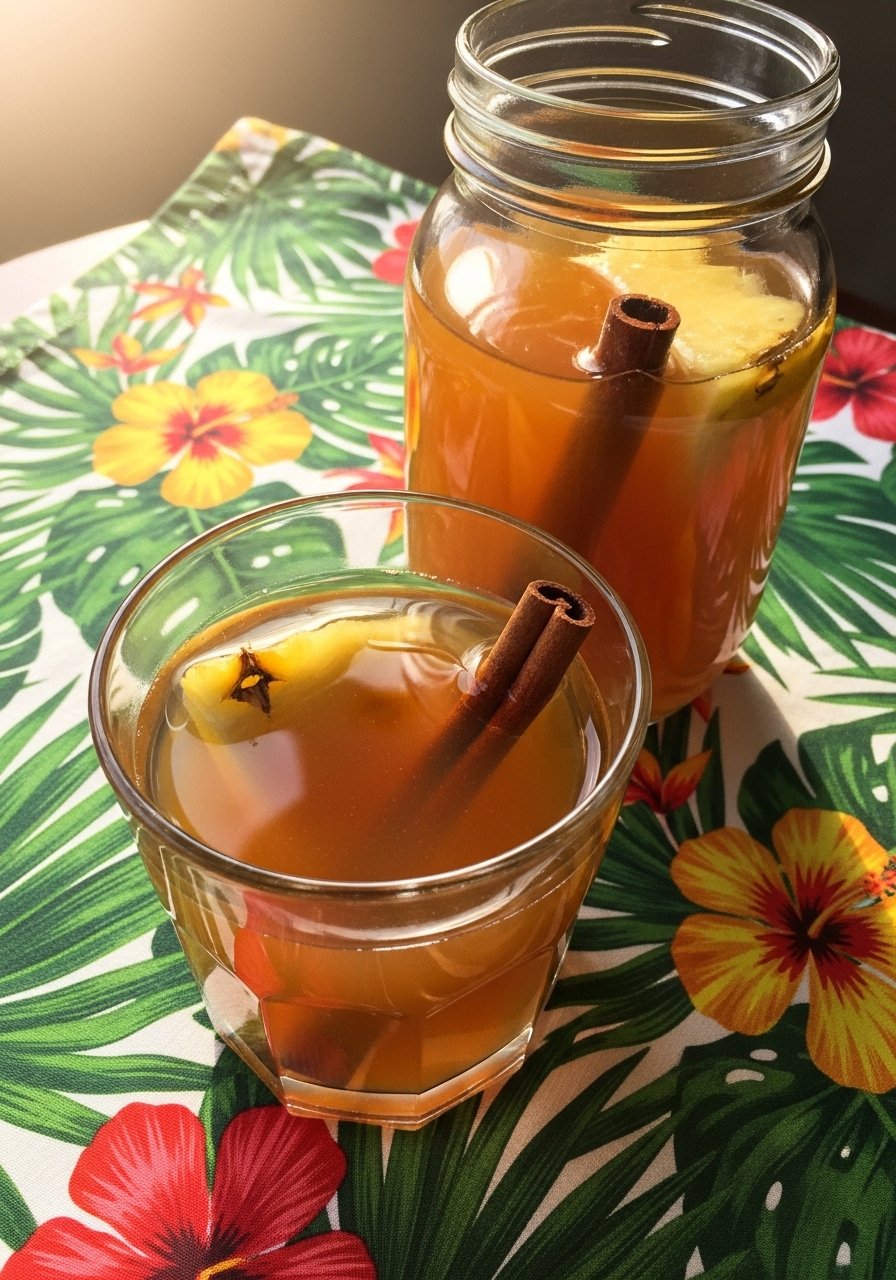
Slightly sweet, lightly effervescent Mexican-style drink made from pineapple rinds, brown sugar, and spices.
Ingredients
- Rinds from 1 ripe pineapple
- 1/2–3/4 cup piloncillo or brown sugar
- 1 cinnamon stick, 3 cups water
Step-by-Step Instructions
- Combine Rinds And Sugar — Jar mix: Place rinds, sugar, cinnamon, and water in a jar. Stir to dissolve sugar.
- Cover And Ferment — Short ferment: Cover loosely and ferment at 70–75°F for 2–4 days, tasting for sweetness and fizz.
- Strain And Bottle — Remove solids: Strain into bottles, chill, and optionally carbonize with a brief secondary ferment 1–2 days in sealed bottles.
- Serve — Refreshing: Serve cold over ice. Use within a week for best flavor.
15. Sourdough Starter
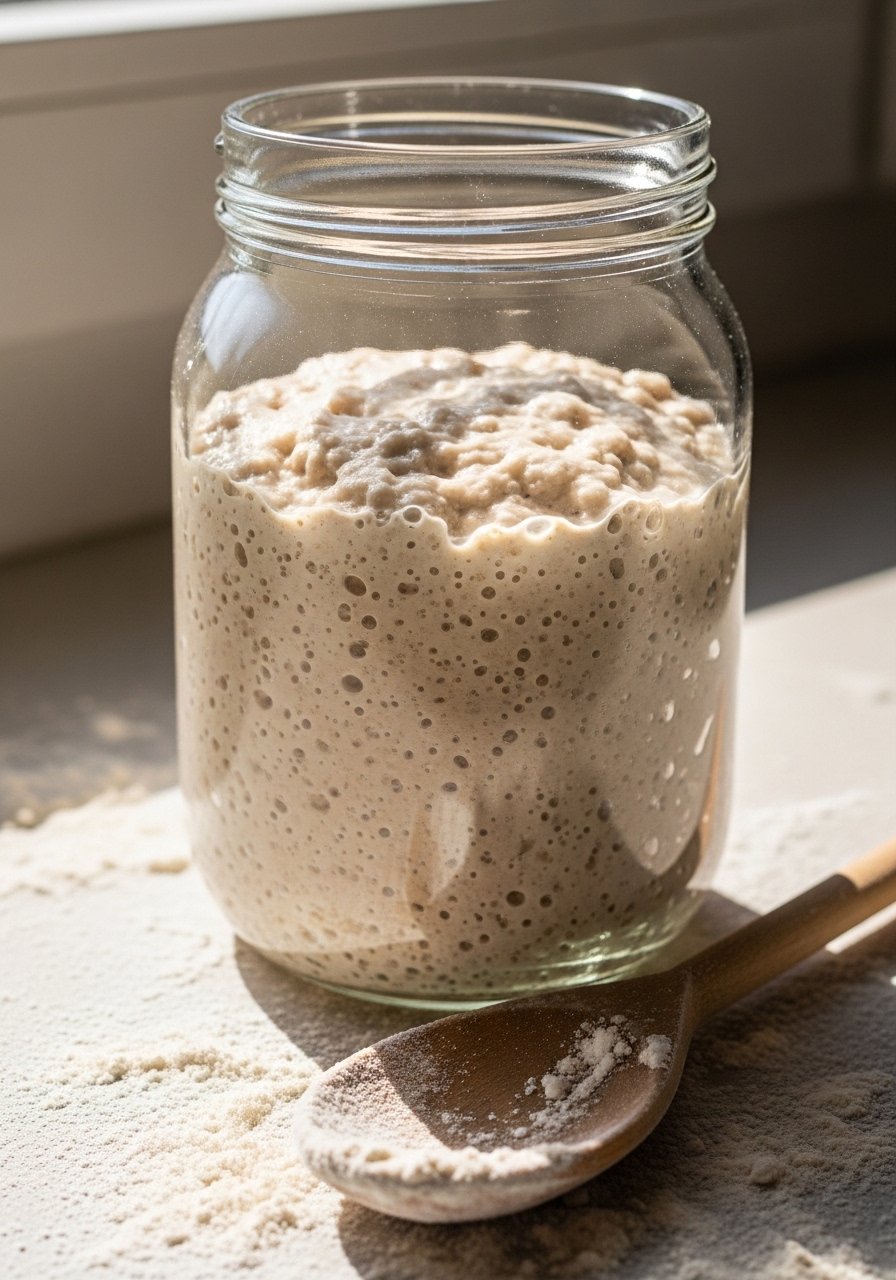
A living culture of wild yeasts and bacteria used to leaven rustic breads. Feed daily until reliably bubbly.
Ingredients
- 50 g (1/3 cup) whole wheat or rye flour
- 50 g (1/4 cup) all-purpose flour
- 100 g (about 1/2 cup) filtered water (adjust for consistency)
Step-by-Step Instructions
- Mix Flour And Water — Day 1: Combine flours and water in a jar, stir until smooth, cover loosely.
- Feed Daily — Days 2–5: Discard half and feed equal parts flour and water each 24 hours. Look for bubbles and a tangy smell.
- Look For Readiness — Active starter: After ~5–7 days, starter should double in 4–6 hours and be bubbly.
- Maintain — Store or feed: Keep at room temp with daily feeds, or refrigerate and feed weekly.
- Use — Bake: Use when it floats in water and smells pleasantly sour.
16. Sourdough Discard Pancakes

A delicious way to use sourdough discard—light, tangy pancakes that require no active starter maintenance.
Ingredients
- 1 cup sourdough starter discard
- 1 egg
- 1/2 cup milk
- 1 tbsp sugar
- 1/2 cup all-purpose flour
- 1 tsp baking soda, pinch salt, 2 tbsp melted butter
Step-by-Step Instructions
- Mix Wet Ingredients — Combine: Whisk discard, egg, milk, sugar, and melted butter until smooth.
- Add Dry Ingredients — Stir in flour, baking soda, and salt; batter will bubble slightly.
- Rest Briefly — Let sit 5–10 minutes: Bubbles indicate some lift from acidity.
- Cook — Medium heat: Preheat skillet to medium, grease lightly, pour 1/4 cup batter per pancake. Cook 2–3 minutes per side until golden.
- Serve Warm — Enjoy with syrup, fruit, or yogurt.
17. Fermented Hot Sauce
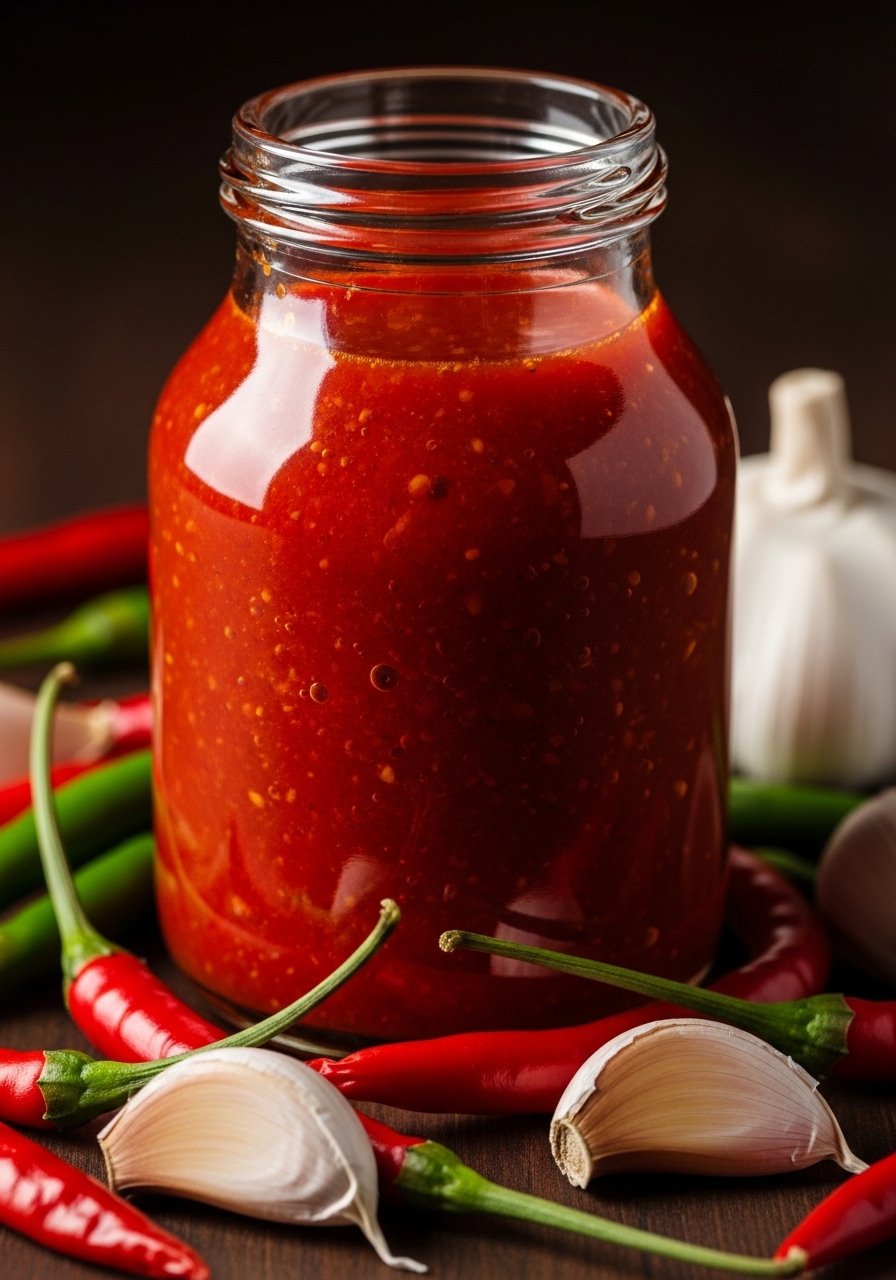
A bold, tangy hot sauce that develops depth after fermentation. Use any peppers you like; flavor improves with age.
Ingredients
- 1 lb hot peppers (mix of jalapeño, serrano, or habanero), stems removed
- 4 cloves garlic
- 1 tbsp sea salt
- 1/2 cup water
Step-by-Step Instructions
- Blend Peppers — Rough chop: Combine peppers, garlic, salt, and water in a blender and pulse to coarse puree.
- Jar And Submerge — Pack: Pour into a jar and ensure mixture is under brine; add a weight if needed.
- Ferment — Bubble and smell: Cover loosely and ferment 7–14 days at 65–75°F until pleasantly sour.
- Blend Smooth — Process: Transfer to blender, puree until smooth and strain if desired.
- Bottle And Age — Chill: Bottle and refrigerate. Flavors deepen over 2–4 weeks.
18. Fermented Salsa
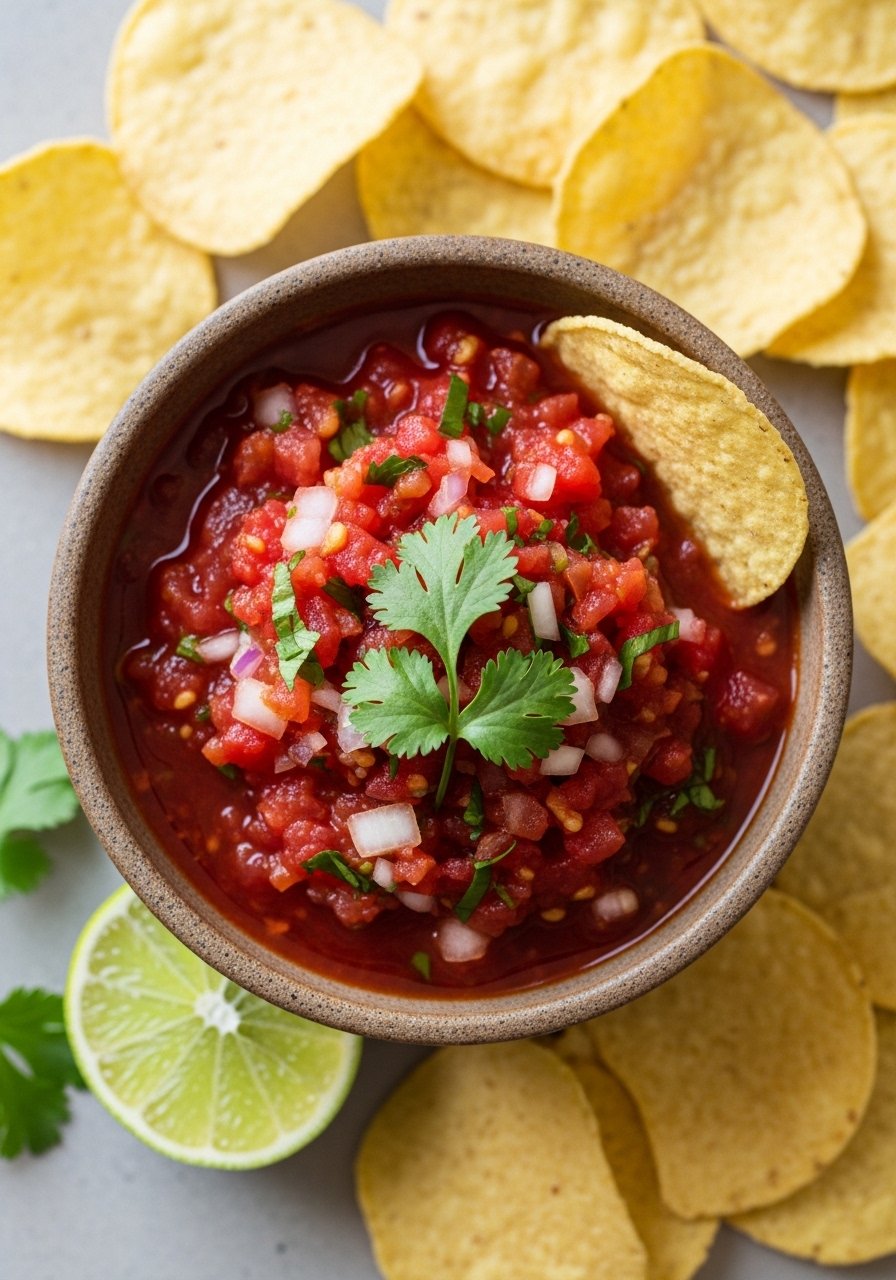
A tangy, zesty salsa with fermented depth. It’s great on tacos or with chips and brightens with a short ferment.
Ingredients
- 3 ripe tomatoes, chopped
- 1 small onion, chopped
- 1 jalapeño, chopped (remove seeds to reduce heat)
- 2 cloves garlic
- 1 tsp sea salt
- 2 tbsp chopped cilantro, juice of 1 lime
Step-by-Step Instructions
- Chop And Salt — Combine: Mix tomatoes, onion, jalapeño, garlic, and salt in a bowl. Let sit 20–30 minutes to draw juices.
- Pack Jar — Press down: Transfer to a jar and press down so liquid covers solids.
- Cover And Ferment — Short ferment: Cover loosely and ferment at 65–70°F for 3–5 days, tasting daily.
- Finish — Add lime and cilantro after fermenting to preserve brightness.
- Refrigerate — Keep chilled and use within 2 weeks.
19. Lacto-Fermented Garlic Cloves
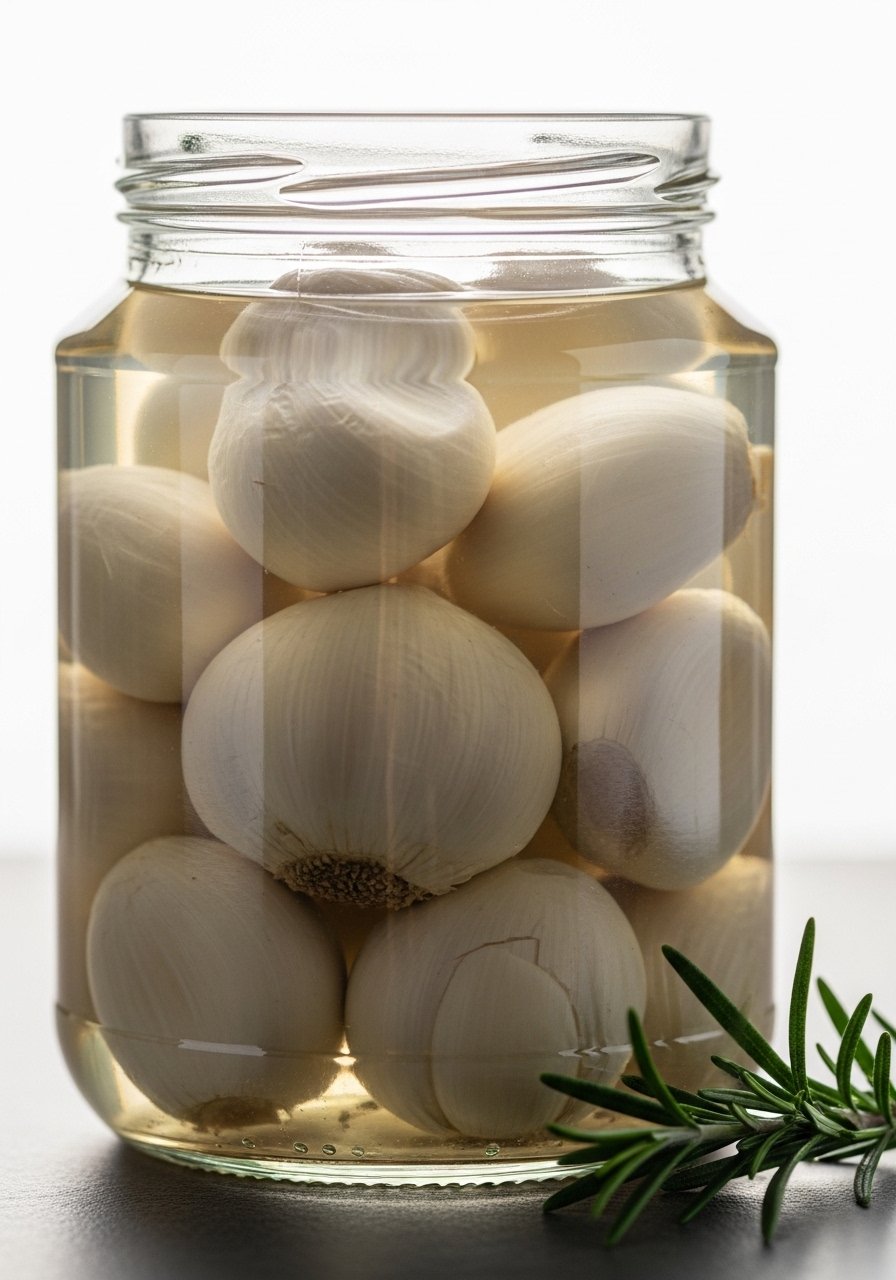
Garlic mellows and gains a sweet-sour flavor with fermentation; cloves soften and become spreadable or addable to recipes.
Ingredients
- 2 cups peeled garlic cloves
- 1 tbsp sea salt per cup water (make brine)
- 1 cup filtered water (adjust as needed)
Step-by-Step Instructions
- Pack Cloves — Place garlic in a clean jar, leaving room at top.
- Add Brine — Pour salt water to fully cover cloves. Ensure no air pockets.
- Weigh Down — Use weight: Keep cloves submerged under brine to avoid mold.
- Ferment — Slow process: Ferment at 60–70°F for 2–3 weeks until milder and slightly tender.
- Store — Refrigerate after fermentation; use like a mellow, probiotic garlic.
20. Kkakdugi (Cubed Radish Kimchi)
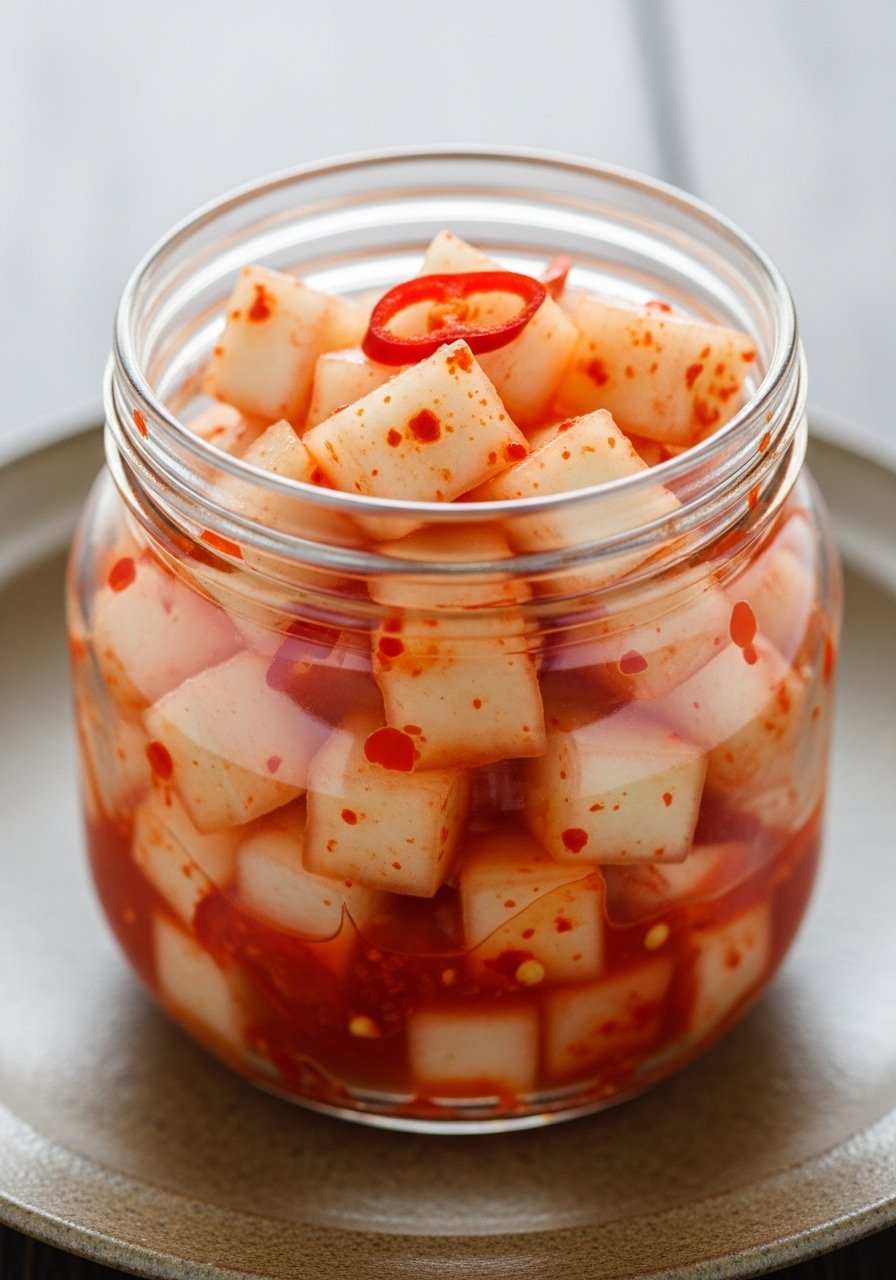
A crunchy, spicy radish kimchi with a satisfying crunch and bold chili flavor. Great with savory meals or rice bowls.
Ingredients
- 1 large Korean radish or daikon, cut into 1-inch cubes
- 1 tbsp sea salt
- 2 tbsp Korean chili flakes (gochugaru)
- 1 tbsp fish sauce or soy sauce
- 1 tsp sugar, 1 tbsp grated ginger, 2 green onions sliced
Step-by-Step Instructions
- Salt Radish — Draw moisture: Toss cubes with salt and let sit 1–2 hours, then drain and pat dry.
- Make Paste — Mix gochugaru, fish sauce, sugar, ginger, and green onions.
- Coat Radish — Even coverage: Combine paste with radish cubes until well coated.
- Pack And Weight — Submerge: Pack into a jar and press down; ensure liquid covers cubes.
- Ferment — Taste after 3–5 days at 65–72°F; refrigerate when desired tang develops.
21. Fermented Red Onions
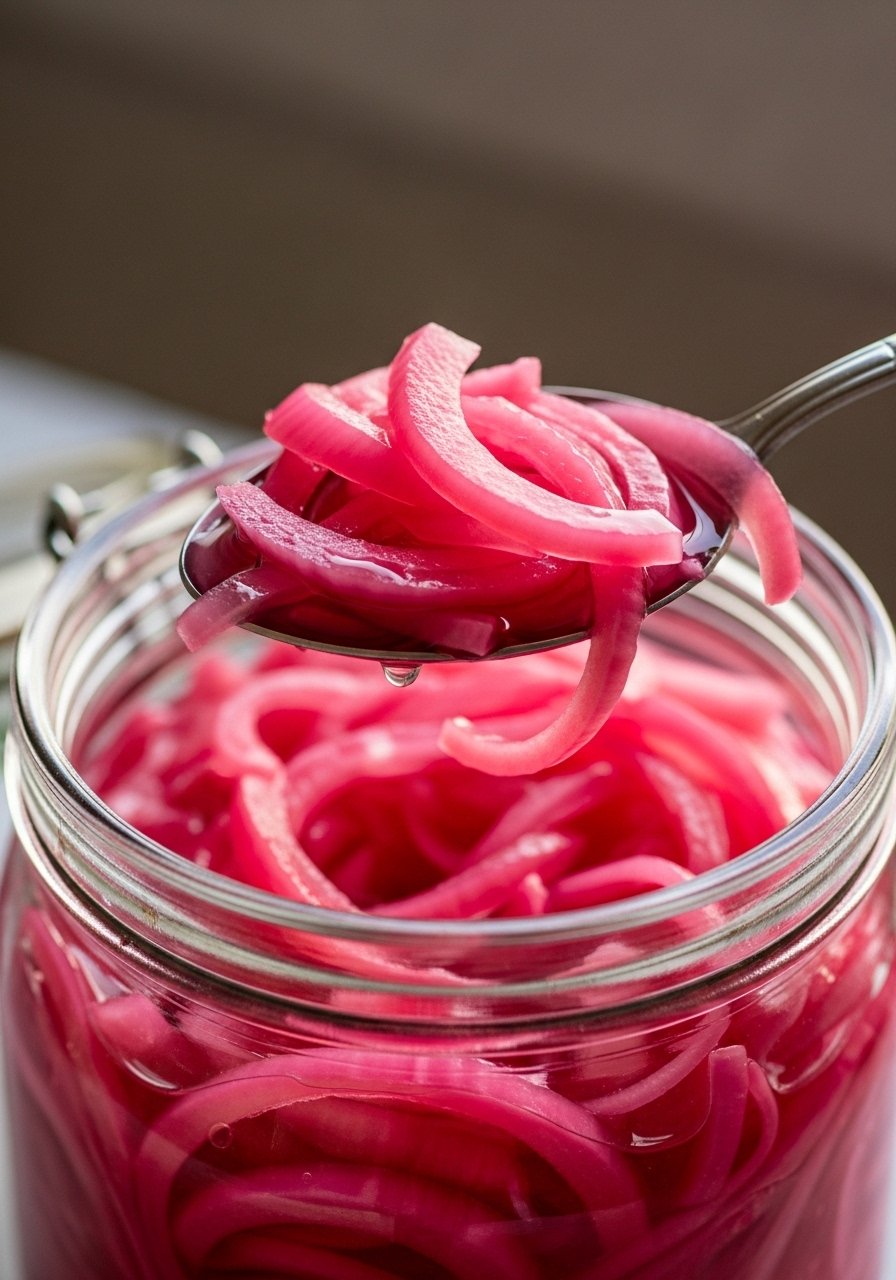
Quick, pickled-like onions with a bright pink color and tang. They perk up salads, tacos, and sandwiches.
Ingredients
- 2 medium red onions, thinly sliced
- 1 tbsp sea salt per cup water (approx. brine)
- 1/2 cup apple cider vinegar (optional for extra tang), 1 cup water
Step-by-Step Instructions
- Slice And Pack — Layer onions in a jar, pressing down.
- Add Brine — Pour salt water or a mix of vinegar and water to cover onions.
- Weight And Cover — Keep submerged with a weight and seal loosely.
- Ferment — Short ferment: At 65–70°F for 2–5 days until pleasantly tangy and less sharp.
- Refrigerate — Transfer to fridge; they’ll keep for weeks and deepen in color.
22. Fermented Cauliflower (Quick Pickles)
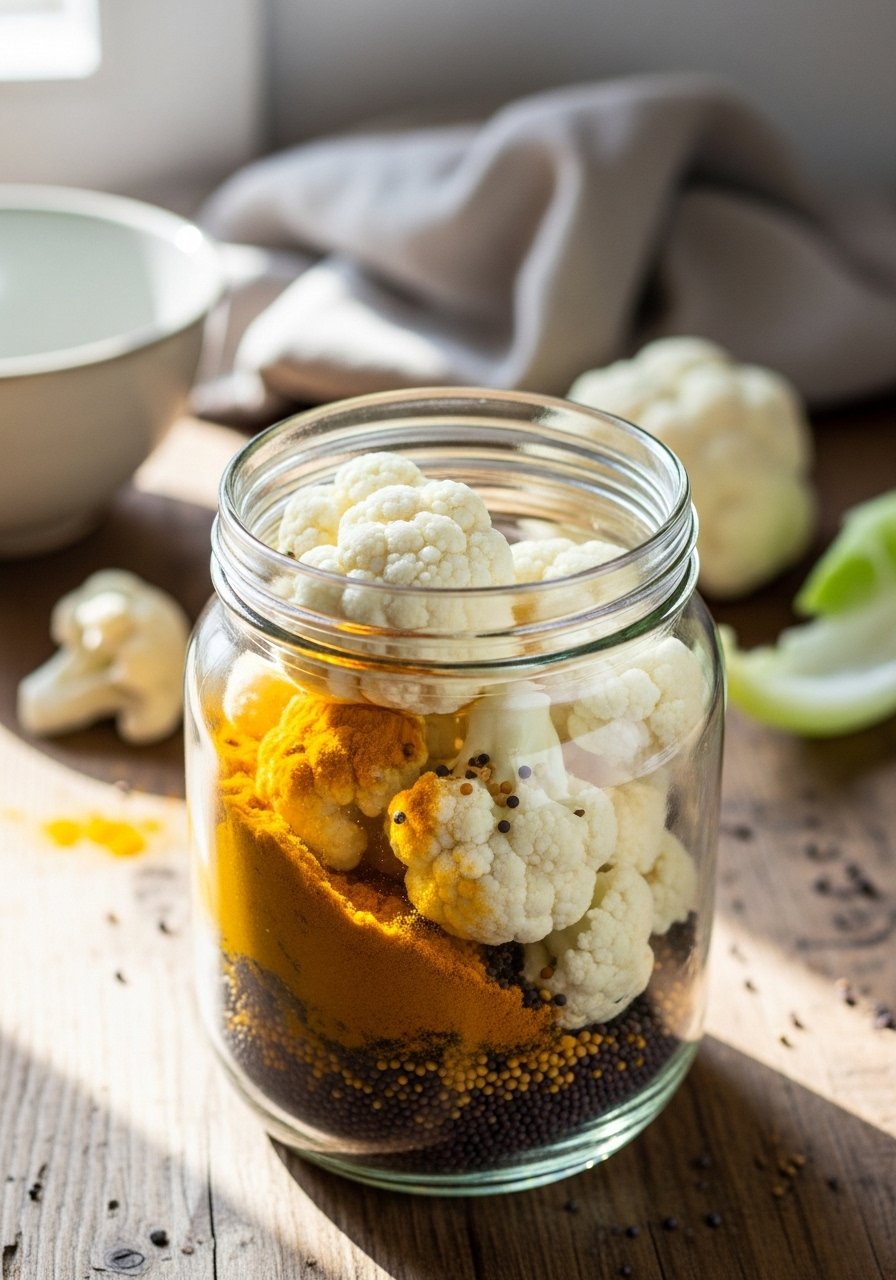
Crunchy florets steeped in turmeric and mustard seeds yield a tangy, colorful side for bowls and snacks.
Ingredients
- 1 medium cauliflower, cut into florets
- 1 tbsp sea salt per cup water (brine)
- 1 tsp turmeric, 1 tsp mustard seeds, 2 garlic cloves
Step-by-Step Instructions
- Pack Florets — Place cauliflower and spices in jar.
- Make Brine — Dissolve salt in filtered water and pour to cover florets.
- Weight Down — Keep florets submerged under brine with a weight.
- Ferment — Let ferment at 65–72°F for 5–10 days until tangy and crisp.
- Store — Refrigerate once you like the flavor; enjoy as a crunchy side.
23. Homemade Apple Cider Vinegar From Scraps
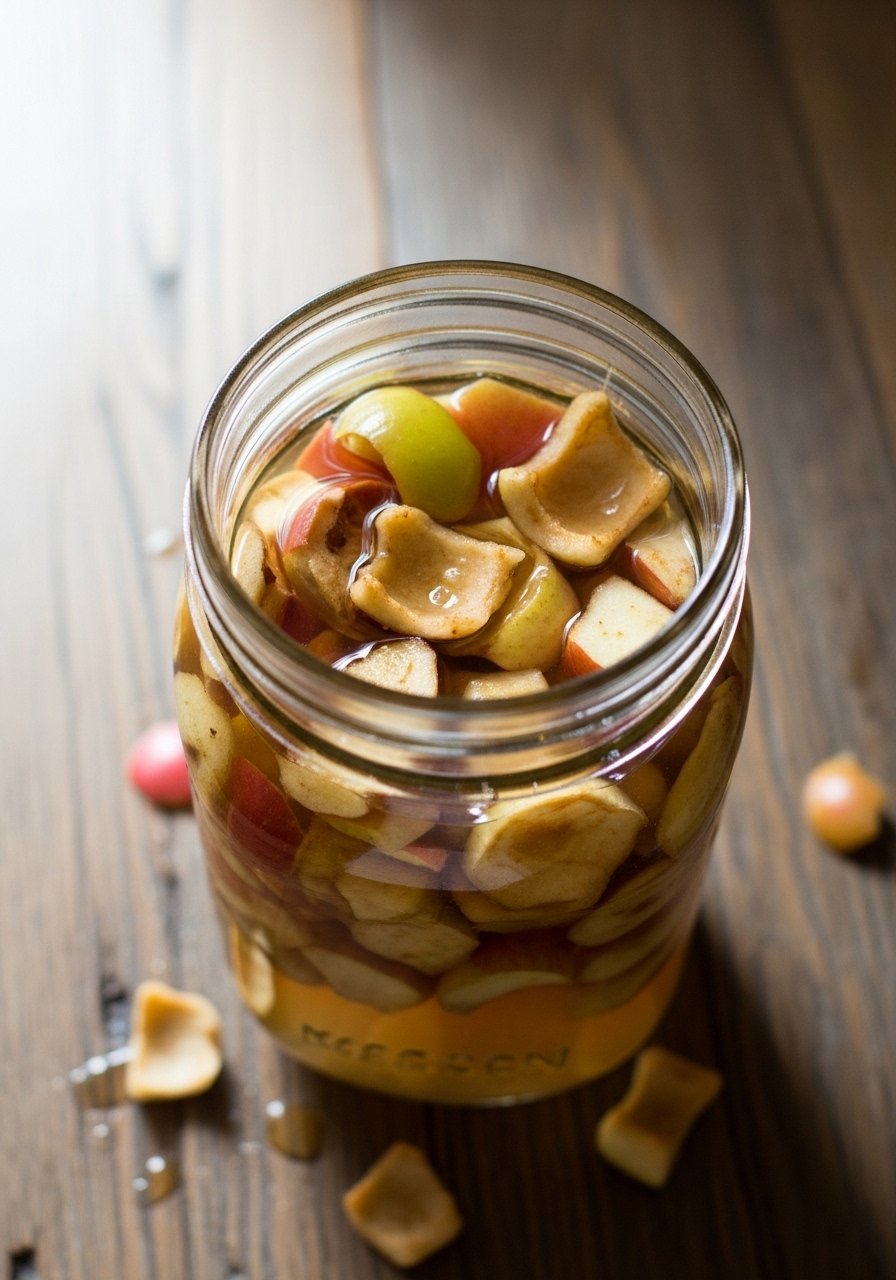
Turn apple scraps into tangy vinegar you can use in dressings and cleaning. It’s slow but very rewarding.
Ingredients
- Peels and cores from 6–8 apples
- 1–2 tbsp sugar per cup water (to kickstart fermentation)
- Filtered water to cover
Step-by-Step Instructions
- Fill Jar — Add scraps: Place apple scraps in a jar and cover with sugar water.
- Cover And Ferment — Ferment: Cover with a cloth and leave at 65–75°F for 1–3 weeks, stirring every few days.
- Strain — Remove solids: Strain liquid into a clean jar and return to ferment for 3–4 weeks until it smells and tastes vinegary.
- Taste And Bottle — Mature: When acidity is to your liking, bottle and store in the pantry or fridge.
- Use Starter — Reserve some ACV as starter for future batches.
Final Thoughts
Start small and try one or two recipes that match ingredients you love. Fermentation rewards patience, but it’s forgiving—taste often and adjust timing to your preference.
If you’re gathering tools, a few essentials like Glass Mason Jars and Fermentation Weights make life easier. Enjoy the process and have fun exploring flavors.