You’re about to explore 27 approachable fermented foods for gut health that you can make at home. These recipes cover vegetables, drinks, dairy, legumes, and condiments. Each one delivers tang, texture, and beneficial bacteria to support digestion. You’ll find clear ingredient lists and step-by-step instructions that are friendly for beginners and experienced fermenters alike.
Ready-to-try recipes below move from quick fridge ferments to longer ferments, with tips on timing and texture. Grab jars and let your kitchen transform into a tiny fermentation lab.
27 Powerful Fermented Foods For Gut Health Recipes For A Happier Belly
Ferments range from 24-hour quickies to months-long projects. Each recipe includes simple tools and realistic timing so you can plan fermenting around your schedule. Let’s get fermenting!
1. Classic Sauerkraut
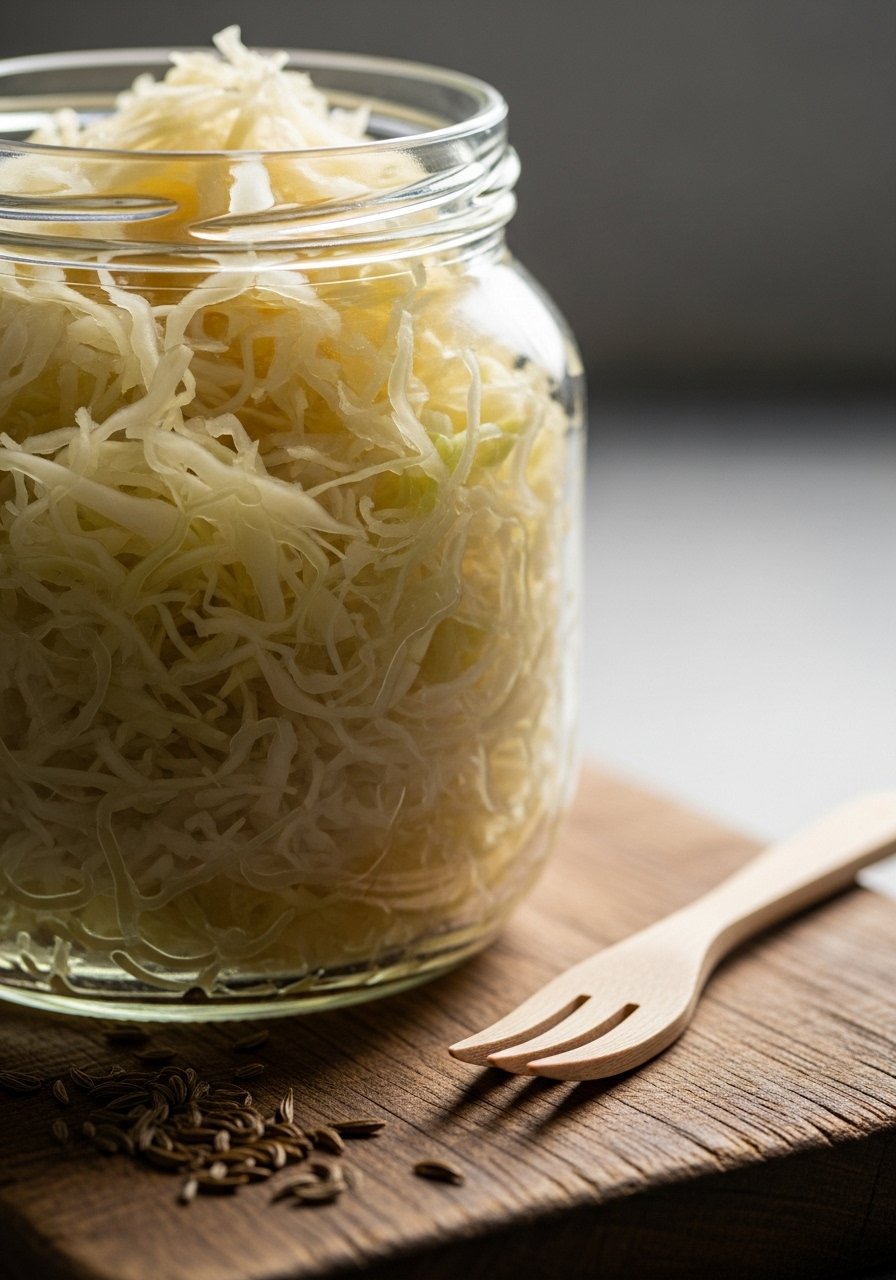
Crunchy, tangy, and slightly salty, this classic sauerkraut is bright and fizzy. The texture is crisp and the flavor deepens over time. It’s perfect alongside sandwiches or as a gut-friendly side.
Ingredients
- 1 medium green cabbage (about 2–3 lbs), shredded
- 1–1.5 tbsp fine sea salt (non-iodized)
- 1 tsp caraway seeds (optional)
- 1 tbsp whey (optional, speeds fermentation)
- 1 large clean jar (1–2 L)
Step-by-Step Instructions
- Prep: Shred and salt
Shred cabbage with a knife or mandoline. Place in a large bowl, sprinkle salt, and let sit 10 minutes. - Massage: Release juices
Massage cabbage 5–8 minutes until it releases liquid and looks glossy. - Pack: Tightly press into jar
Pack cabbage into jar with a spoon, pressing to submerge in its brine. Add caraway and whey if using. - Weight & Ferment: Keep submerged
Place a fermentation weight or smaller jar inside to keep cabbage below brine. Cover loosely and ferment at 65–72°F for 7–14 days. Taste from day 5. - Finish: Refrigerate
When tangy and crisp, seal and refrigerate. Flavor improves over weeks.
2. Spicy Kimchi
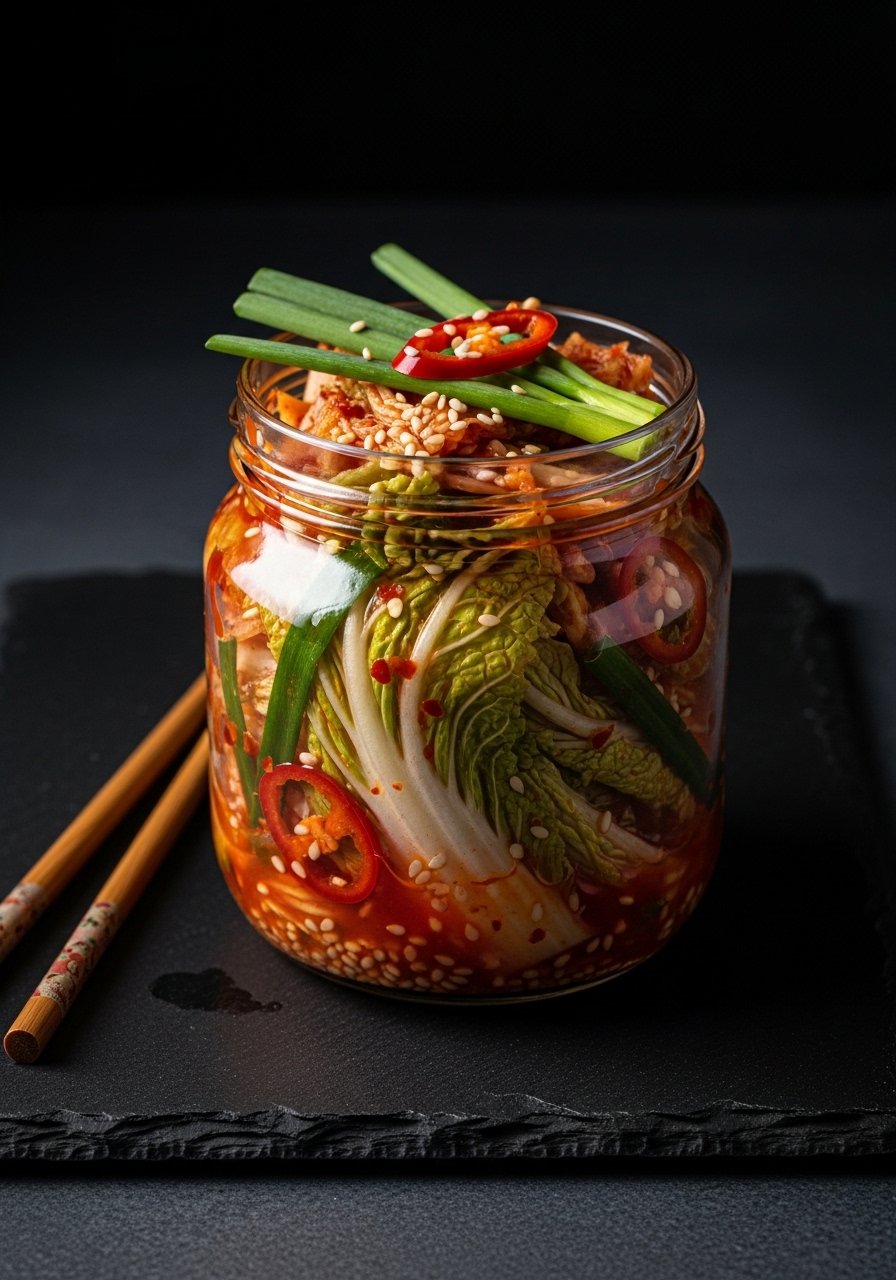
Bold, spicy, and umami-rich, kimchi is crunchy with a savory bite. The fermentation creates complexity—go mild or fiery depending on the pepper flakes you use.
Ingredients
- 1 medium napa cabbage, quartered and chopped
- 3 tbsp coarse sea salt
- 1 cup water (to soak)
- 1 tbsp grated ginger
- 3–4 garlic cloves, minced
- 2 tbsp Korean gochugaru (adjust to taste)
- 2 tbsp fish sauce or tamari
- 3 scallions, chopped
- 1 medium carrot, julienned
Step-by-Step Instructions
- Prep: Salt the cabbage
Soak cabbage in salted water (3 tbsp salt in 1 cup water + more to submerge) 1–2 hours until flexible. Rinse and drain. - Mix: Make spice paste
Combine ginger, garlic, gochugaru, fish sauce, and a splash of cabbage water into a paste. - Combine: Toss vegetables
Mix cabbage, scallions, carrot, and paste thoroughly with gloves. - Pack: Jar and press
Pack tightly into jar, pressing to release juices so vegetables are submerged. Leave 1 inch headspace. - Ferment: Let it bubble
Cover loosely or use an airlock and ferment 3–7 days at 60–70°F. Taste for preferred tang and spice, then refrigerate.
3. Refrigerator Dill Pickles (Lacto-fermented)
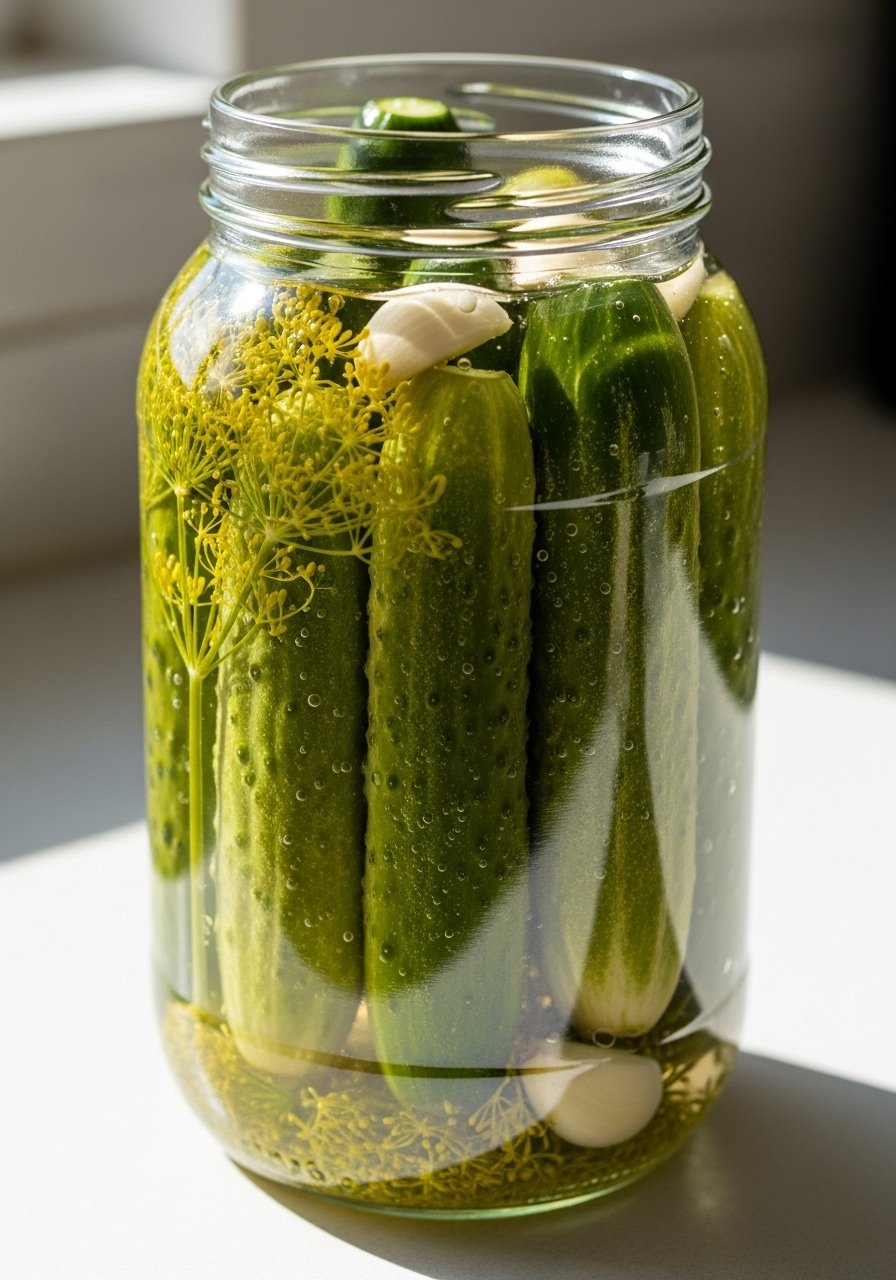
These crunchy, garlicky dill pickles ferment in the fridge. You get tang and snap without long ambient fermentation. They’re ideal for snacking and sandwiches.
Ingredients
- 1 lb small cucumbers, scrubbed
- 2 cups water
- 1.5 tbsp sea salt (non-iodized)
- 3 garlic cloves
- 2–3 dill heads or 2 tbsp dill weed
- 1 tsp peppercorns
- 1 clean jar
Step-by-Step Instructions
- Prep: Make brine
Dissolve salt in water to create a 2.5% brine (roughly 1.5 tbsp salt in 2 cups). - Fill: Pack jar
Pack cucumbers, garlic, dill, and peppercorns into jar. - Pour: Submerge cucumbers
Pour brine to fully cover cucumbers, leaving 1/2 inch headspace. - Press: Keep submerged
Use a weight or small bag to keep cucumbers below brine. - Refrigerate: Quick ferment
Seal and refrigerate. Taste after 2–3 days; best after 5–7 days. Keeps several weeks.
4. Fermented Carrots With Ginger & Turmeric
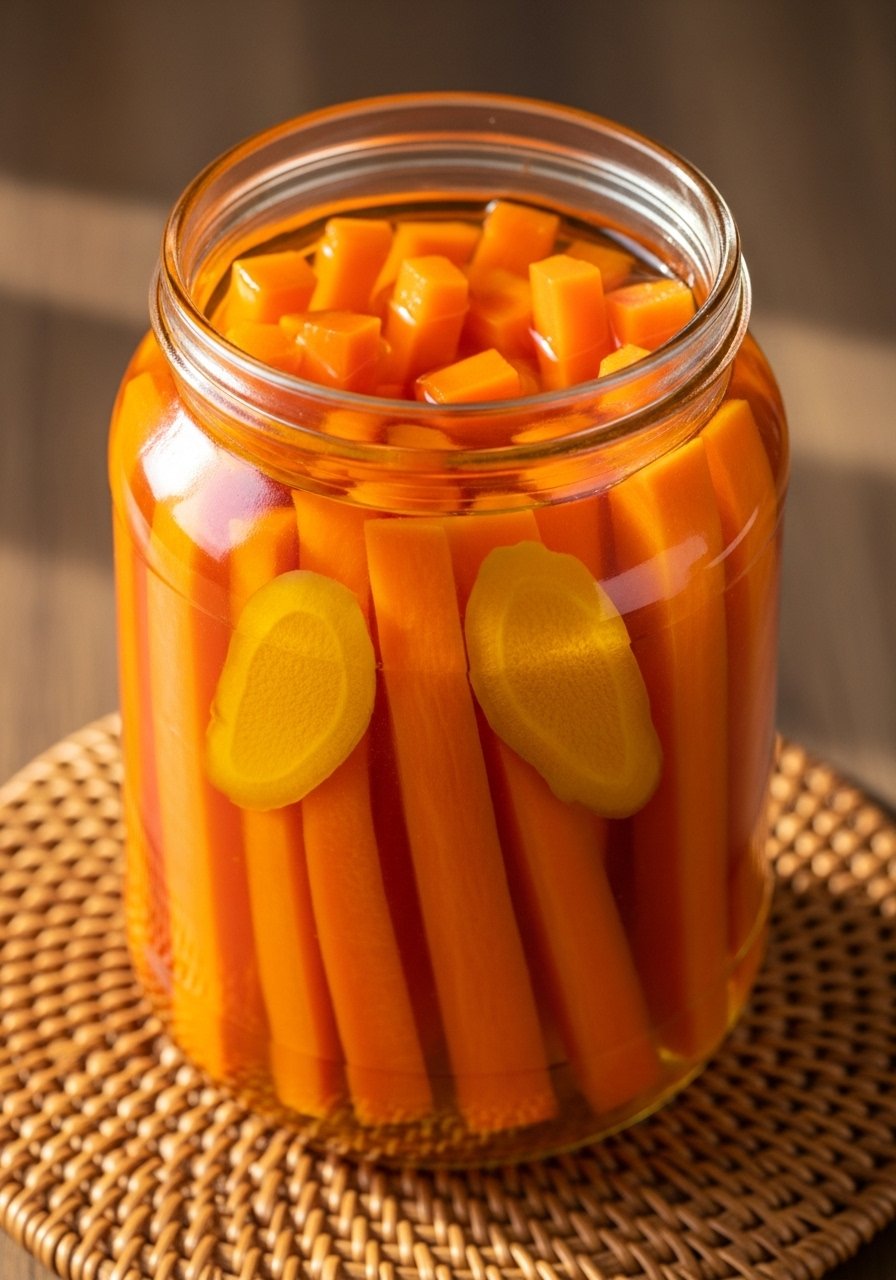
Sweet carrots gain depth and a gentle bite after lacto-fermentation. Ginger and turmeric add warmth and anti-inflammatory notes—great as a crunchy snack.
Ingredients
- 1 lb carrots, peeled and cut into sticks
- 2 cups water
- 1.5 tbsp sea salt
- 1-inch fresh ginger, thinly sliced
- 1-inch fresh turmeric, thinly sliced (or 1 tsp ground)
- 1 jar and weight
Step-by-Step Instructions
- Prep: Make brine
Stir salt into water until dissolved. - Pack: Jar the carrots
Place carrots, ginger, and turmeric into jar vertically. - Submerge: Pour brine
Pour brine to cover carrots; leave 1/2 inch headspace and add weight. - Ferment: Chill or room temp
Ferment at 60–70°F for 5–10 days for bright crunch. Refrigerate when desired tang is reached.
5. Beet Kvass
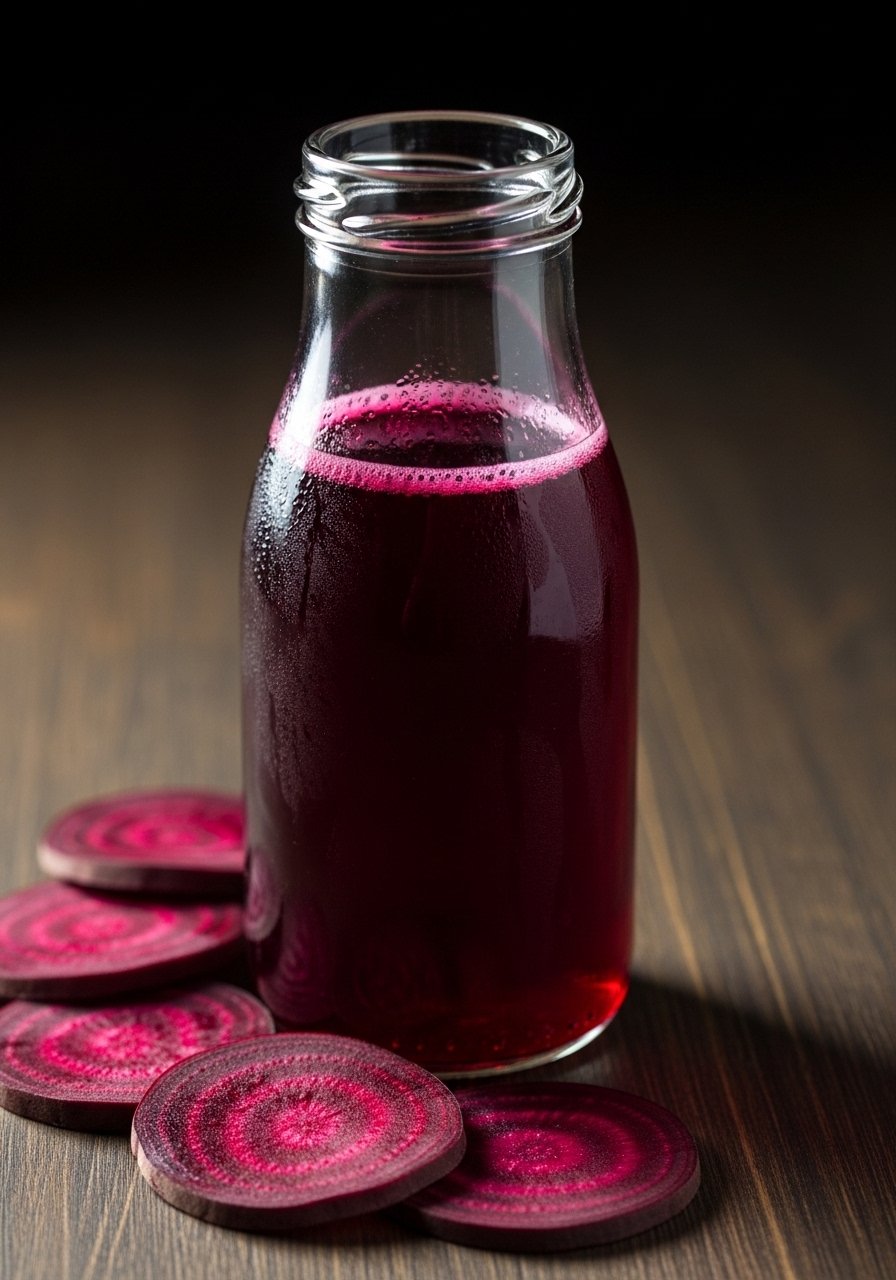
Earthy, tangy, and fizzy, beet kvass is a fermented vegetable tonic. It’s vibrant in color and gentle on the palate—a gut-friendly daily sip.
Ingredients
- 2 medium beets, scrubbed and chopped (no need to peel)
- 1 tbsp sea salt
- Filtered water to cover
- 1 qt jar
Step-by-Step Instructions
- Prep: Chop beets
Roughly chop beets into 1-inch pieces. - Pack: Jar the beets
Place beets in jar, sprinkle salt, and cover with filtered water. - Cover: Loosely lid
Cover jar with cheesecloth or loose lid to allow gases to escape. - Ferment: Warm steep
Ferment at room temp (65–75°F) for 3–7 days. Bubble and sour aroma indicate readiness. - Strain & Store: Refrigerate
Strain liquid, refrigerate, and keep for up to 2 weeks.
6. Basic Water Kefir
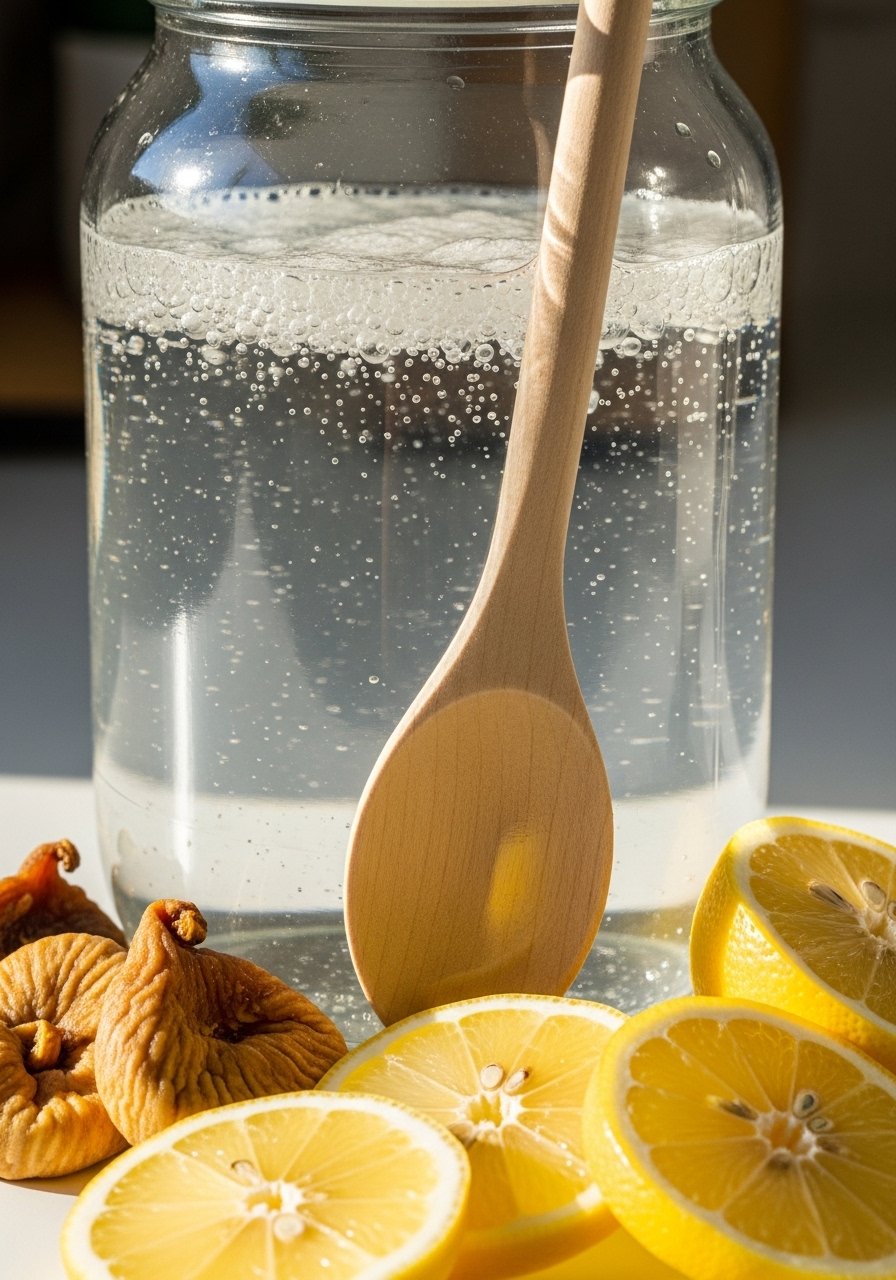
Lightly fizzy and mildly sweet, water kefir is a fermented probiotic drink. It’s versatile—flavor with fruit or herbs during a second fermentation.
Ingredients
- 3 tbsp water kefir grains
- 4 cups filtered water
- 1/4 cup sugar (cane or coconut)
- 2 dried figs or 1 slice lemon (for food)
- 1 glass jar and mesh strainer
Step-by-Step Instructions
- Dissolve: Make sugar water
Dissolve sugar in warm (not hot) water. Let cool to room temp. - Add Grains: Combine
Add kefir grains and figs/lemon to jar. - Ferment: Cover and wait
Cover with cloth and ferment 24–48 hours at 68–78°F. - Strain: Remove grains
Strain grains with fine mesh strainer into a new bottle. - Second Ferment: Flavor (optional)
Add fruit for 1–2 days for carbonation, then refrigerate.
7. Milk Kefir (Simple)
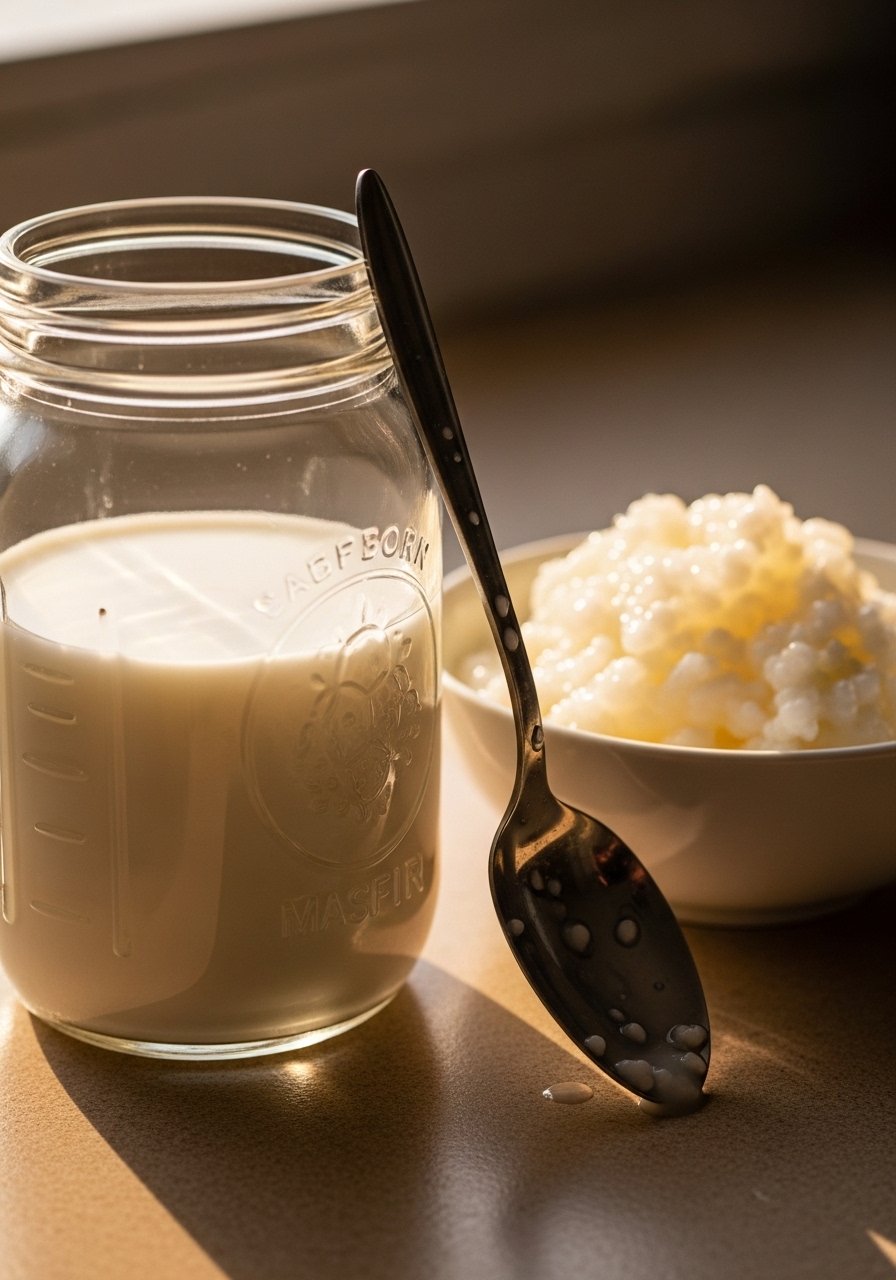
Thick, tangy, and drinkable, milk kefir is packed with probiotics. It’s easier than yogurt and uses kefir grains to transform milk into a tangy, effervescent beverage.
Ingredients
- 1–2 tbsp kefir grains
- 4 cups whole milk (or oat milk for dairy-free cultures labeled for kefir)
- 1 glass jar and plastic strainer (metal can react)
Step-by-Step Instructions
- Combine: Add grains to milk
Place kefir grains in jar and pour room-temperature milk over them. - Cover: Let ferment
Cover jar with cloth and ferment at 68–72°F for 24 hours. Look for slight separation and tang. - Strain: Remove grains
Strain grains with a plastic strainer into a clean jar. Use grains for next batch. - Chill: Thicken and store
Refrigerate kefir to thicken and mellow the flavor. Keeps 1–2 weeks.
8. Homemade Yogurt (Stovetop Method)
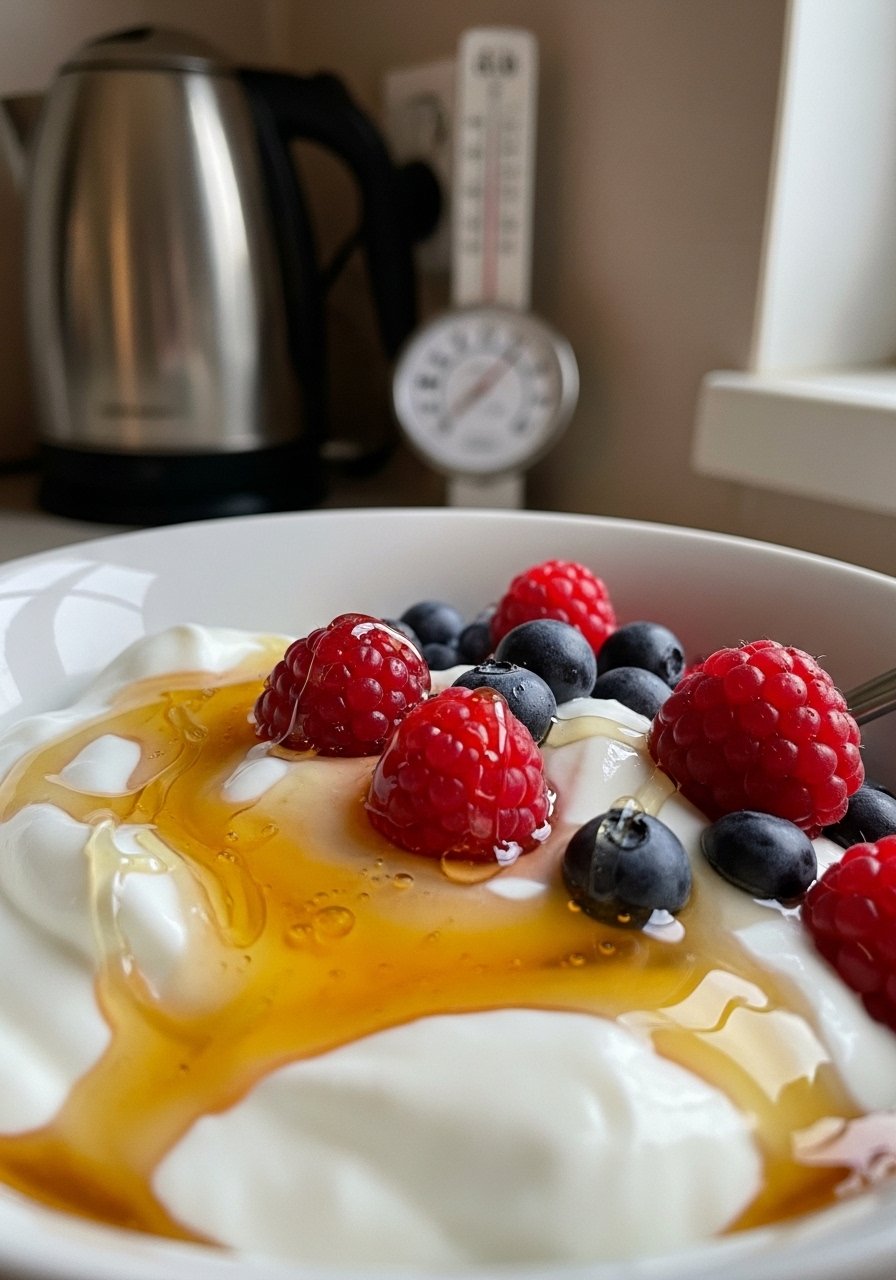
Creamy, mild, and versatile, homemade yogurt is probiotic-rich and customizable. You control texture and tang by timing and starter amount.
Ingredients
- 1 quart whole milk
- 2 tbsp plain live-culture yogurt (as starter)
- Kitchen thermometer and heavy-bottom pot
Step-by-Step Instructions
- Heat: Scald the milk
Heat milk to 180°F to denature proteins—use a digital thermometer. - Cool: Bring to incubating temp
Cool milk to 110–115°F. - Inoculate: Add starter
Whisk in 2 tbsp live yogurt. - Incubate: Keep warm
Pour into jars, wrap, and keep at 105–115°F for 6–10 hours (use oven light or cooler). Longer incubation equals tangier yogurt. - Chill: Set and store
Refrigerate to set fully. Keeps 1–2 weeks.
9. Sourdough Starter
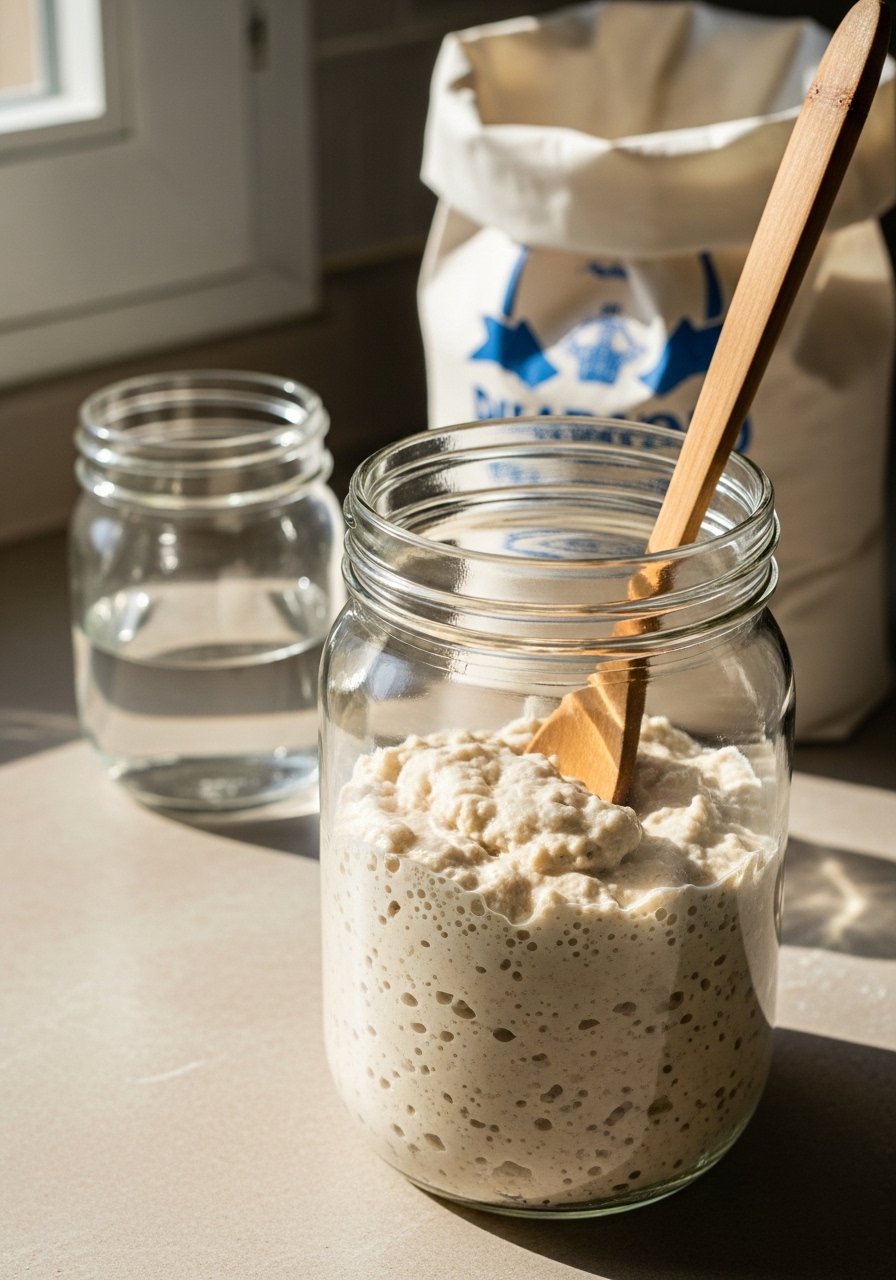
A lively sourdough starter captures wild yeast and bacteria for bread. It smells slightly tangy and becomes bubbly as it matures—ready for baking after 5–7 days of feeding.
Ingredients
- 1/2 cup whole wheat flour (day 1)
- 1/2 cup water (room temp)
- Additional unbleached all-purpose flour for feedings
- Clean jar and scale
Step-by-Step Instructions
- Mix: Day 1 starter
Stir 1/2 cup whole wheat flour + 1/2 cup water in jar; loosely cover. - Feed: Every 24 hours
Discard half, then add 1/2 cup flour + 1/2 cup water. Stir. - Observe: Look for bubbles
Within 5–7 days you’ll see rising and bubbling; smell should be yeasty and slightly sour. - Maintain: Feed regularly
For baking, feed starter 6–12 hours before use. Refrigerate if fermenting less often.
10. Basic Kombucha
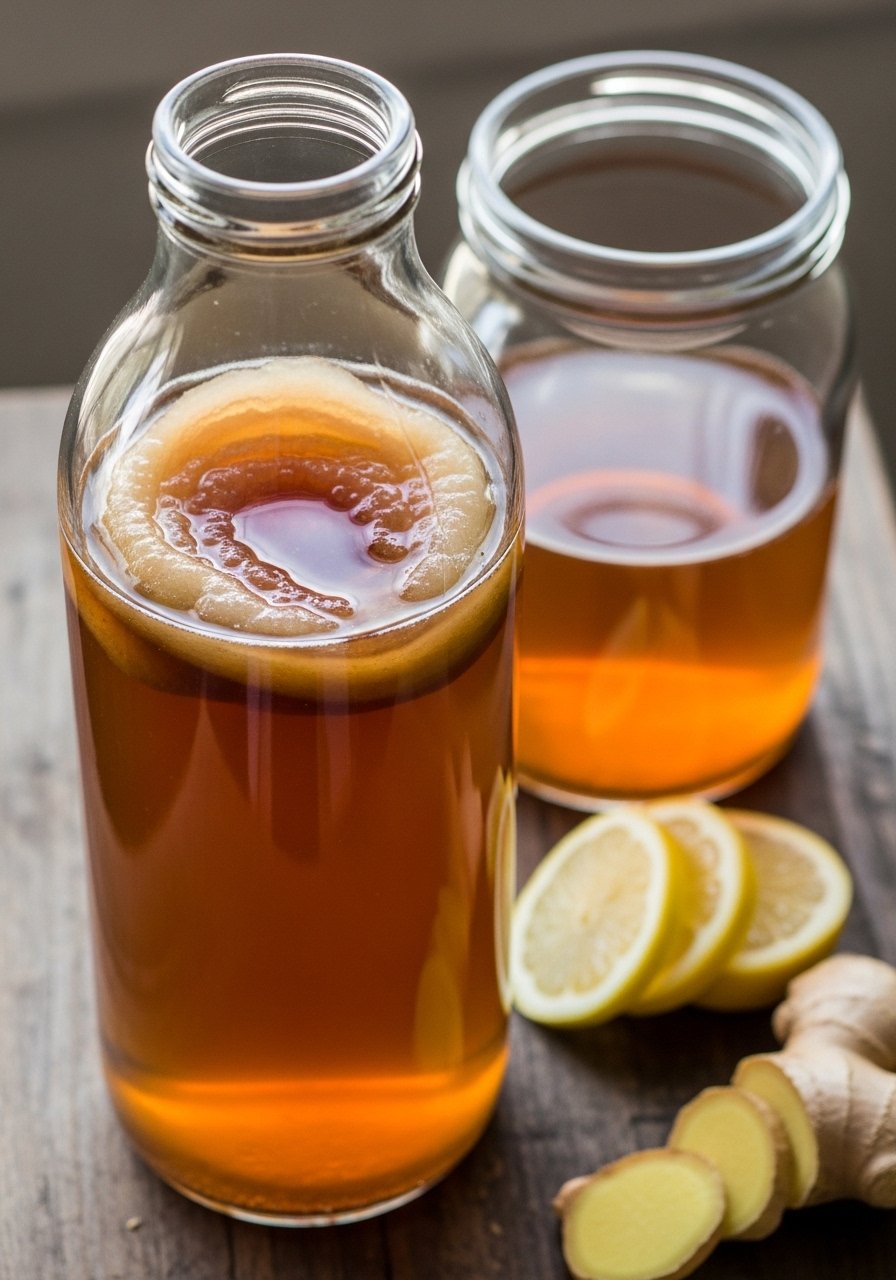
Kombucha is a fizzy, tangy fermented tea made with a SCOBY. You can flavor it during a second ferment for fruity or herbal notes.
Ingredients
- 1 SCOBY and 1 cup starter kombucha
- 4–6 bags black or green tea
- 1 cup sugar
- 3.5 quarts water
- 1 large glass brewing jar and breathable cloth
Step-by-Step Instructions
- Brew: Make sweet tea
Boil water, steep tea 10 minutes, remove bags, stir in sugar until dissolved. Cool to room temp. - Combine: Add starter and SCOBY
Pour sweet tea into jar, add starter kombucha and SCOBY. - Ferment: Cover and wait
Cover with breathable cloth and ferment 7–14 days at 68–78°F. Taste for balance of sweet/tart. - Second Ferment: Flavor (optional)
Bottle kombucha with fruit or herbs and leave 1–3 days at room temp for carbonation, then refrigerate.
11. Jun (Honey Fermented Tea)
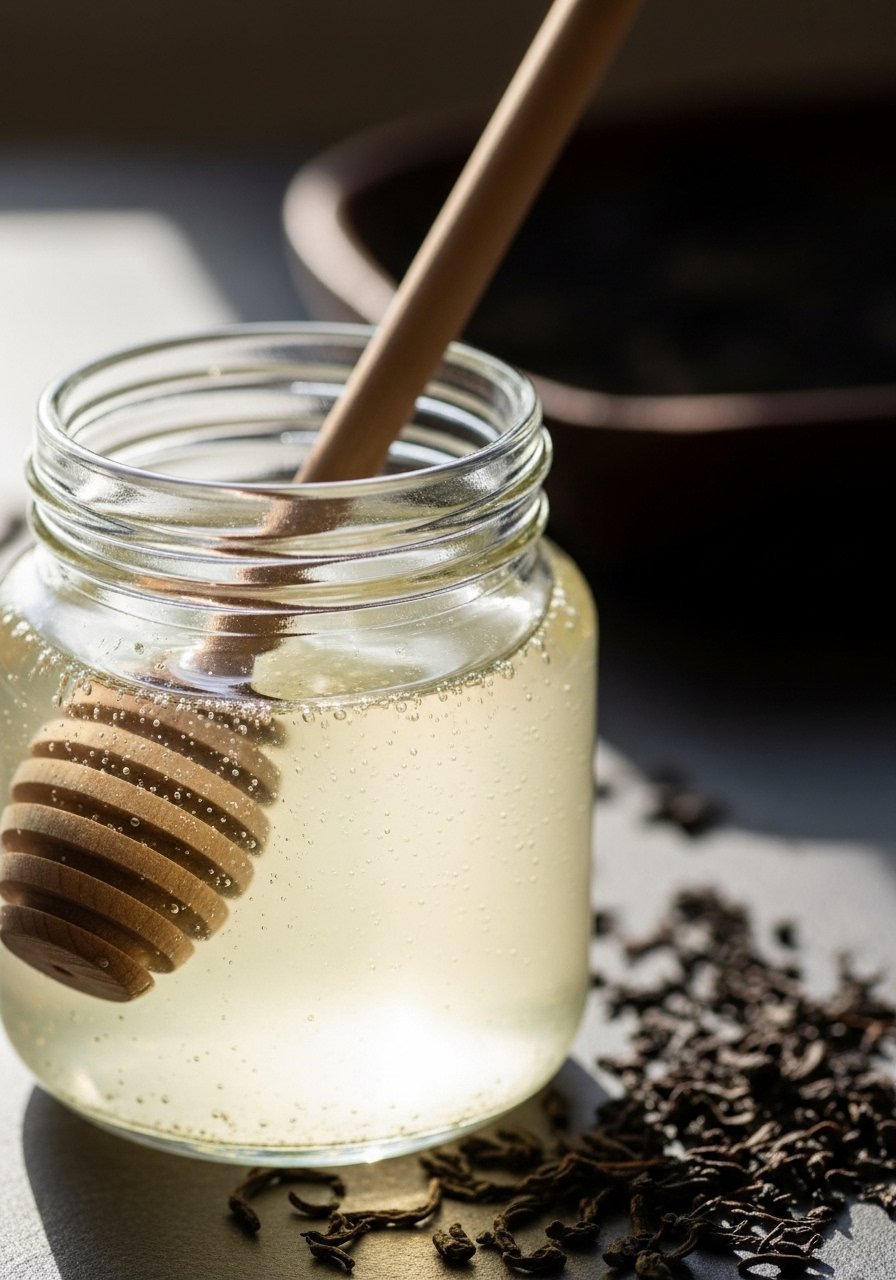
Jun is like kombucha but uses green tea and honey. It’s lighter, floral, and effervescent—perfect if you prefer a milder ferment.
Ingredients
- 1 SCOBY for Jun (or kombucha SCOBY adapted)
- 1 cup raw honey
- 4 tea bags green tea
- 3 quarts water
Step-by-Step Instructions
- Brew: Make honey tea
Steep green tea in hot water, cool slightly, stir in honey until dissolved. - Combine: Add SCOBY
Place honey tea, SCOBY, and starter liquid in jar. - Ferment: Monitor flavor
Ferment 5–7 days at 65–75°F. Jun tends to ferment faster than kombucha. - Bottle: Second ferment optional
Bottle and flavor with fruit/herbs for 1–3 days for carbonation, then chill.
12. Fermented Hot Sauce
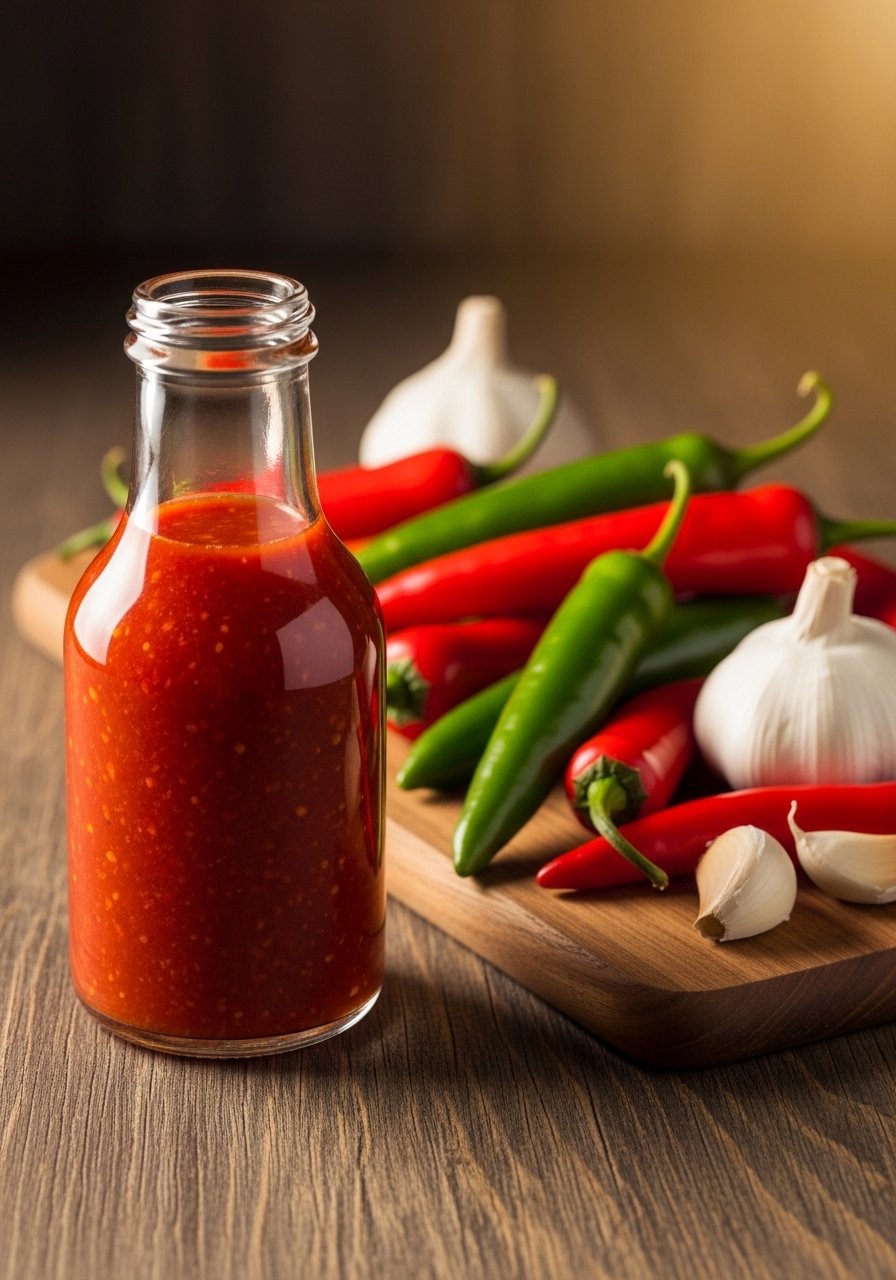
This hot sauce gains depth and tang as it ferments. Peppers mellow and develop complex flavors—blend to your preferred heat level.
Ingredients
- 1 lb mixed hot peppers, stems removed
- 4 garlic cloves
- 1 tbsp sea salt
- 1/2 cup filtered water
- 1–2 tbsp sugar or carrot (optional for fermentation)
Step-by-Step Instructions
- Prep: Chop peppers and garlic
Wear gloves and roughly chop peppers and garlic. - Salt: Mix and mash
Combine peppers, garlic, salt, and water in a jar; lightly mash to release juices. - Cover: Keep submerged
Add weight to keep solids below brine. Cover loosely. - Ferment: Wait 5–14 days
Ferment at 65–75°F, tasting periodically. When tangy, blend until smooth and strain if desired. - Bottle: Store in fridge
Transfer to bottles and refrigerate.
13. Fermented Salsa
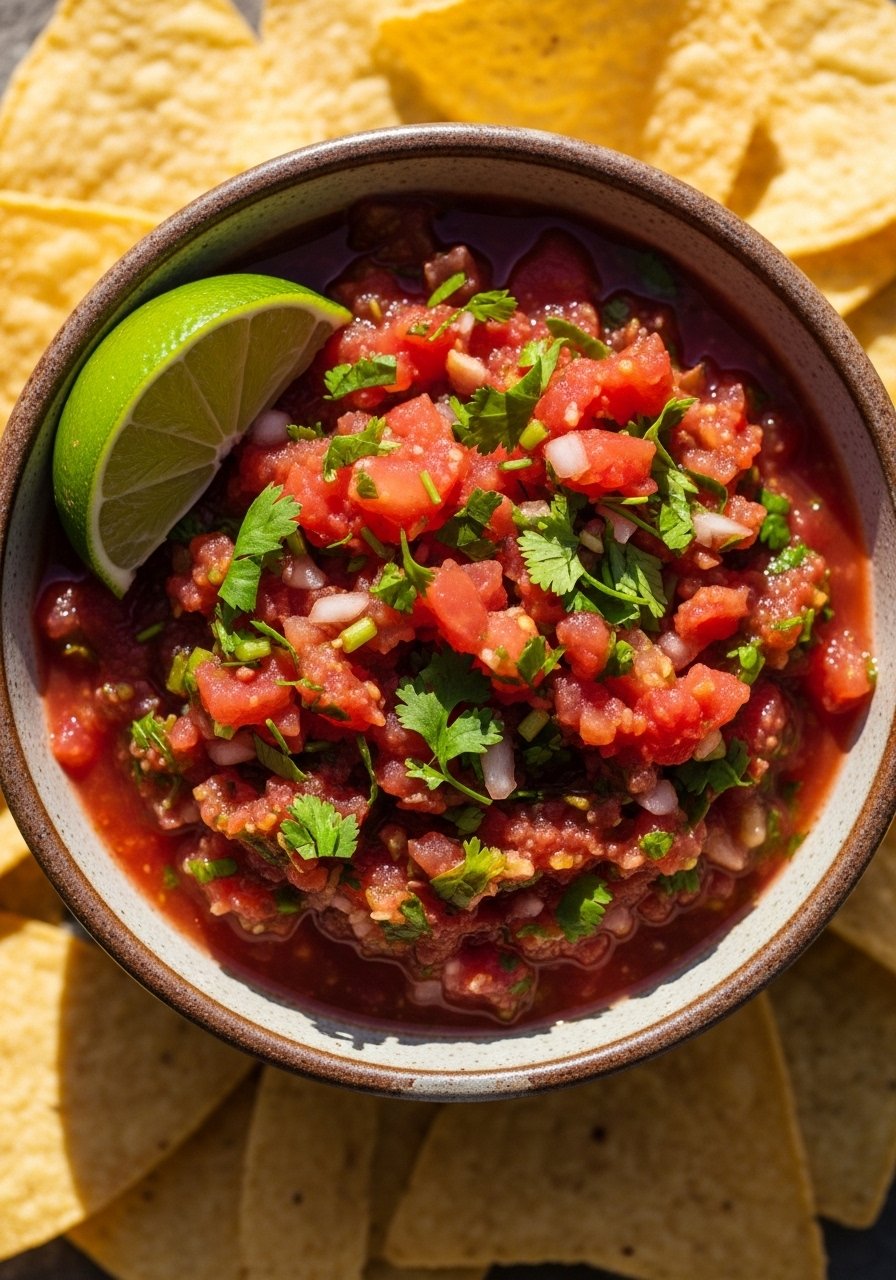
Salsa brightens with fermentation—the acidity tones down the raw edge while creating layers of flavor. Serve with chips or tacos.
Ingredients
- 4 ripe tomatoes, chopped
- 1/2 onion, chopped
- 1-2 jalapeños, seeded if desired
- 1/2 cup cilantro, chopped
- 1 tbsp sea salt
- 1 tbsp lime juice (optional)
Step-by-Step Instructions
- Mix: Combine ingredients
In a bowl, mix tomatoes, onion, jalapeño, cilantro, and salt. - Pack: Jar and press
Pack salsa into jar, pressing to release juices. Add lime if using. - Ferment: Short ferment
Cover loosely and ferment at 65–72°F for 1–3 days until slightly tangy. - Store: Refrigerate
Seal jar and refrigerate. Use within 2 weeks.
14. Fermented Pickled Red Onions
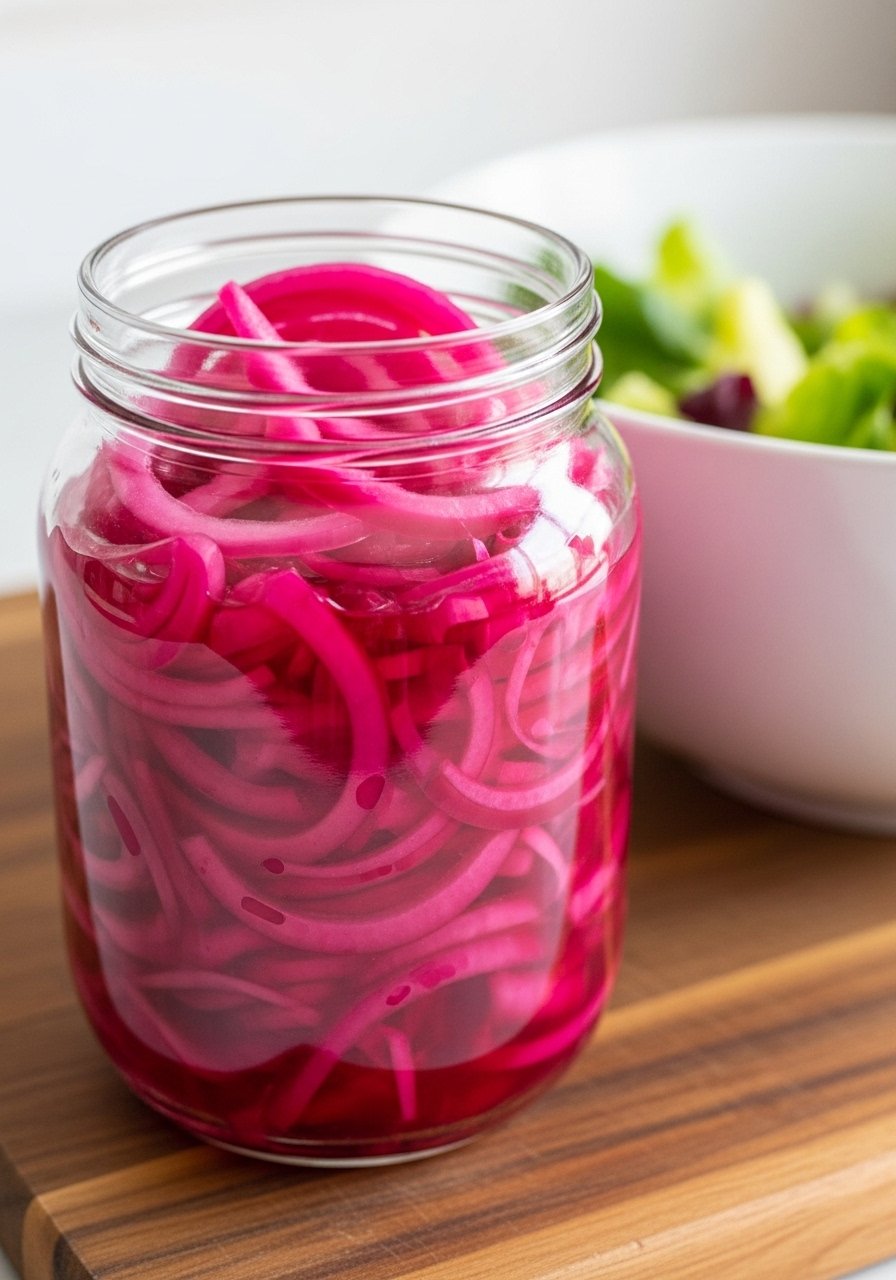
Sweet-sharp and vibrantly colored, fermented red onions brighten salads and sandwiches. They soften but keep a pleasant snap.
Ingredients
- 2 medium red onions, thinly sliced
- 1.5 cups water
- 1 tbsp sea salt
- 1 tbsp sugar (optional)
- 1 bay leaf (optional)
Step-by-Step Instructions
- Make Brine: Dissolve salt
Dissolve salt (and sugar) in water. - Pack: Jar onions
Pack sliced onions into jar with bay leaf if using. - Pour: Add brine
Pour brine to cover onions; press down to remove bubbles. - Ferment: Quick tang
Cover and ferment 1–5 days at room temp for desired tang. Refrigerate to slow fermentation.
15. Fermented Green Beans (Dilly Beans)
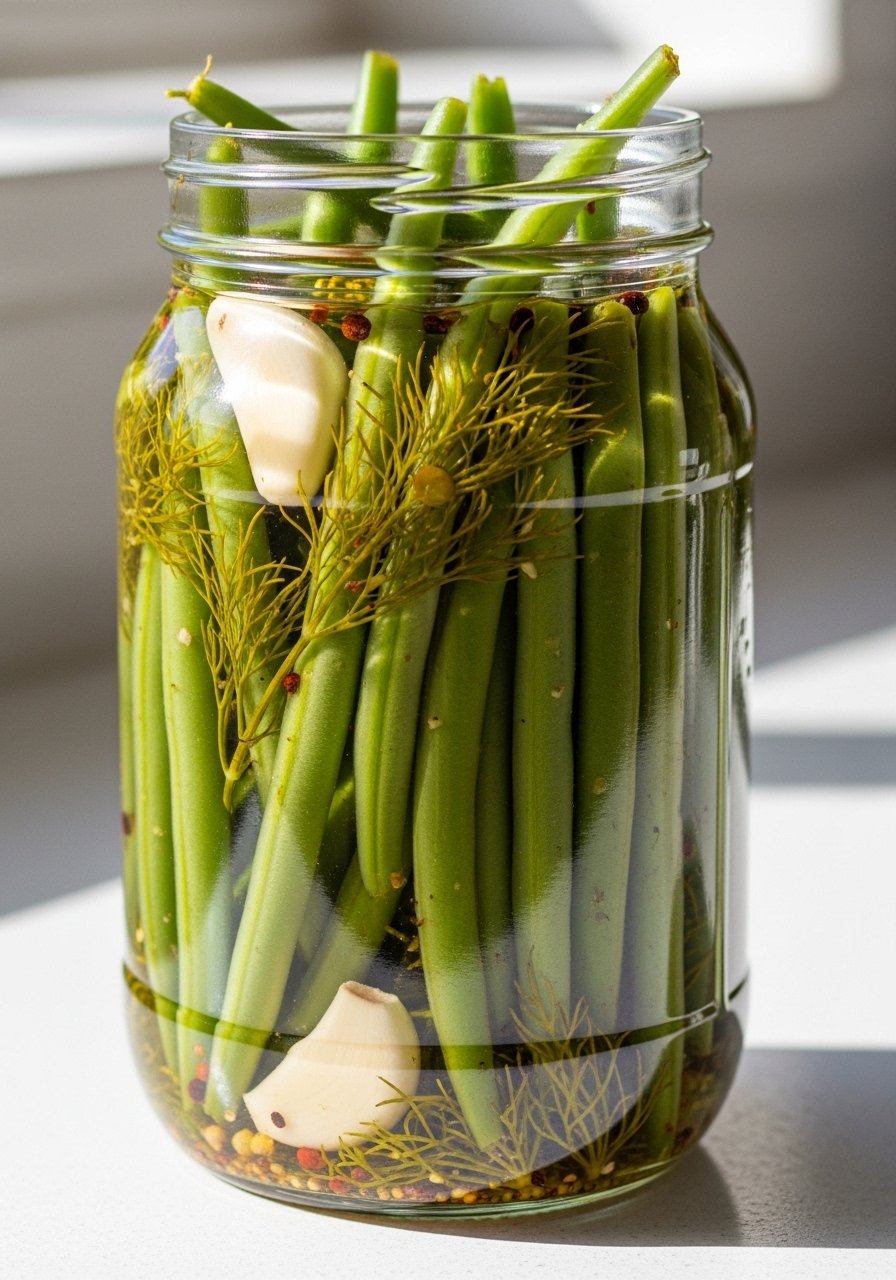
Crunchy and perfumed with dill, these fermented green beans are great straight from the jar. They retain snap and gain subtle tang.
Ingredients
- 1 lb green beans, trimmed
- 2 cups water
- 1.5 tbsp sea salt
- 3 garlic cloves
- 2 dill heads or 2 tsp dill seeds
- 1 tsp peppercorns
Step-by-Step Instructions
- Make Brine: Mix salt and water
Stir salt into water until dissolved. - Pack: Add beans and aromatics
Pack beans, garlic, dill, and peppercorns vertically into jar. - Pour: Cover with brine
Ensure beans are submerged; add weight. - Ferment: Crisp tang
Ferment at 60–70°F for 5–10 days until tangy; then refrigerate.
16. Fermented Beets With Garlic & Thyme
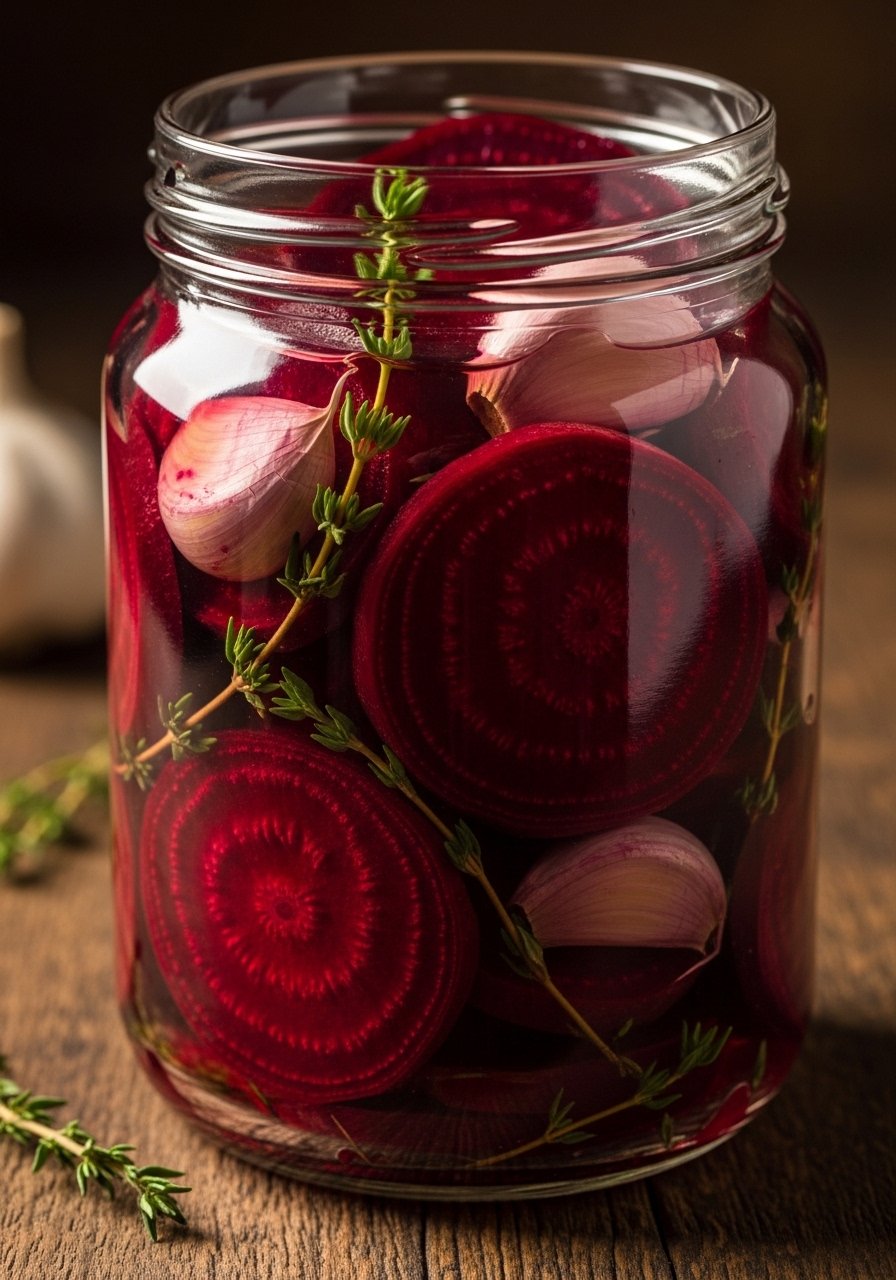
Sweet beets turn earthy and slightly effervescent when fermented. Garlic and thyme add savory depth—great as a salad topper or side.
Ingredients
- 3 medium beets, peeled and sliced
- 1.5 tbsp sea salt
- 2 cups water
- 2 garlic cloves
- 3 sprigs thyme
Step-by-Step Instructions
- Prepare: Slice beets
Slice beets 1/4-inch thick for faster fermentation. - Pack: Jar with aromatics
Place beets, garlic, and thyme in jar. - Brine: Add salted water
Pour brine to cover beets and add weight. - Ferment: Deepen flavor
Ferment 5–14 days at room temp, tasting until pleasantly sour. Refrigerate.
17. Tempeh (Homemade)
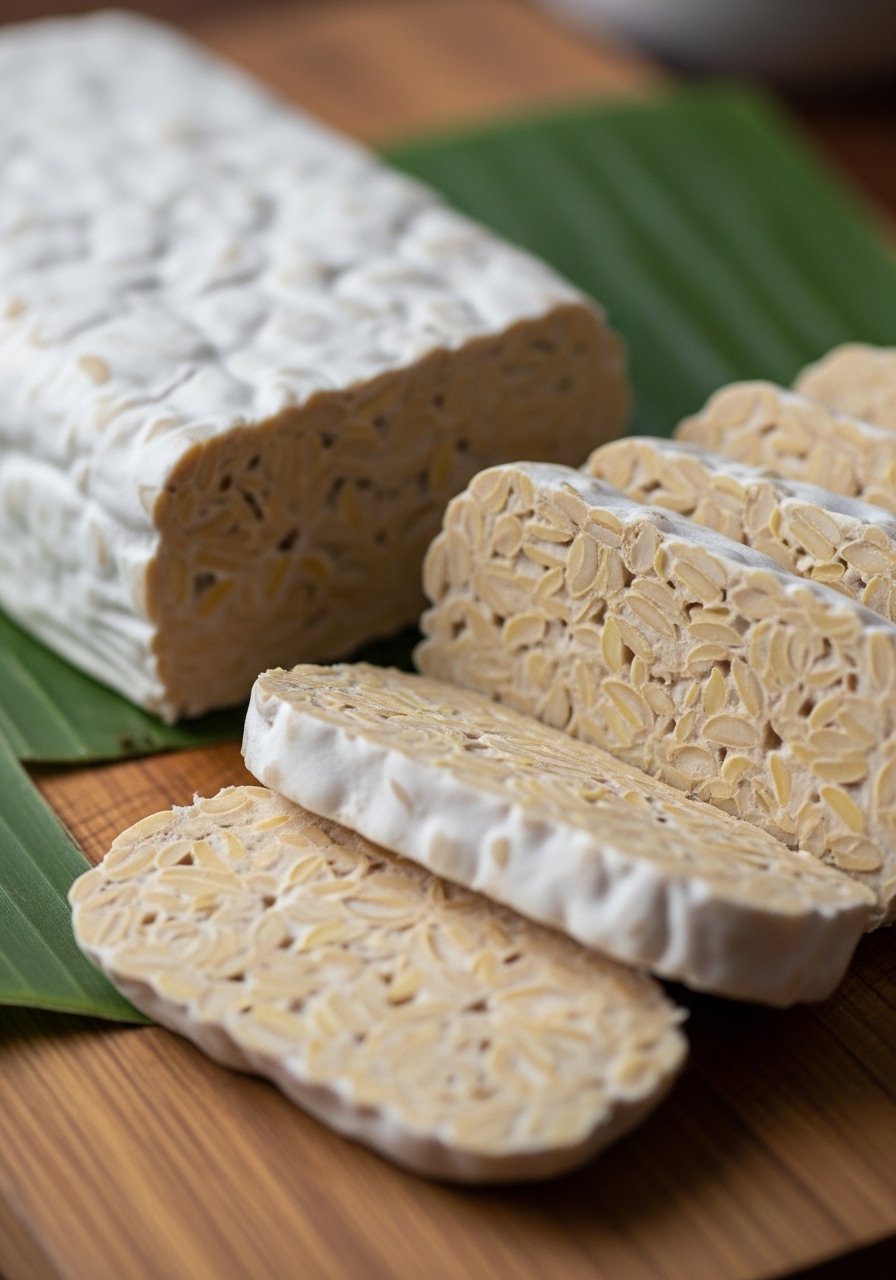
Firm, nutty tempeh is a fermented soybean cake perfect for pan-frying. You’ll need a tempeh starter, warm incubation, and porous packaging for mycelium growth.
Ingredients
- 2 cups dried soybeans
- 1–2 tbsp tempeh starter (Rhizopus spores)
- 1 tsp vinegar
- Banana leaves or perforated plastic bags
Step-by-Step Instructions
- Soak & Cook: Prepare soybeans
Soak soybeans 8–12 hours, remove skins, simmer 30–40 minutes until tender but not mushy. - Dry & Vinegar: Cool and acidify
Drain and cool beans, add 1 tsp vinegar to lower pH. - Inoculate: Add starter
Mix in tempeh starter while beans are about 85°F. - Incubate: Pack and warm
Pack beans into perforated bags or banana leaves and incubate at 86–90°F for 24–48 hours until white mycelium binds the cake. - Finish: Chill or cook
Chill before slicing. Cook tempeh by pan-frying or steaming.
18. Natto (Fermented Soybeans)
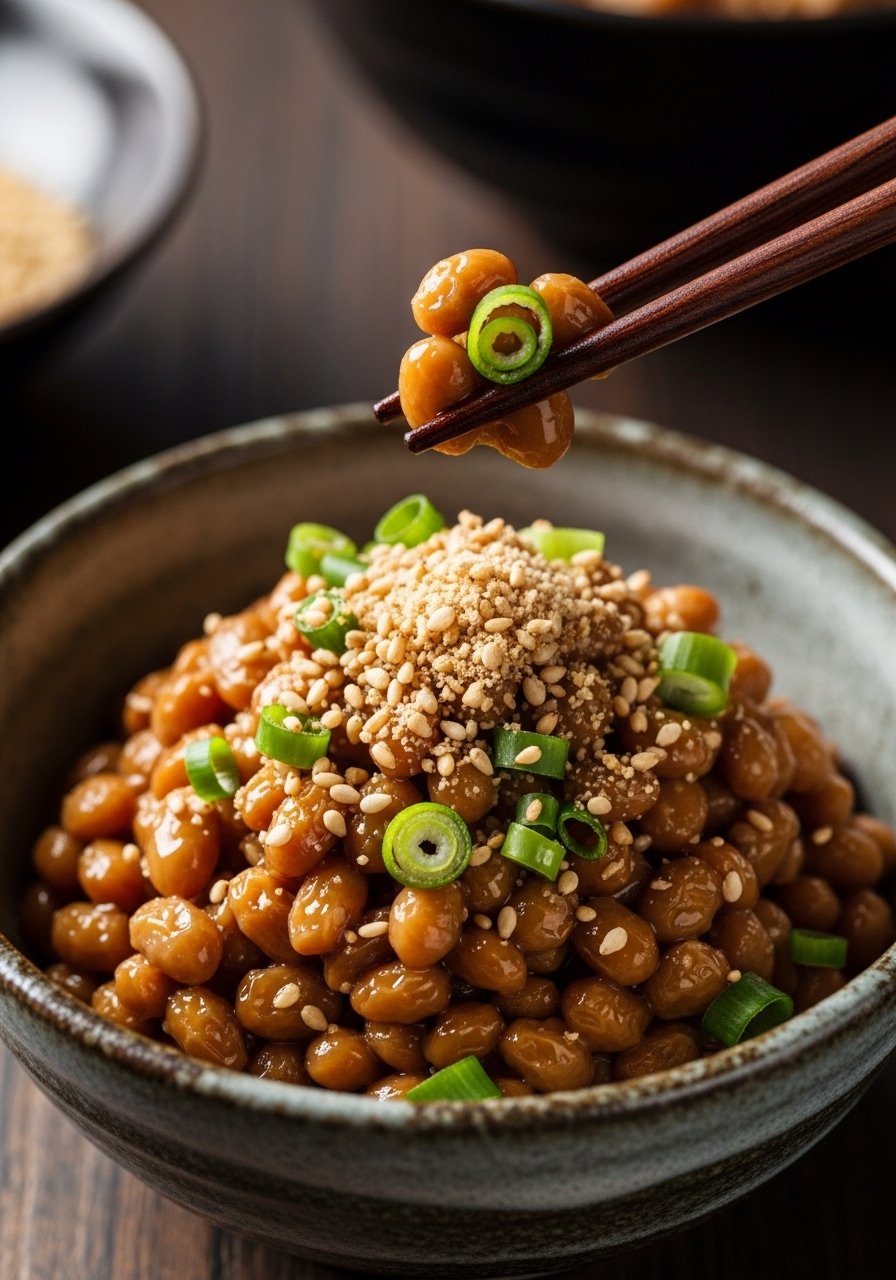
Natto is sticky, savory, and strong in flavor. It’s rich in nattokinase and probiotics. A proper starter and precise warm incubation give its characteristic stringy texture.
Ingredients
- 2 cups soybeans
- 1/4 tsp natto starter (Bacillus subtilis natto) dissolved in 1 tbsp water
- 1 tsp salt (optional)
Step-by-Step Instructions
- Soak & Cook: Prepare soybeans
Soak beans 12 hours, steam/boil until very tender (1–2 hours). - Cool & Inoculate: Add starter
Drain and cool to 110°F, mix in natto starter. - Incubate: Warm and sticky
Place in shallow container, cover loosely, incubate at 40–45°C (104–113°F) for 18–24 hours until stringy. - Age: Develop flavor
Refrigerate 12–24 hours to mellow flavor before eating.
19. Quick Chickpea Miso (Short-Form)
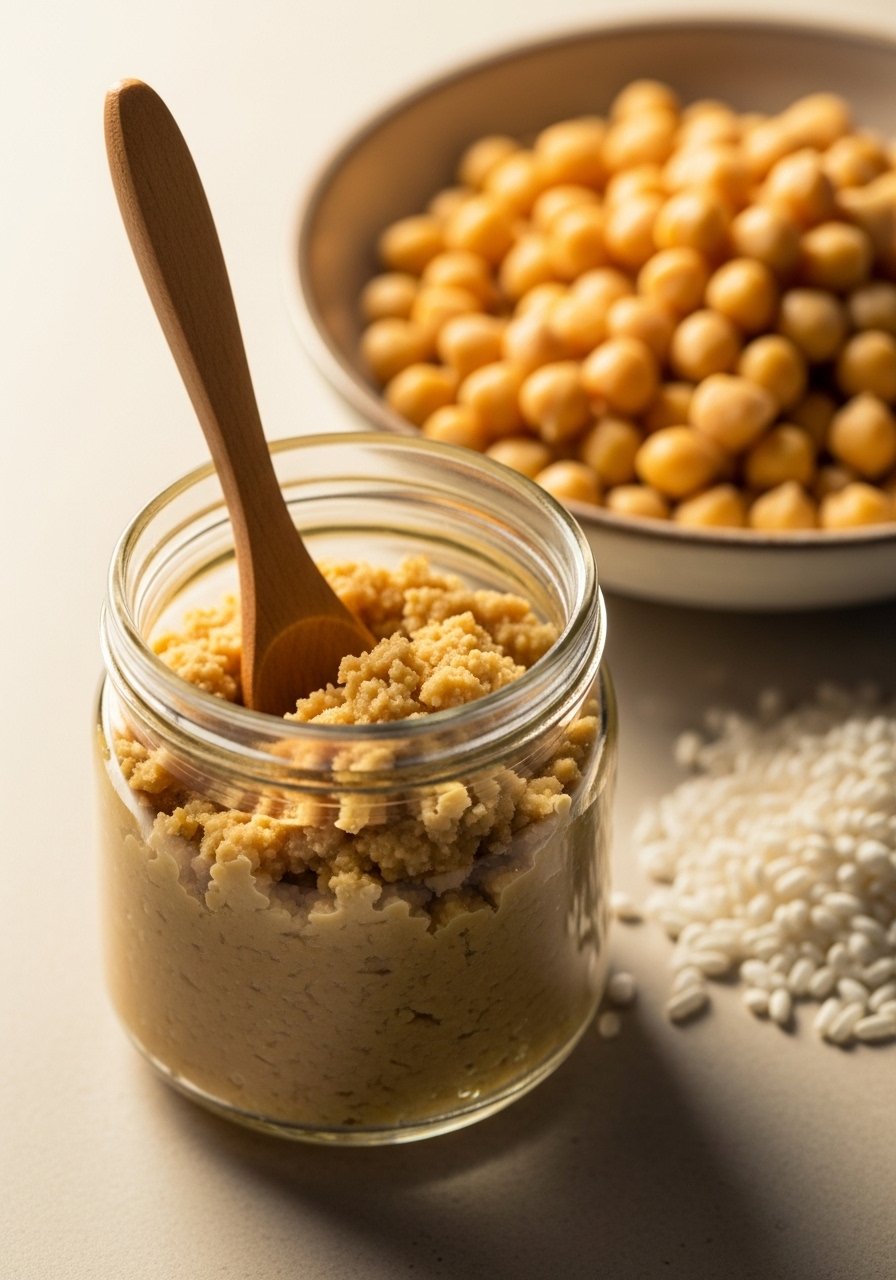
This quicker miso uses cooked chickpeas and koji for a savory, slightly sweet paste. It develops flavor in weeks rather than years—great for soups and marinades.
Ingredients
- 3 cups cooked chickpeas, mashed
- 1 cup rice koji
- 2 tbsp sea salt
- 1 tbsp mirin (optional)
Step-by-Step Instructions
- Mix: Combine ingredients
Mash chickpeas, stir in rice koji and salt until paste forms. - Pack: Jar tightly
Press mixture into a jar, smoothing surface to remove air pockets. - Ferment: Short-aged miso
Cover and ferment at 60–70°F for 4–8 weeks. Taste periodically. - Store: Refrigerate after aging
Refrigerate to slow fermentation. Use like regular miso.
20. Fermented Garlic Honey
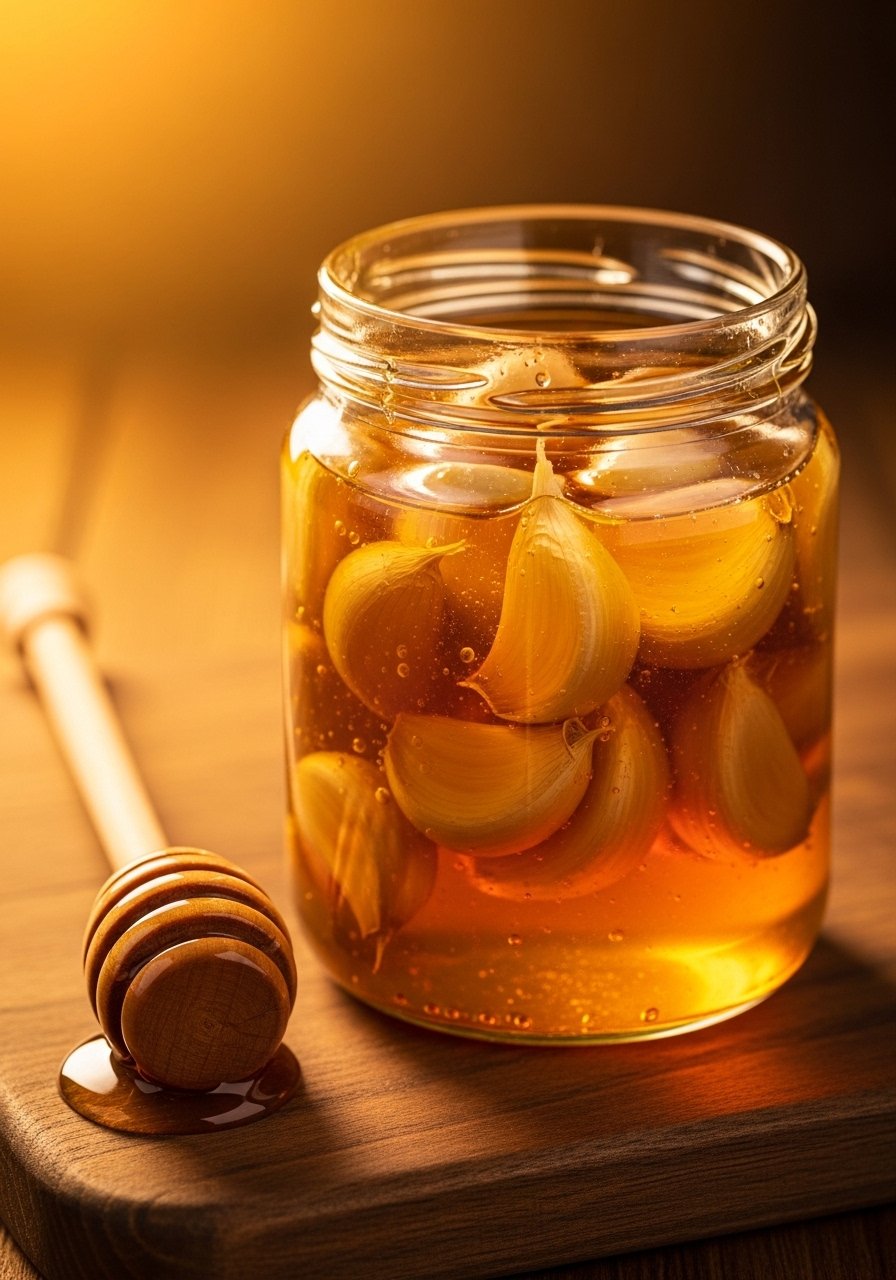
Garlic cloves fermenting in honey become mellow and probiotic-rich. Use the infused honey for dressings or straight spoonfuls for a soothing boost.
Ingredients
- 1 cup raw honey (filtered enough to flow)
- 8–10 peeled garlic cloves
- Clean jar
Step-by-Step Instructions
- Combine: Add garlic to honey
Place peeled cloves in jar and pour honey to cover fully. - Mix: Release bubbles
Tap jar to remove air pockets so garlic is fully submerged. - Ferment: Room temp aging
Cover loosely and ferment 1–3 weeks at room temp. Bubbles and mild fermentation scent are normal. - Store: Refrigerate optional
After fermenting to taste, seal and refrigerate. Use honey and cloves within months.
21. Tepache (Pineapple Ferment)
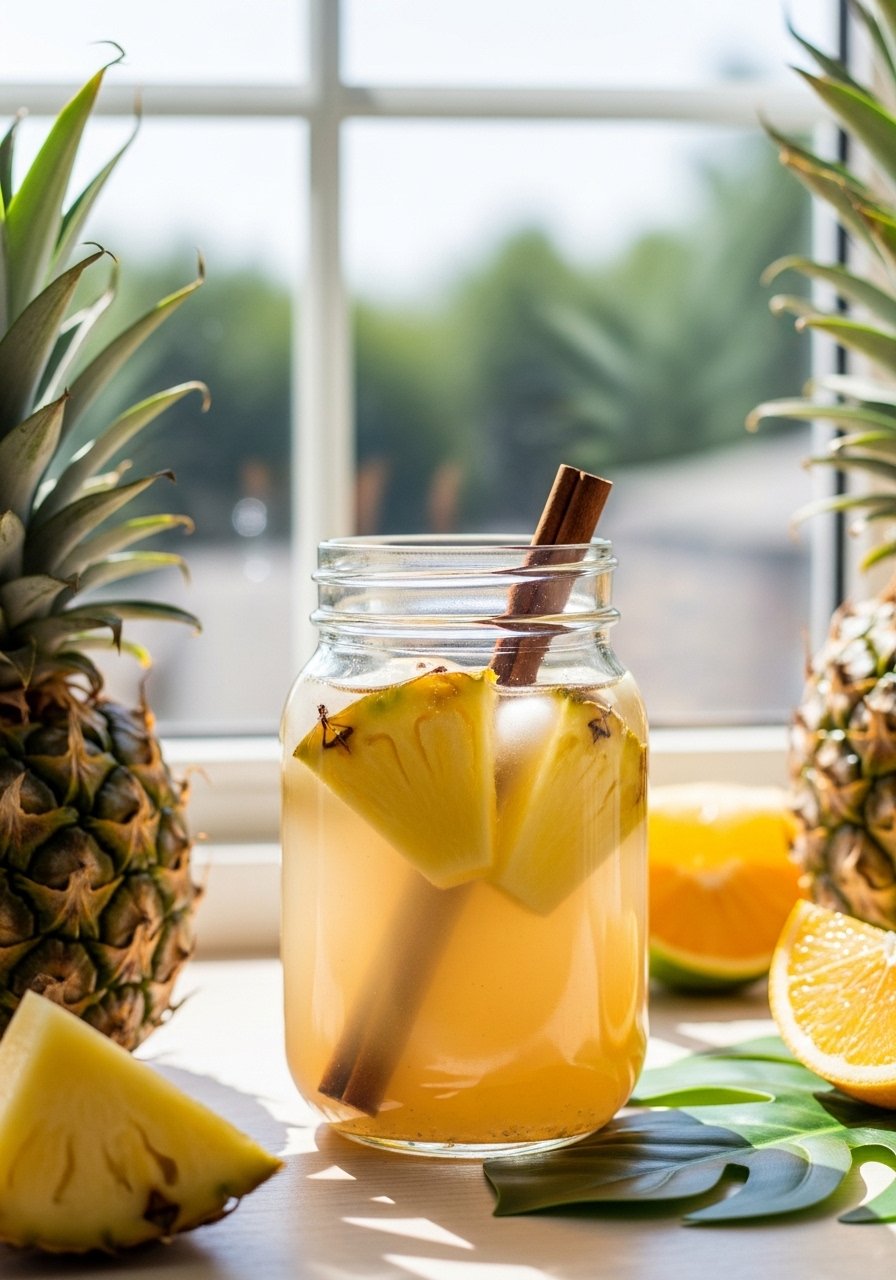
Tepache is a refreshing lightly fermented pineapple drink—sweet, tangy, and slightly effervescent. It’s quick and very approachable.
Ingredients
- Rinds and core of 1 pineapple
- 1/2–1 cup piloncillo or brown sugar
- 8 cups water
- 1 cinnamon stick (optional)
Step-by-Step Instructions
- Combine: Add rinds, sugar, and water to jar
Stir to dissolve sugar. - Cover: Allow to ferment
Cover loosely and ferment at 68–75°F for 2–4 days. - Strain: Bottle and chill
Strain off solids, bottle liquid, and refrigerate. Second ferment 1 day for light fizz if desired. - Serve: Dilute and enjoy
Serve chilled over ice; dilute with water or sparkling water if very sweet.
22. Fermented Mustard
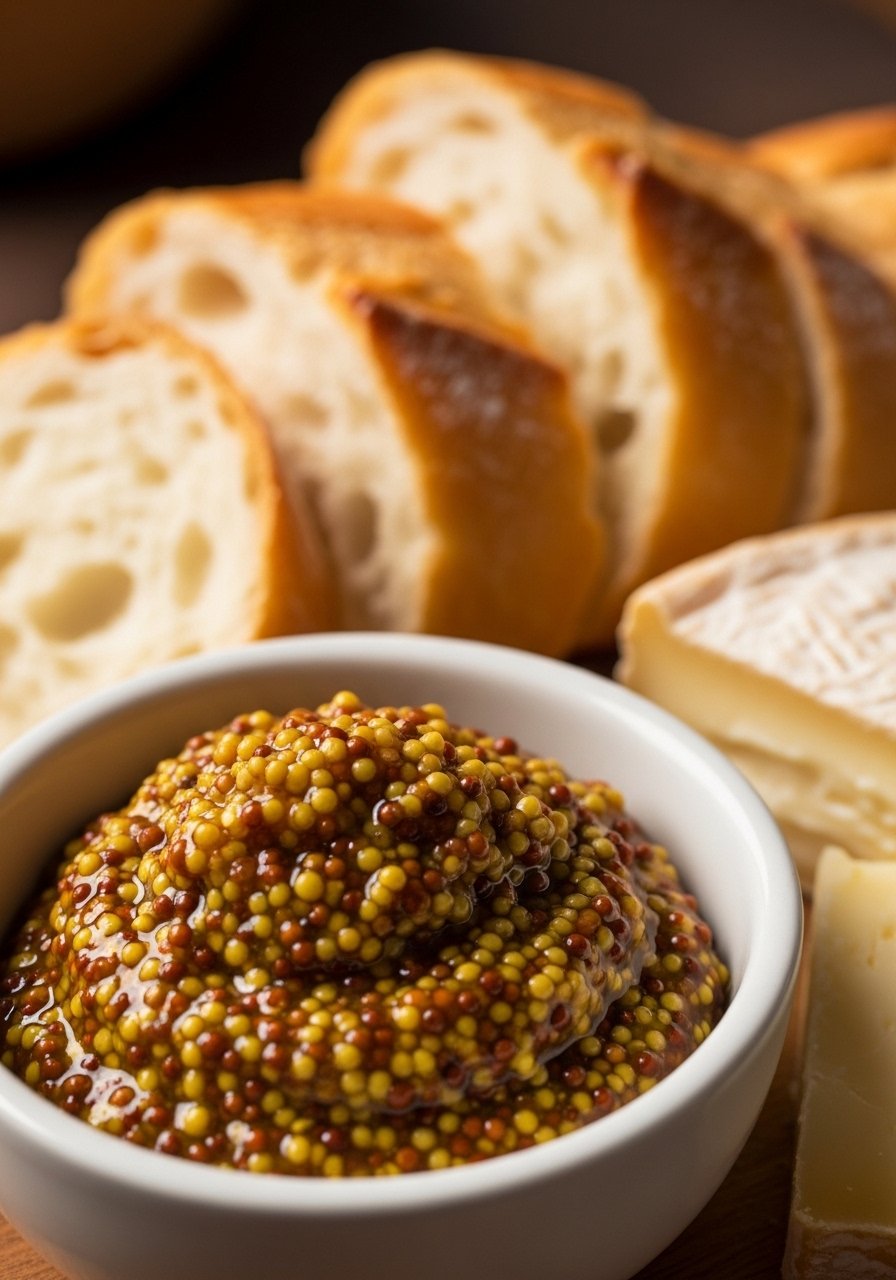
Fermented mustard develops complexity and mellower heat. It’s excellent on sandwiches, sausages, and charcuterie boards.
Ingredients
- 1/2 cup yellow mustard seeds
- 1/2 cup brown mustard seeds
- 1 cup water
- 2 tbsp apple cider vinegar
- 1 tsp sea salt
Step-by-Step Instructions
- Soak: Hydrate seeds
Combine seeds and water; soak 12–24 hours. - Blend: Add vinegar and salt
Blend soaked seeds to desired texture. - Ferment: Jar and wait
Pack into jar and ferment 2–5 days at room temp for flavor development. - Adjust: Refrigerate to slow fermentation
Store in fridge; flavor will mellow over time.
23. Fermented Cashew Cheese (Cultured)
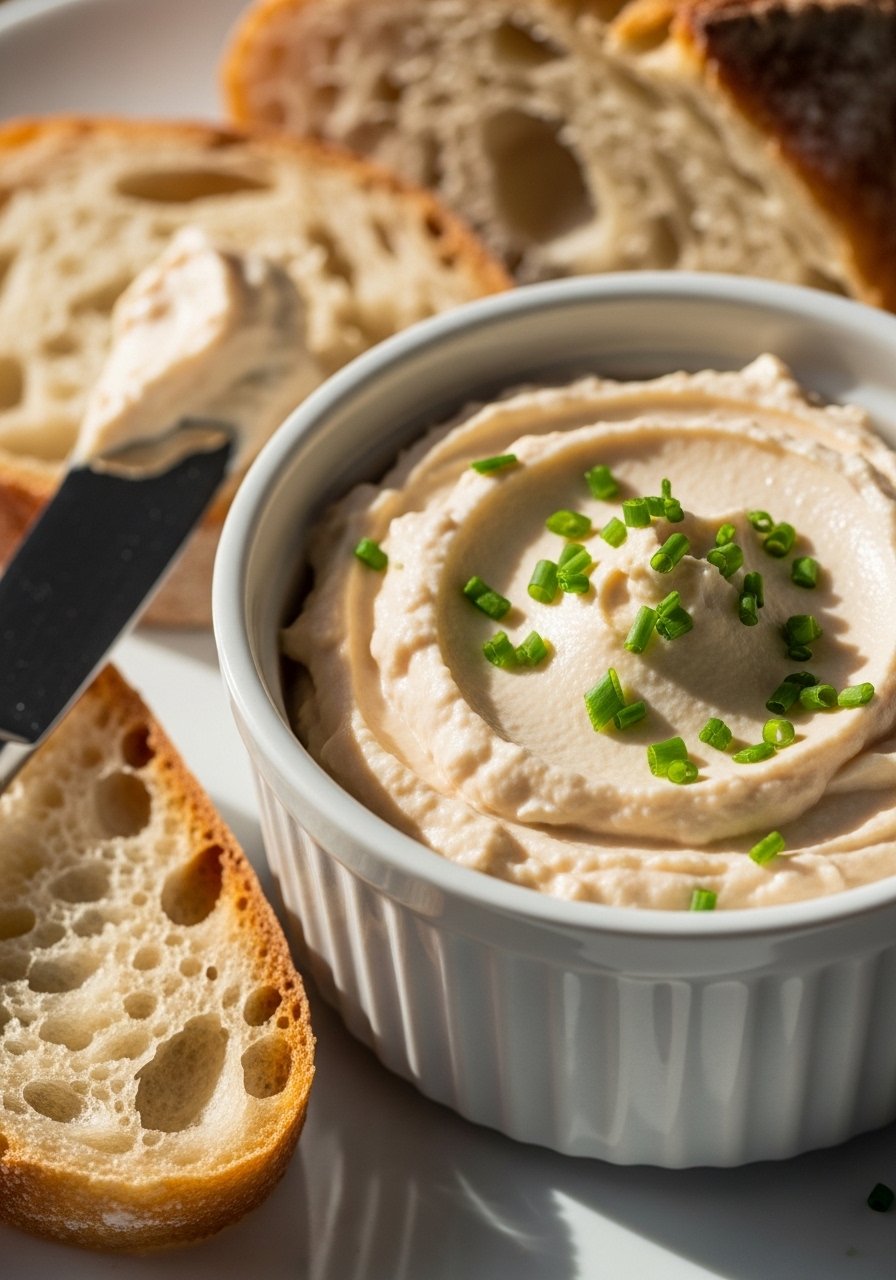
This dairy-free cultured cheese is tangy and spreadable. It uses probiotics or rejuvelac for a yogurt-like fermentation.
Ingredients
- 2 cups raw cashews, soaked 4–6 hours
- 1–2 probiotic capsules (dairy-free) or 1/4 cup rejuvelac
- 1 tbsp lemon juice
- 1/2 tsp salt
Step-by-Step Instructions
- Blend: Drain and process cashews
Blend soaked cashews with lemon and salt until smooth. - Inoculate: Add probiotics
Stir in contents of probiotic capsules or rejuvelac. - Ferment: Keep warm
Transfer to jar, cover, and ferment at 70–80°F for 12–48 hours until tangy. - Chill: Firm and serve
Refrigerate to thicken; use as dip or spread.
24. Fermented Oat Yogurt
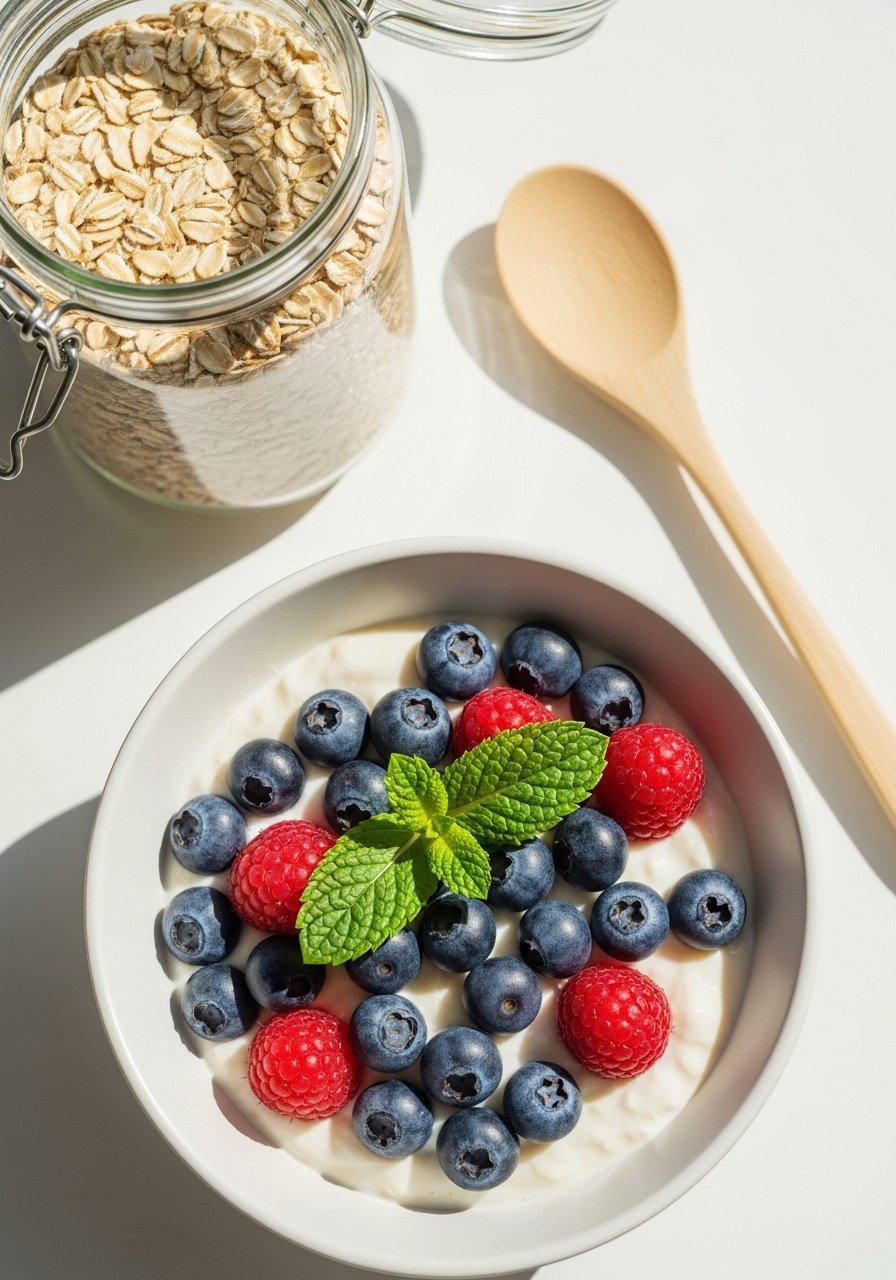
Oat yogurt is plant-based, creamy, and probiotic when cultured. It’s a gentle option for those avoiding dairy.
Ingredients
- 1 cup rolled oats
- 3 cups water
- 1 probiotic capsule or 2 tbsp plain yogurt (dairy or plant)
- 1 tbsp maple syrup (optional)
Step-by-Step Instructions
- Cook: Make oat milk
Blend oats with water and strain to make oat milk. - Inoculate: Add probiotic
Warm to 100–110°F, add probiotic or starter yogurt, whisk well. - Incubate: Keep warm
Pour into jars, incubate at 100–110°F for 8–12 hours until tangy. - Chill: Set and thicken
Refrigerate to thicken. Stir before serving.
25. Radish Kimchi (Kkakdugi Style)
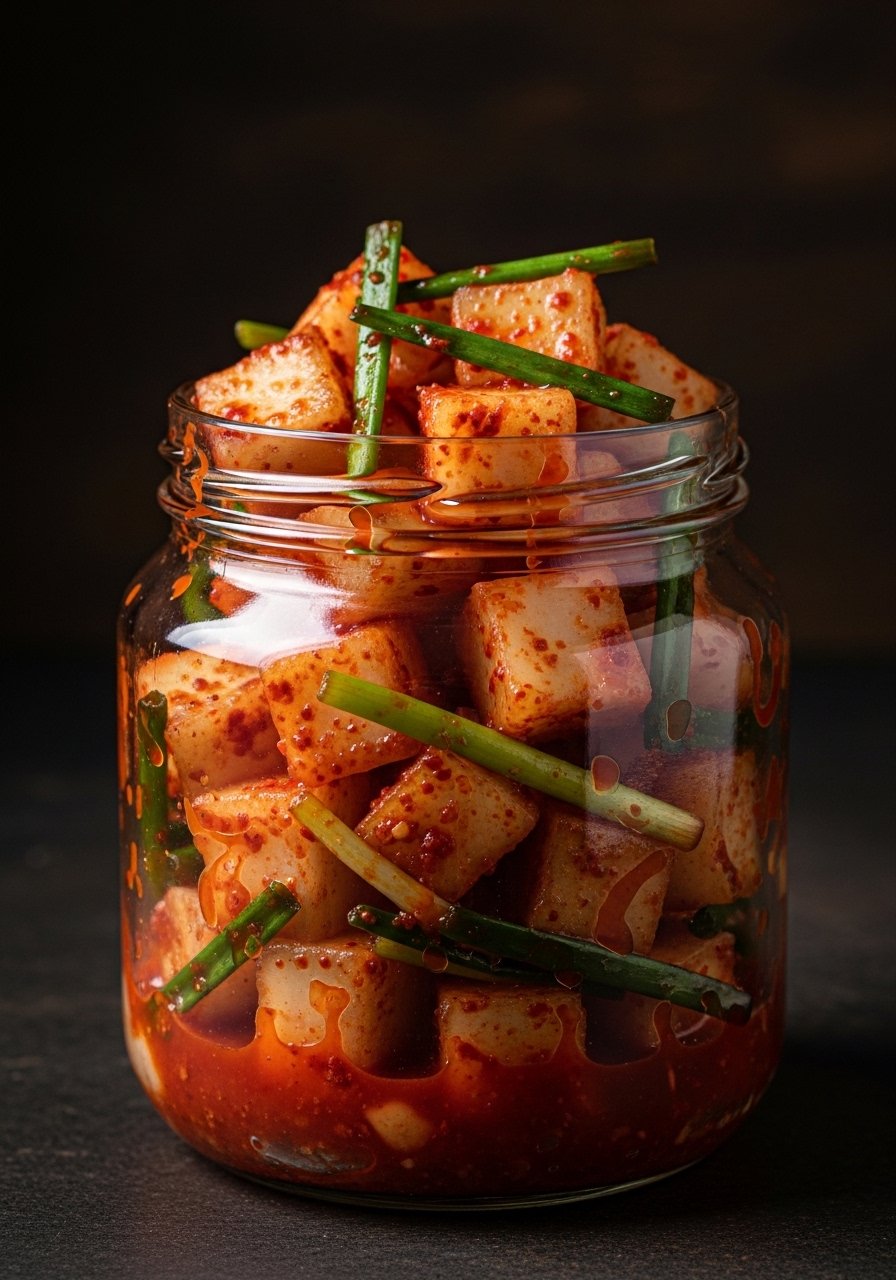
Cubed radish kimchi is crunchy and spicy with a peppery kick. The texture stays crisp and adds great contrast to softer dishes.
Ingredients
- 1 large Korean radish (or daikon), cubed
- 1 tbsp salt
- 2 tbsp gochugaru
- 1 tbsp fish sauce
- 1 tbsp grated ginger
- 2 garlic cloves, minced
- 1 scallion, chopped
Step-by-Step Instructions
- Salt: Sprinkle radish cubes
Toss radish with salt, let sit 30–60 minutes, then drain excess water. - Make Paste: Mix spices
Combine gochugaru, fish sauce, ginger, and garlic. - Combine: Coat radish
Mix radish with spice paste and scallion until evenly coated. - Pack & Ferment: Jar it up
Press into jar, leaving 1 inch headspace. Ferment 3–7 days at 60–70°F, then refrigerate.
26. Fermented Strawberry Jam (Lacto)
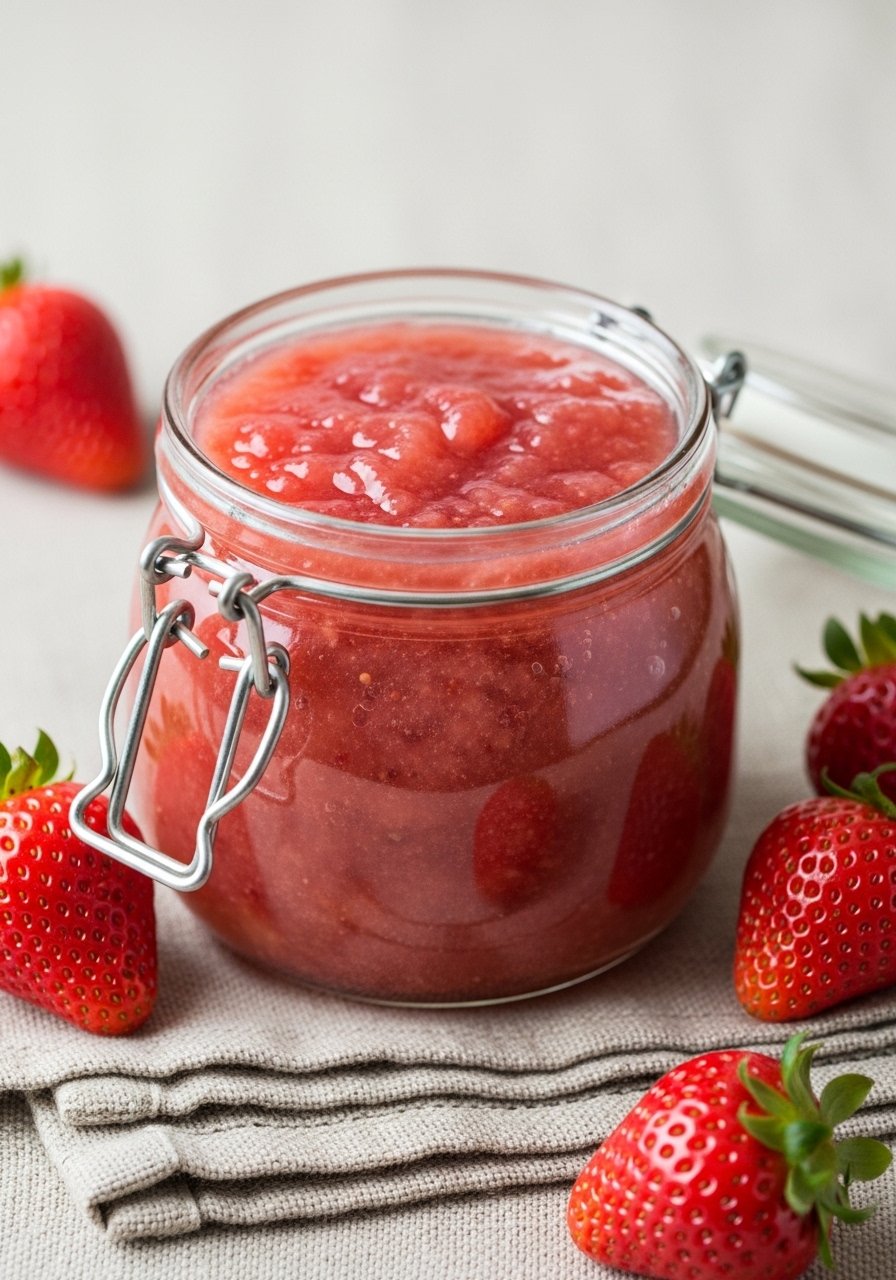
Lacto-fermented jam cuts sugar, uses natural lactic fermentation for brightness, and preserves fruit with tangy complexity.
Ingredients
- 2 cups strawberries, hulled
- 1 tbsp honey or sugar
- 1/4 tsp sea salt
- 1 tbsp lemon juice
Step-by-Step Instructions
- Mash: Combine berries and sweetener
Lightly mash strawberries with honey and salt. - Pack: Jar and press
Pack into jar, leaving 1/2 inch headspace. - Ferment: Short fermentation
Cover loosely and ferment at 65–72°F for 1–3 days until slightly tangy. - Refrigerate: Slow fermentation
Seal and store in fridge; use within 2–3 weeks.
27. Oi Sobagi — Cucumber Kimchi (Korean Stuffed Cucumber)
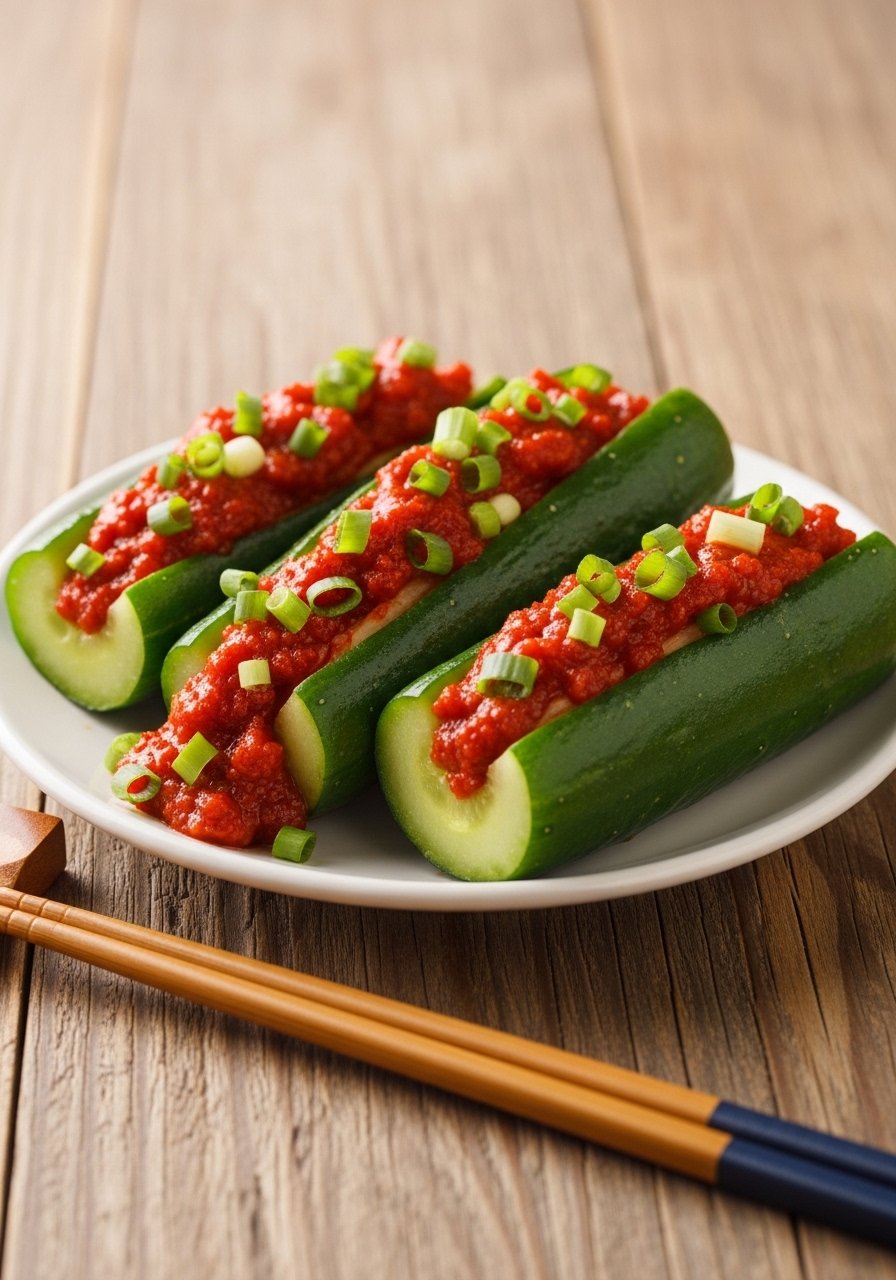
Crisp and refreshing, Korean cucumber kimchi is lightly fermented and perfect for hot days. It’s crunchy, spicy, and quick to ferment.
Ingredients
- 4 small cucumbers
- 1 tbsp sea salt
- 1 tbsp gochugaru
- 1 tsp fish sauce or tamari
- 1 garlic clove, minced
- 2 scallions, finely chopped
- 1 tsp sugar (optional)
Step-by-Step Instructions
- Score: Prep cucumbers
Make lengthwise cuts in cucumbers without cutting through; sprinkle with salt and let sit 30 minutes, then drain. - Make Filling: Mix flavoring
Combine gochugaru, fish sauce, garlic, scallions, and sugar. - Stuff: Fill cucumbers
Gently pry open cucumbers and stuff the filling into slits. - Ferment: Short ferment
Place in jar and ferment 12–48 hours at 60–70°F for light tang. Refrigerate and enjoy within 1–2 weeks.
Final Thoughts
You now have 27 fermented foods for gut health to experiment with, from quick fridge ferments to longer projects. Start with a few that match your schedule and taste preferences.
Fermenting is part science, part feel—taste as you go, keep things clean, and enjoy the process. Your belly (and taste buds) will thank you.