You’re about to dive into a week of easy, tasty ferments you can make at home. These recipes are approachable and use common kitchen tools so you can start right away. I’ll show simple steps, times, and what to watch for so your ferments succeed.
Try one a day, or make several at once for a probiotic-packed fridge. Ready? Let’s get fermenting.
25 Easy Fermented Foods Recipes At Home To Make This Week
Write 30–40 simple words
Get ready to scroll through 25 simple, user-friendly fermented recipes. Each one lists clear ingredients and step-by-step instructions you can follow. You’ll see tools and small tips to avoid common mistakes, so you feel confident from jar one.
1. Classic Sauerkraut
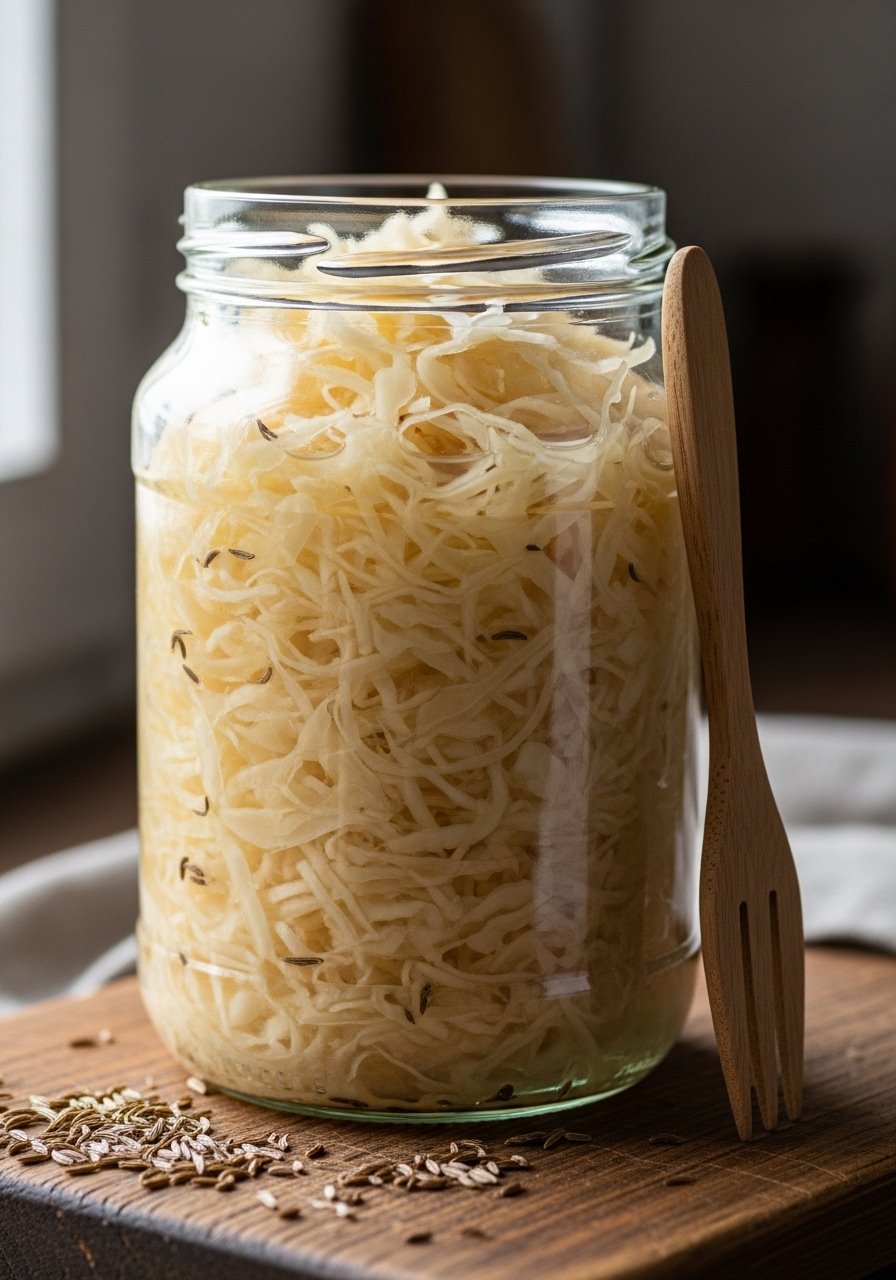
Tangy, crunchy, and versatile, classic sauerkraut uses cabbage, salt, and time. The texture is crisp and the flavor bright with mild acidity. It’s excellent on sandwiches or as a side for hearty meals.
Ingredients
- 1 medium green cabbage (about 2–2.5 lbs), cored and thinly sliced
- 1–1.5 tbsp kosher or pickling salt
- 1 tsp caraway seeds (optional)
- 1 tbsp grated carrot (optional, for color)
- 1 quart glass jar and fermentation weight
Step-by-Step Instructions
- Prep the Cabbage: Slice & measure
Shred the cabbage thinly on a board. Measure salt; you’ll use about 1 tbsp per 1.5–2 lbs cabbage. - Massage With Salt: 8–10 minutes
In a large bowl, mix cabbage, salt, and caraway. Massage until cabbage releases liquid and becomes limp and shiny (8–10 minutes). - Pack Into Jar: Press firmly
Pack the cabbage into a clean quart jar, pressing down with a tamper or spoon so brine rises above the cabbage. - Add Weight & Seal: Keep submerged
Add a fermentation weight and cover with a loose lid or airlock. Ensure cabbage stays submerged under brine. - Ferment: 5–14 days at 65–72°F
Let ferment at cool room temperature. Taste after 5 days; ferment longer for tangier flavor. Refrigerate when desired acidity reached.
2. Refrigerator Dill Pickles (Lacto-Fermented)
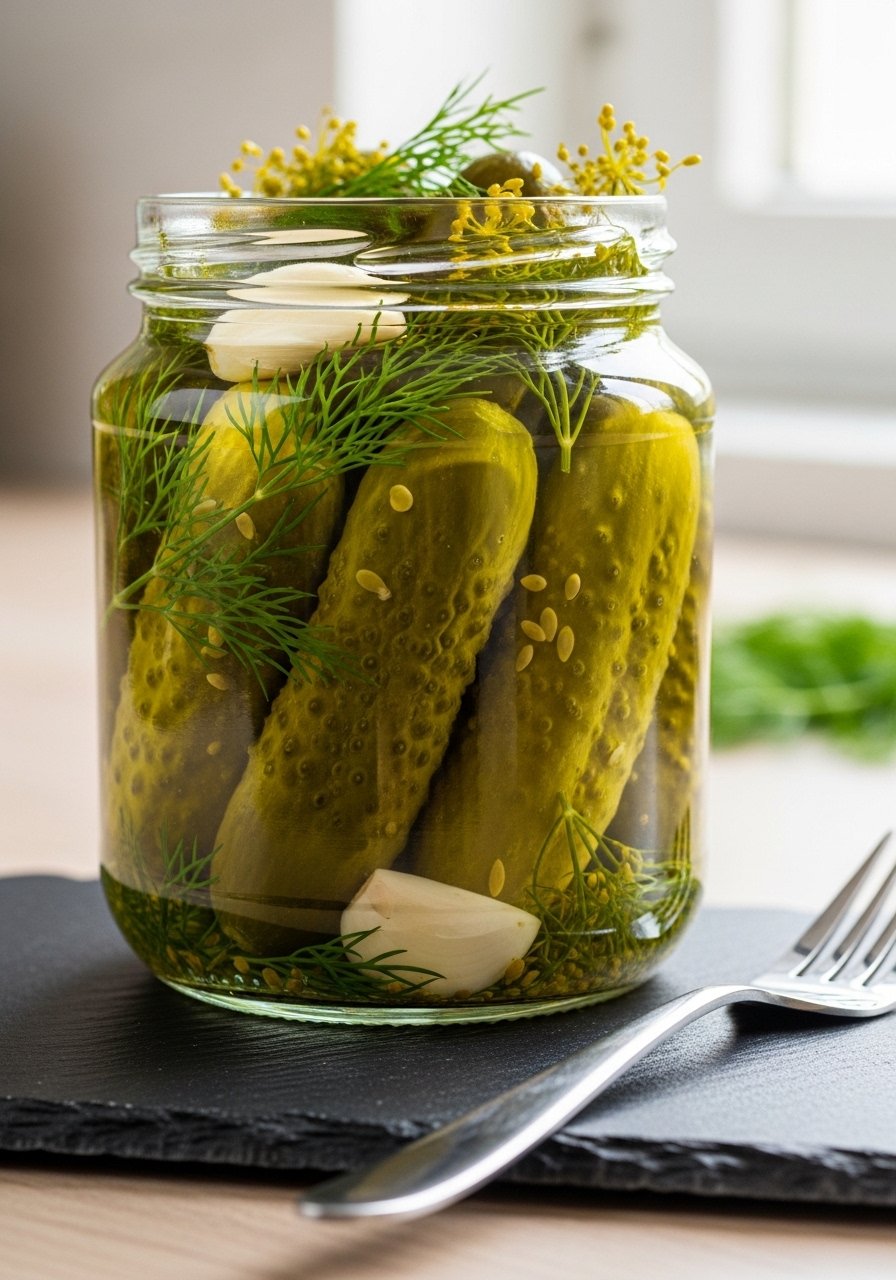
Crunchy and garlicky without vinegar, these dill pickles are fermented in the fridge for fast results. They’re crisp, slightly sour, and great for snacking or burgers.
Ingredients
- 1 lb small pickling cucumbers, scrubbed
- 3 garlic cloves, smashed
- 2–3 fresh dill sprigs
- 1 tbsp kosher salt dissolved in 2 cups water (brine)
- 1 tsp whole peppercorns
- 1 quart jar
Step-by-Step Instructions
- Assemble Jar: Layer aromatics
Place garlic, dill, and peppercorns in the jar. - Pack Cucumbers: Tight fit
Pack cucumbers upright to maximize contact with brine. - Pour Brine: Fully cover
Pour salt brine over cucumbers so they’re fully submerged. Leave 1⁄2 inch headspace. - Refrigerate & Ferment: 3–7 days in fridge
Seal and refrigerate. Taste after 3 days for mild tang, 7 days for stronger flavor. Keep refrigerated up to several months.
3. Spicy Korean Kimchi
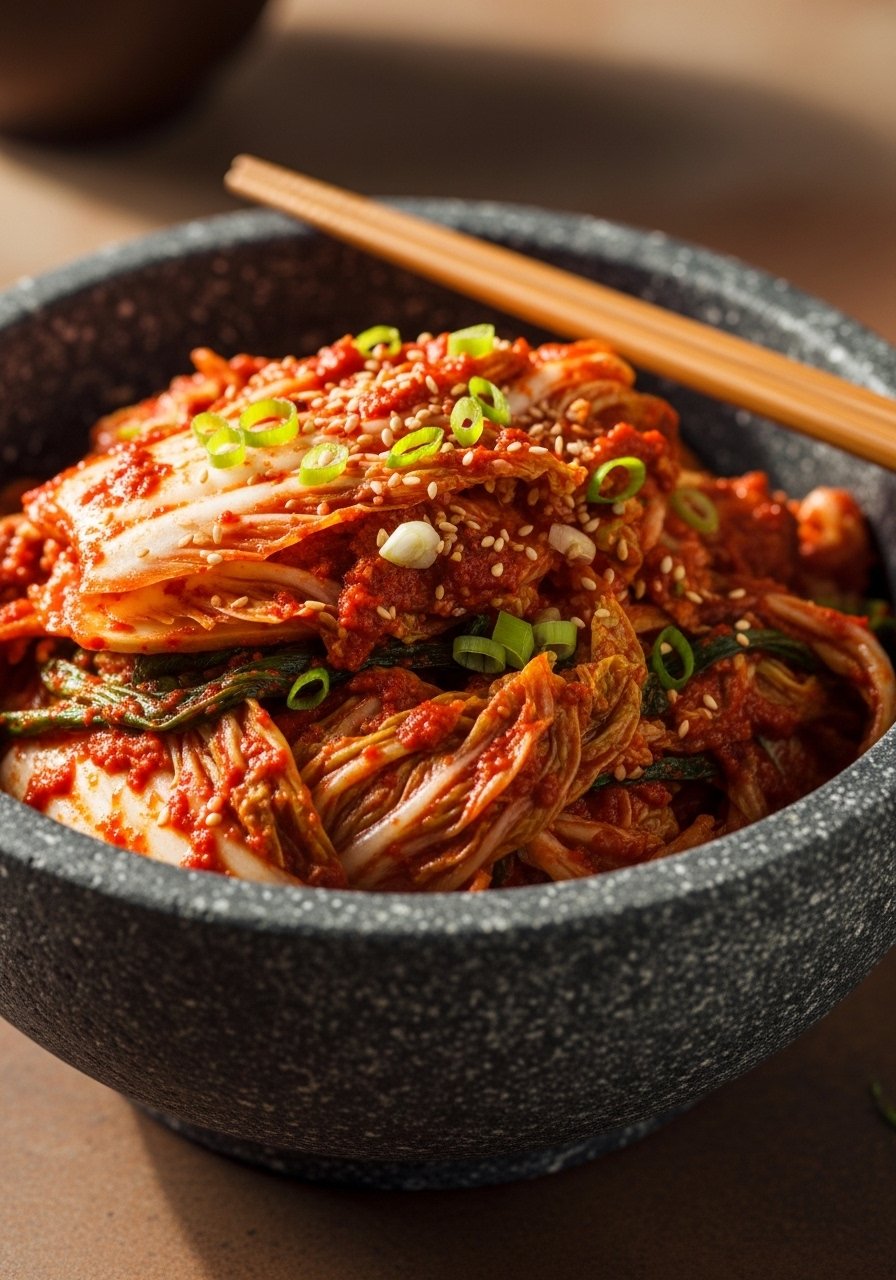
Kimchi is a bold, spicy, fermented cabbage with ginger, garlic, and chile paste. It’s crunchy, umami-rich, and adds heat to rice bowls, stews, and sandwiches.
Ingredients
- 1 large napa cabbage (about 2–3 lbs), quartered and salted
- 3 tbsp Korean coarse sea salt
- 1 cup water (for soak)
- 1/2 cup Korean gochugaru (adjust to heat preference)
- 3 tbsp fish sauce or tamari for vegetarian option
- 2 tbsp grated ginger, 4 garlic cloves, minced
- 2 scallions, sliced
- 1 small carrot, julienned
Step-by-Step Instructions
- Salt The Cabbage: 1–2 hours
Soak cabbage in salted water, make sure leaves soften (1–2 hours). Rinse well and drain. - Make Paste: Mix seasonings
Combine gochugaru, fish sauce, ginger, garlic, and a bit of water into a paste. - Combine & Pack: Massage paste in
Mix paste with cabbage, carrot, and scallions. Pack into a jar, pressing down to release juices. - Ferment: 2–5 days at 65–70°F
Leave at room temp for 2–3 days, burping daily. Move to fridge when the flavor is pleasantly tangy.
4. Beet Kvass
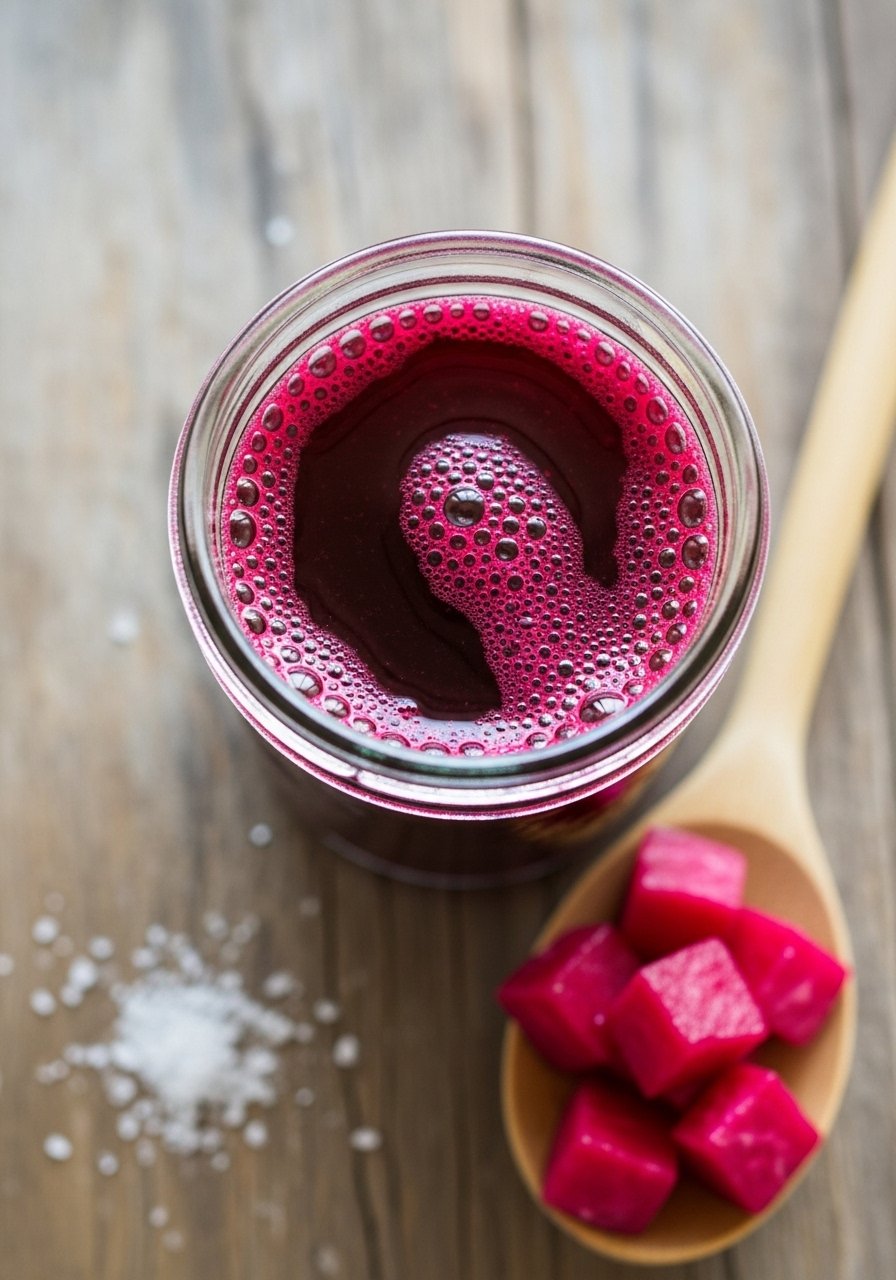
Beet kvass is an earthy, slightly sour probiotic drink made from beets and salt. It’s bright in color and refreshing diluted with water or used in dressings.
Ingredients
- 2 medium beets, scrubbed and chopped (skins on)
- 1 tsp salt (non-iodized)
- 1 quart filtered water
- 1 tbsp whey or 1/4 cup previous kvass (optional starter)
Step-by-Step Instructions
- Prep Beets: Chop for flavor
Chop beets into 1-inch pieces and place in a jar. - Add Salt & Water: Cover with weight
Add salt and optional starter, then pour water to cover, leaving headspace. - Cover & Ferment: 3–7 days at room temp
Cover loosely to allow gas escape. Taste daily—kvass is ready when mildly sour. - Strain & Store: Refrigerate
Strain into bottles and refrigerate. Keeps weeks; drink diluted if strong.
5. Homemade Yogurt

Fresh, tangy yogurt made from milk and a small amount of starter. It’s rich, creamy, and can be strained for thicker results. Great for breakfasts and sauces.
Ingredients
- 1 quart whole milk (or 2% for lighter)
- 2 tbsp plain yogurt with active cultures (as starter)
- Thermometer and heavy pot
Step-by-Step Instructions
- Heat Milk: 180°F
Heat milk in a pot to 180°F to change protein structure (use thermometer). - Cool Milk: 110–115°F
Remove from heat and cool to 110–115°F. - Add Starter: Stir gently
Whisk 2 tbsp starter yogurt into a cup of warm milk, then return to pot and mix. - Incubate: 6–8 hours at ~110°F
Keep warm in an oven with light on or use a yogurt maker (see Yogurt Maker). Incubate 6–8 hours until set. - Chill: 2–4 hours in fridge
Refrigerate to firm up before serving.
6. Labneh (Strained Yogurt Cheese)
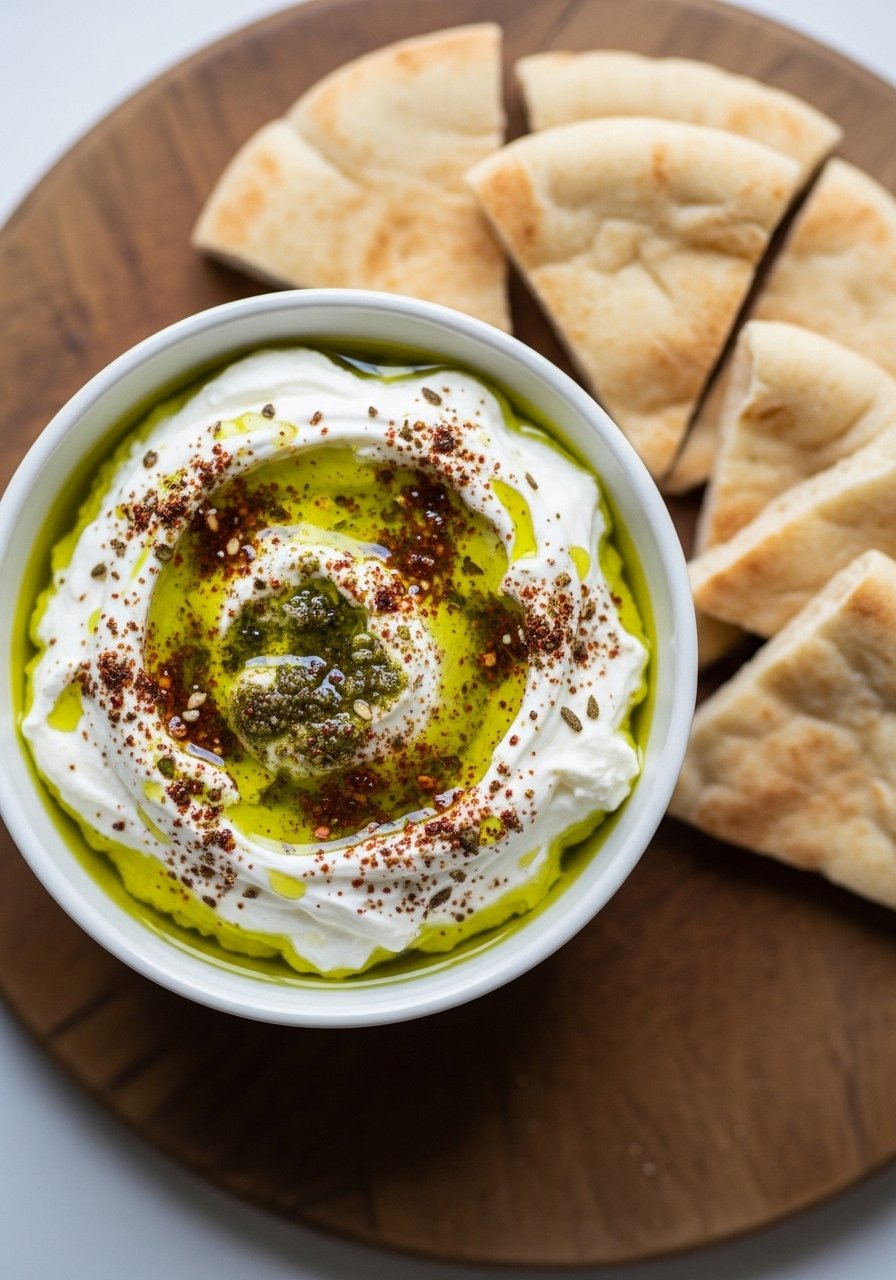
Labneh is a thick, tangy yogurt cheese perfect for spreads and dips. It’s creamy with a slight tang and very easy to make from homemade yogurt.
Ingredients
- 4 cups plain yogurt (full-fat best)
- 1 tsp salt
- Cheesecloth and fine mesh strainer
Step-by-Step Instructions
- Season Yogurt: Add salt
Mix salt into yogurt. - Strain Yogurt: 12–24 hours
Line a strainer with cheesecloth over a bowl. Pour yogurt in and tie cloth; let drain in fridge for 12–24 hours. - Check Texture: Thick and scoopable
Labneh should be thick and spreadable. Drain longer for firmer texture. - Serve & Store: Up to 2 weeks refrigerated
Transfer to a jar, drizzle with olive oil and herbs. Store in fridge.
7. Water Kefir
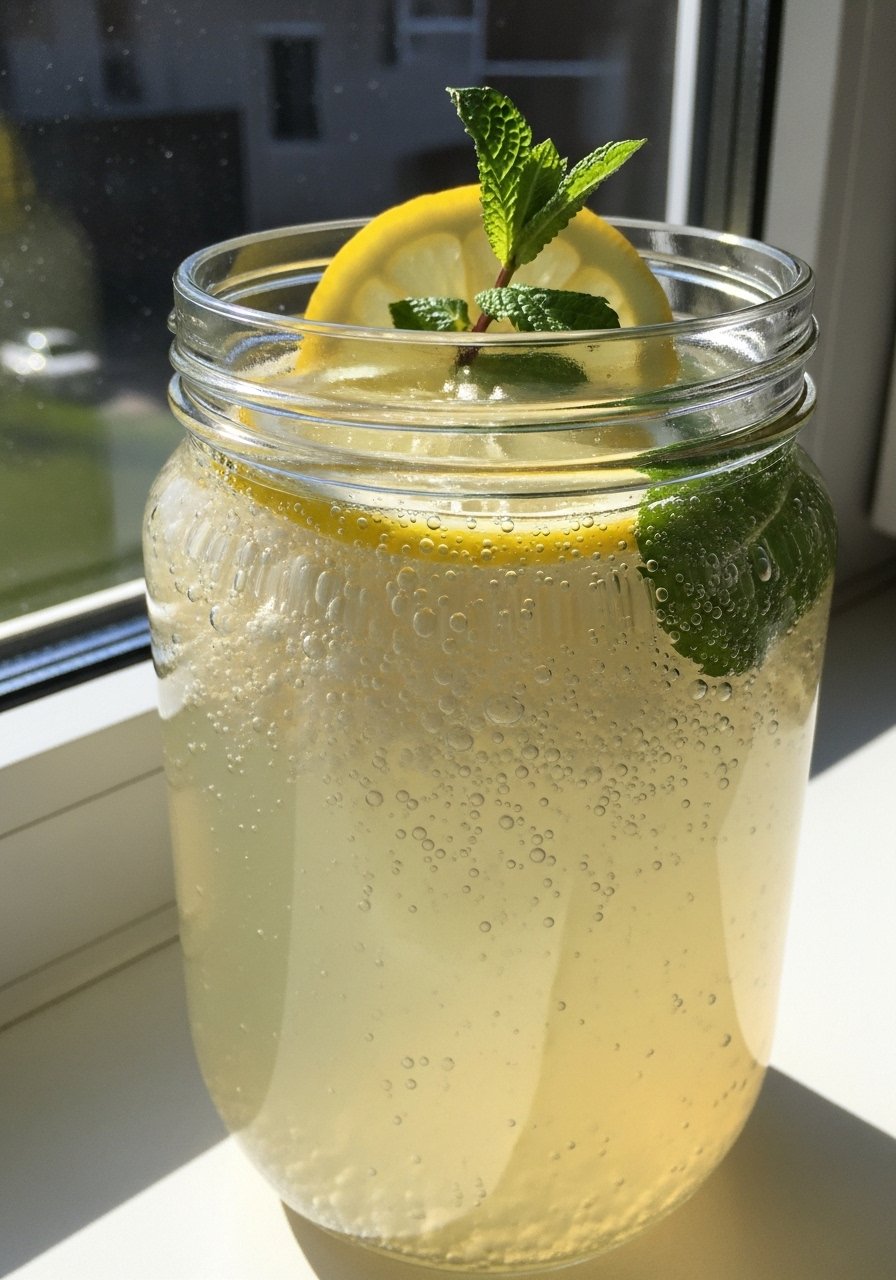
Water kefir is a fizzy, dairy-free probiotic drink made with sugar water and kefir grains. It’s light, slightly sweet, and perfect for soda alternatives.
Ingredients
- 1/4 cup water kefir grains
- 4 cups filtered water
- 1/4 cup sugar (cane)
- 1 slice of lemon and a few raisins for nutrients
- Glass jar and plastic strainer
Step-by-Step Instructions
- Make Sugar Water: Dissolve sugar
Dissolve sugar in warm water, cool to room temp. - Add Grains & Fruit: Feed the grains
Add water kefir grains, lemon slice, and raisins to jar. - Ferment: 24–48 hours at room temp
Cover with cloth and ferment 24–48 hours, tasting for sweetness level. - Strain & Second Ferment (optional): 1–2 days for fizz
Strain grains (store for next batch). Bottle kefir for second ferment with fruit for 1–2 days to carbonate, then refrigerate.
8. Milk Kefir
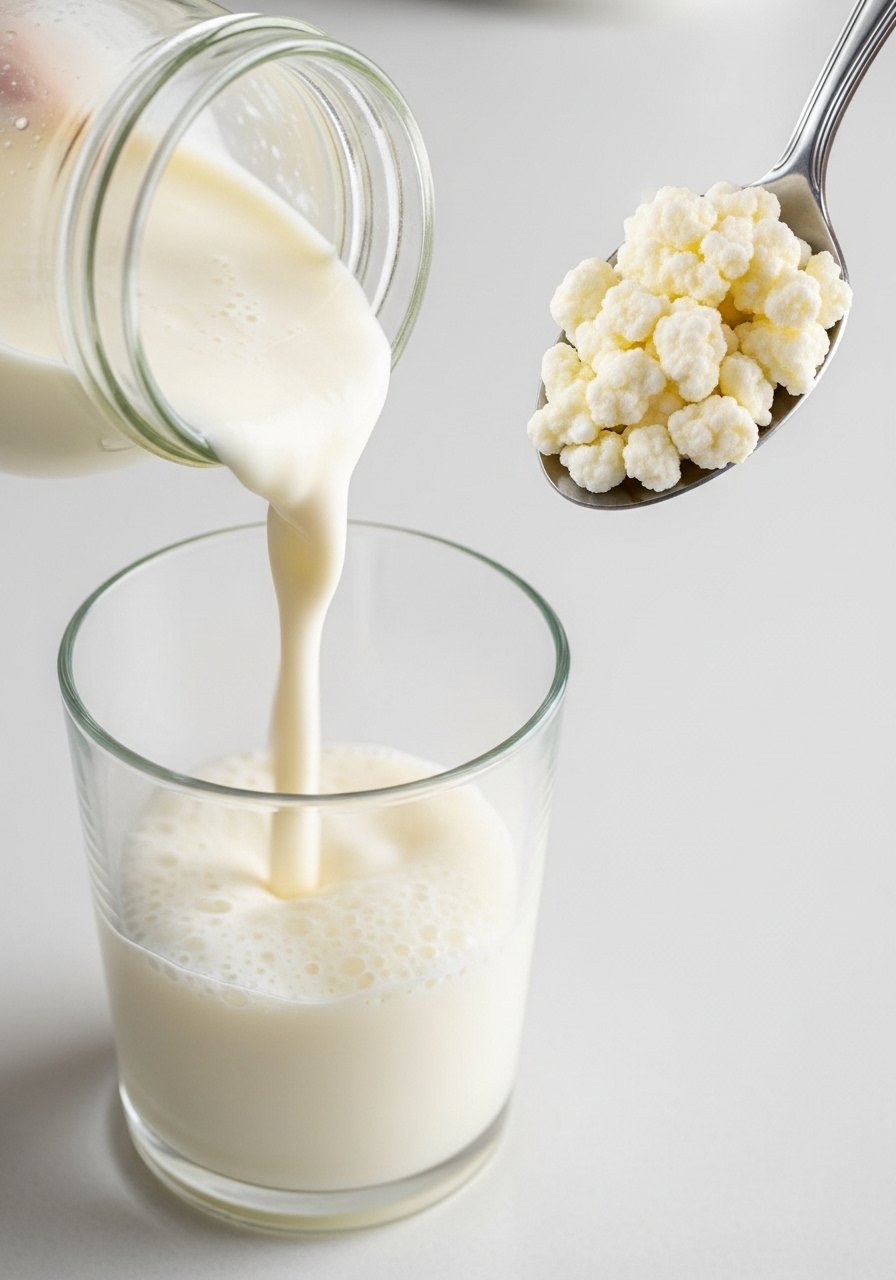
Milk kefir is a tangy, drinkable cultured milk made with kefir grains. It’s probiotic-rich and slightly effervescent, great in smoothies or on cereal.
Ingredients
- 1–2 tbsp milk kefir grains
- 4 cups whole milk (or milk of choice)
- Glass jar and plastic strainer
Step-by-Step Instructions
- Add Grains to Milk: Room temperature milk
Place grains in jar and cover with milk. - Ferment: 24 hours at 68–75°F
Cover with cloth; ferment 24 hours until milk thickens and slightly tangy. - Strain: Separate grains
Strain kefir through a plastic strainer into a bottle. Return grains to fresh milk. - Store: Refrigerate
Refrigerate kefir; it will continue to develop flavor slowly.
9. Kombucha (Basic SCOBY Brew)
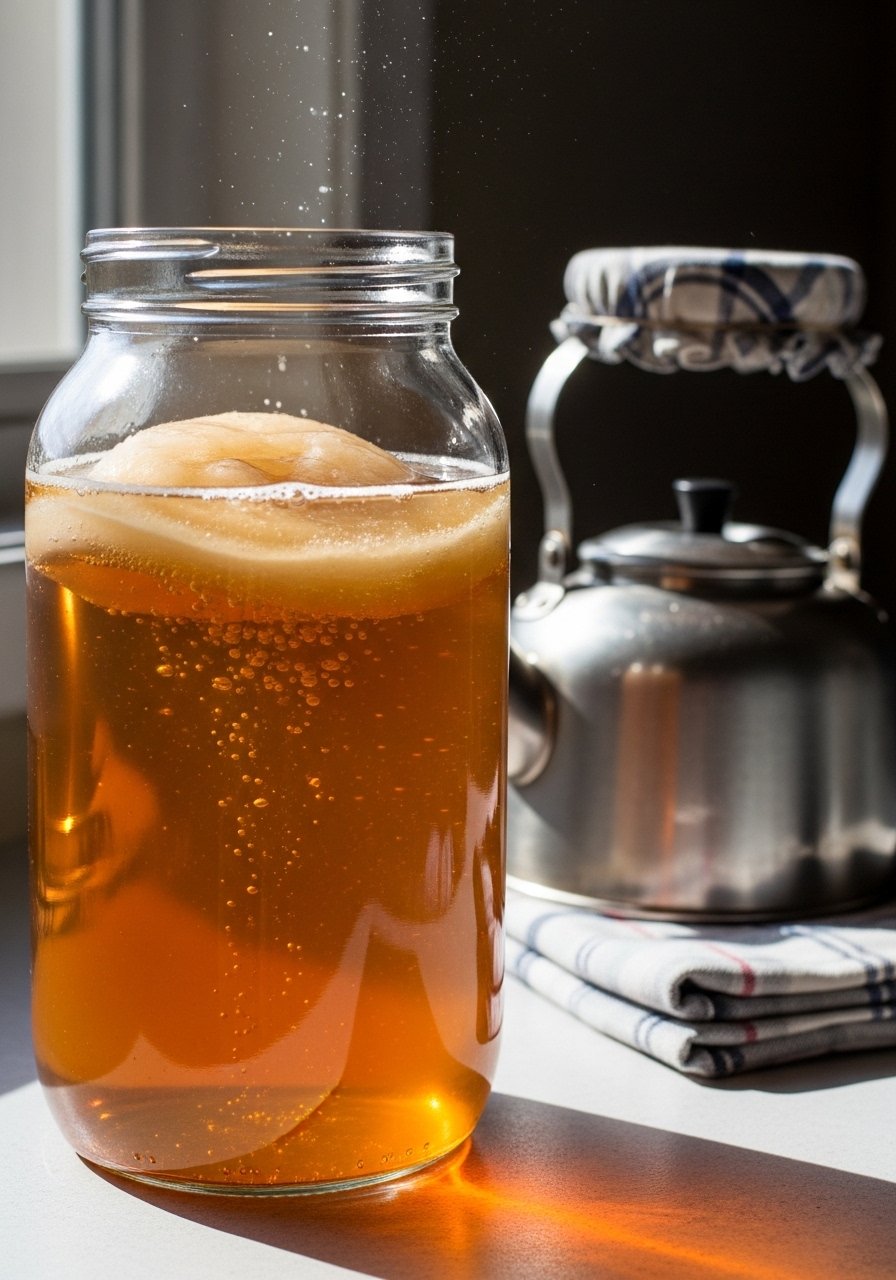
Kombucha is a fizzy tea fermented by a SCOBY, producing a tangy, slightly sweet beverage. It’s customizable with fruit or herbs for second-ferments.
Ingredients
- 1 SCOBY with 1 cup starter kombucha
- 4 cups water, 2 black tea bags, 1/2 cup sugar
- Large glass jar, breathable cloth, and rubber band
Step-by-Step Instructions
- Brew Sweet Tea: Cool to room temp
Boil water, steep tea bags 10 minutes, stir in sugar until dissolved. Cool to room temp. - Add SCOBY: Starter for acidity
Pour cooled tea into jar, add starter kombucha, then gently add SCOBY. - Ferment: 7–14 days at 70–75°F
Cover with cloth and secure. Taste after 7 days and every day until desired tartness. - Second Ferment (optional): 2–4 days for fizz
Bottle with fruit or juice and leave at room temp 1–3 days for carbonation. Refrigerate when ready.
10. Sourdough Starter (Wild Yeast Culture)
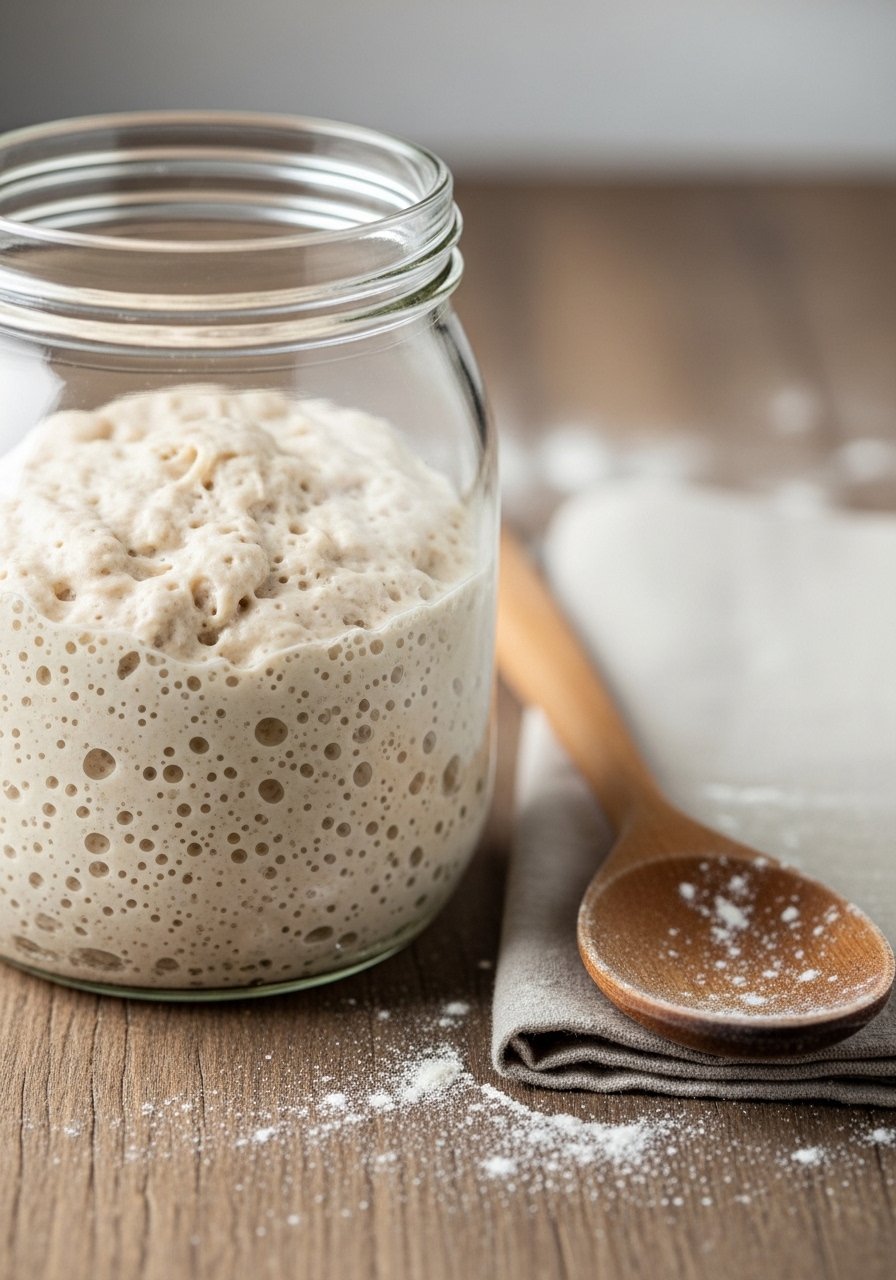
A sourdough starter captures wild yeast for natural leavening. It’s active, bubbly, and the base for sourdough bread, pancakes, and discard recipes.
Ingredients
- 100 g water (room temp)
- 100 g whole wheat or all-purpose flour
- Clean jar and scale
Step-by-Step Instructions
- Day 1 Mix: 1:1 flour-water
Mix 50 g flour + 50 g water, stir, cover loosely. - Feed Daily: 5–7 days
Each day discard half and feed 50–100 g equal parts flour and water. Bubbles indicate activity. - Look For Rise & Aroma: Active in 5–7 days
Starter doubles in 4–6 hours after feeding and smells tangy. That’s when it’s ready. - Store: Refrigerate & feed weekly
Keep starter in fridge and feed weekly or store at room temp and feed daily.
11. Sourdough Discard Pancakes

These pancakes transform sourdough discard into tangy, fluffy breakfast treats. They’re forgiving and fast—no active starter required.
Ingredients
- 1 cup sourdough starter discard
- 1 egg
- 1/2 cup milk
- 1 tbsp sugar, 1 tsp baking powder, pinch salt
- 1/2 cup flour (add more for batter consistency)
Step-by-Step Instructions
- Mix Wet Ingredients: Combine starter & egg
Whisk starter, egg, and milk until smooth. - Add Dry Ingredients: Stir in flour & leavener
Add sugar, baking powder, salt, and flour. Mix to medium-thick batter. - Cook: Medium heat, 2–3 minutes each side
Heat skillet over medium, grease lightly, pour 1/4 cup batter, cook 2–3 minutes per side until bubbles form and edges set. - Serve: Keep warm and enjoy
Serve warm with toppings. These reheat well.
12. Fermented Carrots (Ginger Pickles)
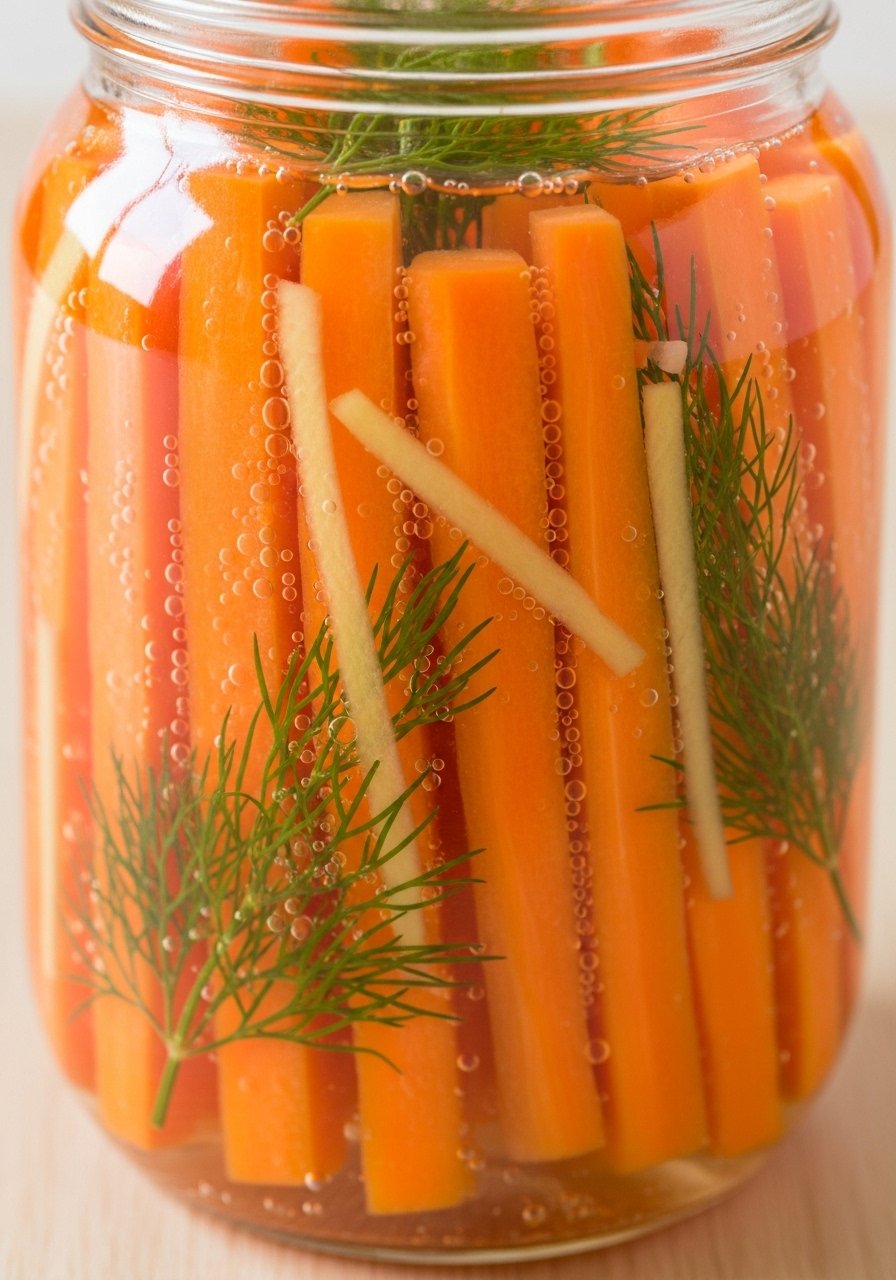
Crunchy carrots fermented with ginger make tangy, slightly sweet pickles. They’re colorful, crisp, and a great probiotic snack or salad topper.
Ingredients
- 1 lb carrots, peeled and cut into sticks
- 1 tbsp grated ginger
- 1 tbsp salt dissolved in 2 cups water
- 1 garlic clove (optional)
- Quart jar and weight
Step-by-Step Instructions
- Prep Carrots: Cut to uniform size
Peel and cut carrots into sticks for even fermentation. - Pack Jar: Add ginger & garlic
Pack carrots, ginger, and garlic into jar. - Pour Brine: Fully submerge
Pour salt brine over carrots ensuring they are submerged. Add weight. - Ferment: 5–10 days at 65–70°F
Ferment until tangy and crisp. Refrigerate to slow fermentation.
13. Fermented Garlic Cloves (Lacto Garlic)
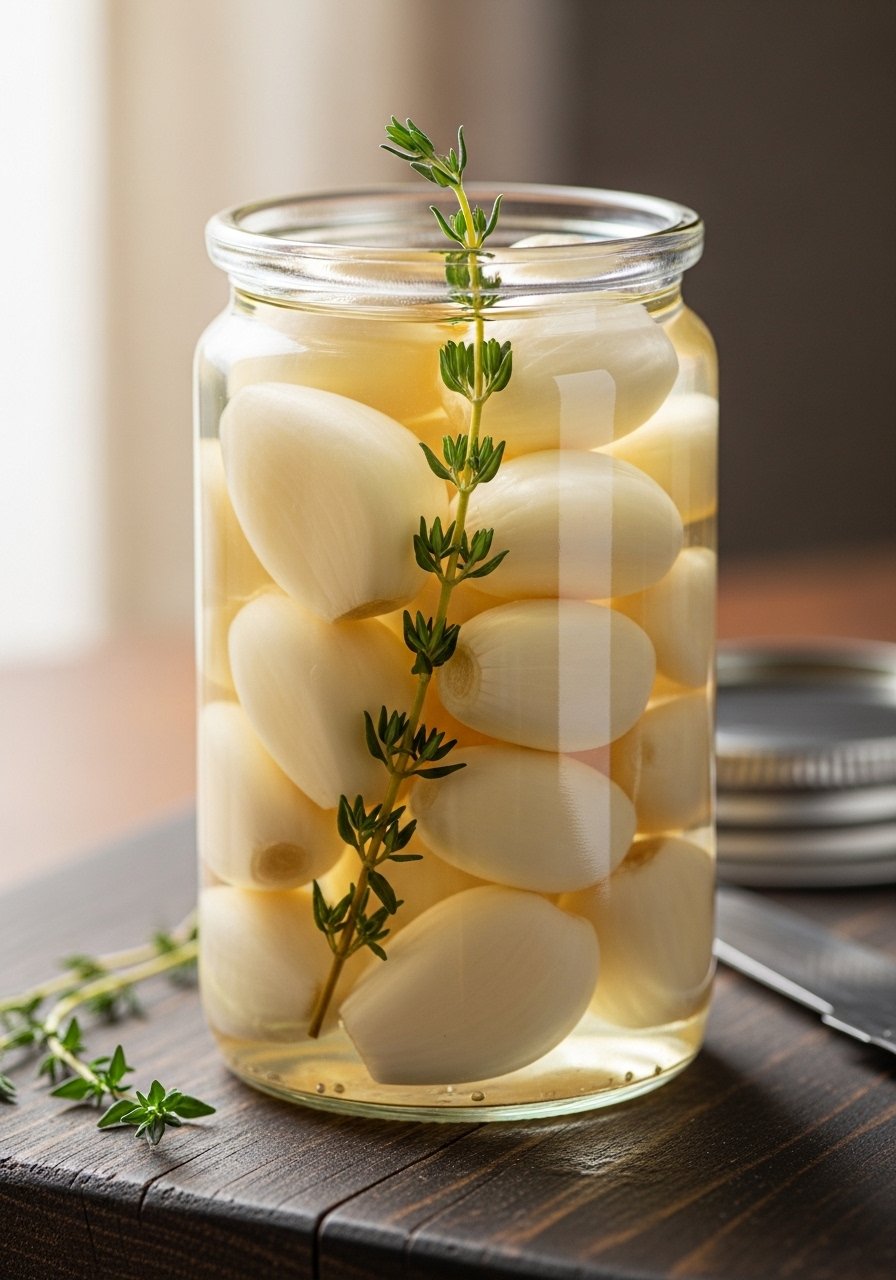
Fermented garlic mellows raw bite into a tangy, savory treat. Cloves turn soft with complex savory notes—great for dressings, sauces, or snacking.
Ingredients
- 1 head garlic, cloves separated and peeled
- 1 tbsp salt dissolved in 1.5 cups water
- 1 tsp honey (optional starter)
- Small jar
Step-by-Step Instructions
- Prep Garlic: Peel cloves
Peel garlic and inspect for bruises; use firm cloves. - Add Brine: Cover cloves
Place garlic in jar and pour brine and optional honey to cover. - Ferment: 2–4 weeks at 60–70°F
Keep jar out of direct sun. Taste after 2 weeks for balance; longer for tangier flavor. - Store: Move to fridge
Refrigerate once desired flavor achieved; use within months.
14. Fermented Hot Sauce
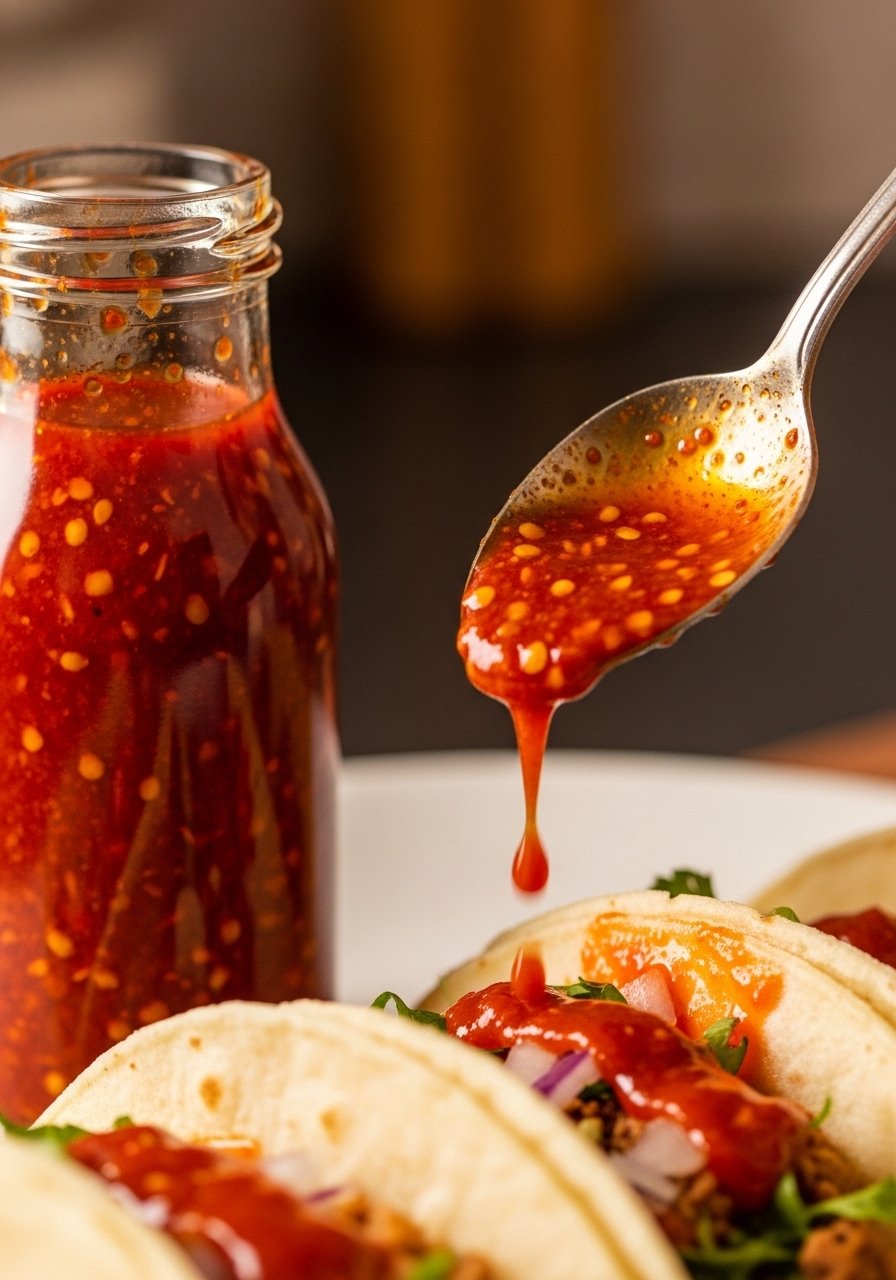
This fiery sauce uses fermented peppers for depth and tang. It’s bright, spicy, and develops complex flavor during fermentation.
Ingredients
- 1 lb hot peppers (jalapeño, serrano, or mixed), stems removed
- 3 cloves garlic
- 1–2 tsp salt per cup chopped peppers
- 1/4 cup water
- Blender and bottles
Step-by-Step Instructions
- Chop Peppers: Wear gloves
Chop peppers and garlic; use gloves to avoid irritation. - Salt & Pack: Create brine
Mix chopped peppers with salt and pack into jar. Add a splash of water if needed. - Ferment: 7–14 days at 65–72°F
Cover loosely. Taste at 7 days for tang; ferment longer for deeper flavor. - Blend & Bottle: Smooth sauce
Blend fermented peppers with a bit of brine until smooth. Strain if desired and bottle. Refrigerate.
15. Fermented Salsa Roja
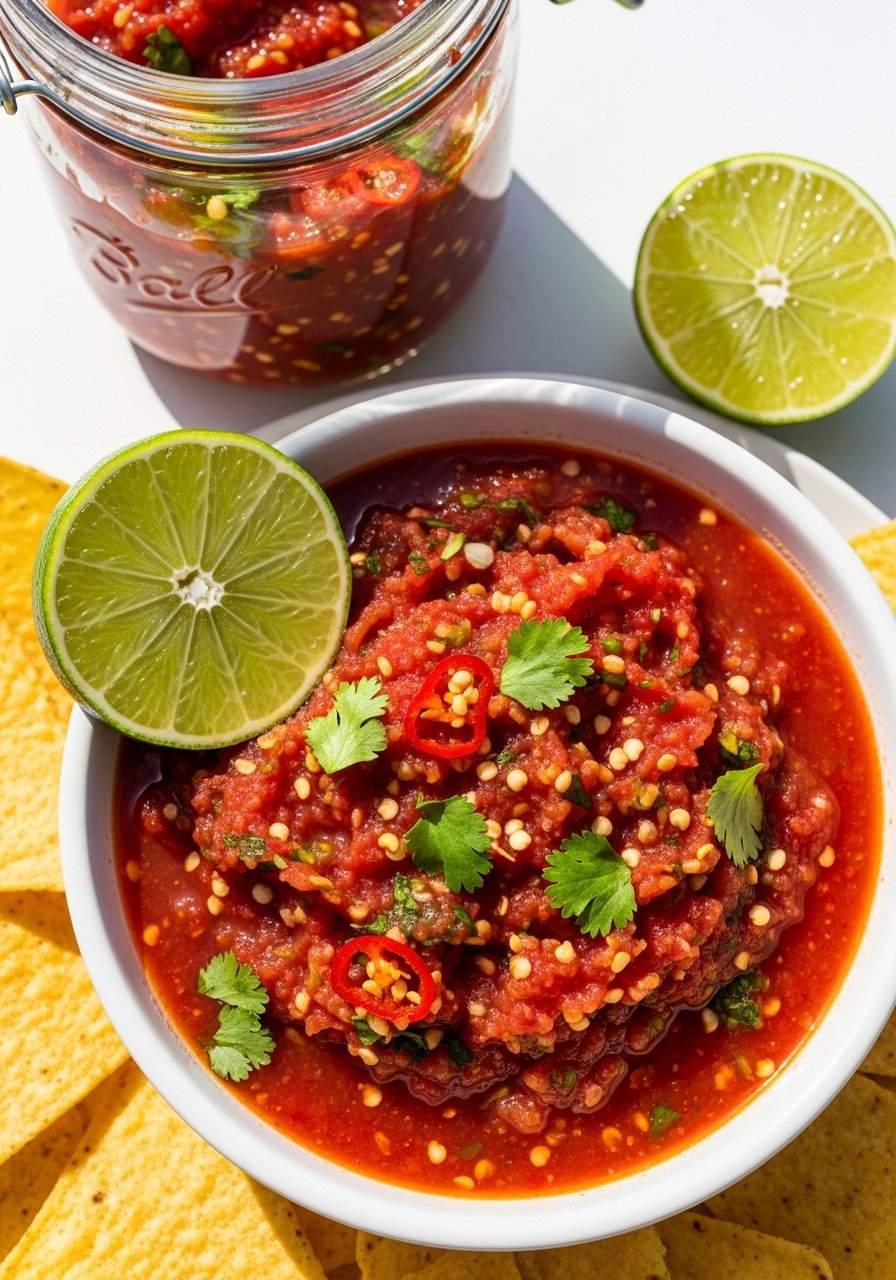
Fermenting salsa brightens and deepens the tomato-chile flavors. It’s slightly tangy and pairs well with chips, tacos, or grilled meats.
Ingredients
- 4 ripe tomatoes, quartered
- 1 onion, rough chopped
- 2 jalapeños or chiles, seeded if desired
- 1 tsp salt per cup of chopped mix
- 1/4 cup cilantro and juice of 1 lime
Step-by-Step Instructions
- Blend Ingredients: Coarse texture
Pulse tomatoes, onion, chiles, and salt in a blender until chunky. - Pack Jar: Leave headspace
Place salsa in a jar and press down to remove air pockets. - Ferment: 2–4 days at room temp
Cover loosely. Taste daily; when pleasantly tangy transfer to fridge. - Finish & Serve: Add cilantro & lime
Stir in cilantro and lime before serving. Keeps several weeks refrigerated.
16. Quick Miso (Brown Rice Miso, Short Ferment)
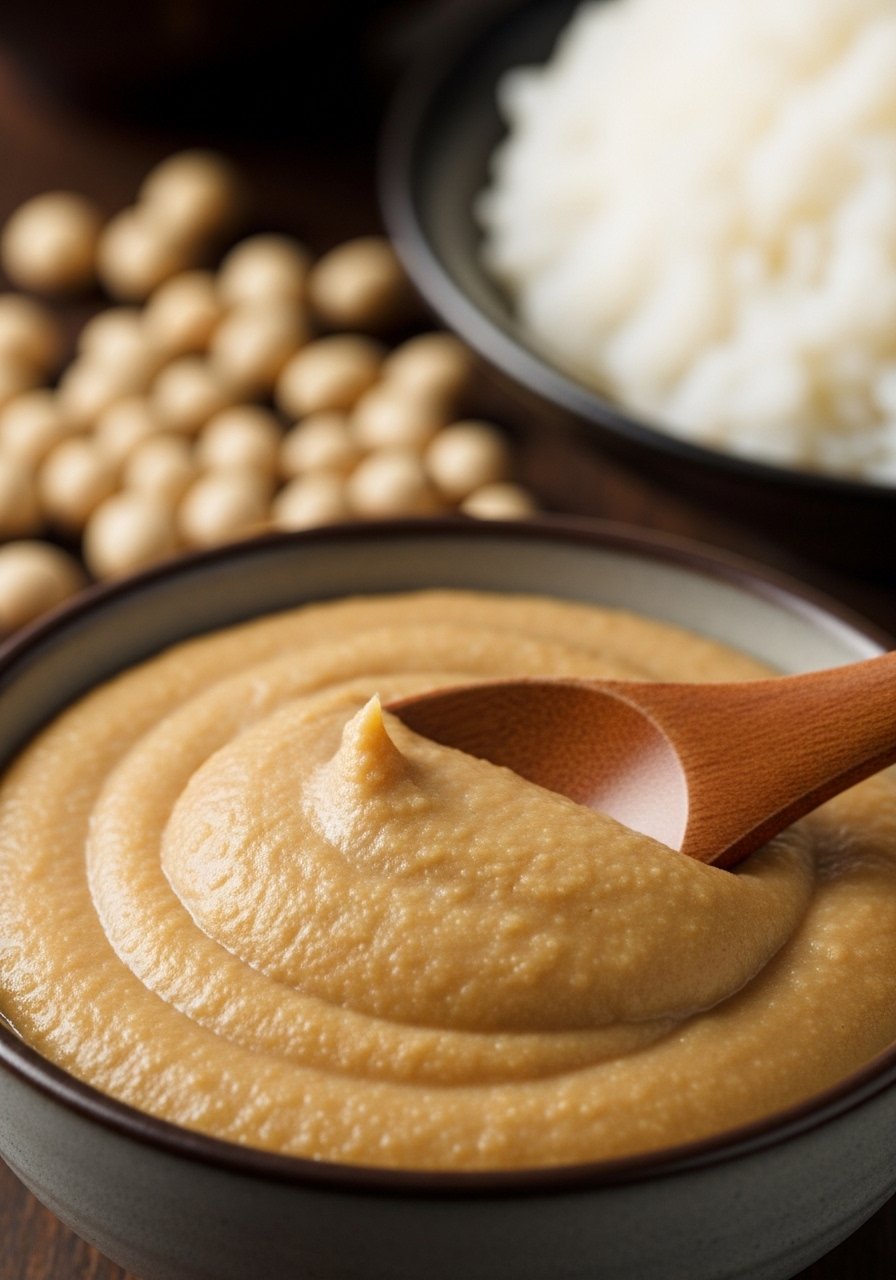
A short-fermented miso provides savory umami for soups and marinades. Using koji speeds fermentation—expect mild flavor in weeks rather than years.
Ingredients
- 2 cups cooked soybeans, mashed
- 2 cups koji rice (or koji powder mixed with rice)
- 1/2–3/4 cup sea salt
- Clean jar and weight
Step-by-Step Instructions
- Mash Soybeans: Smooth texture
Cook soybeans until soft and mash to a thick paste. - Mix With Koji & Salt: Combine well
Mix mashed beans with koji rice and salt until evenly distributed. - Pack Jar & Weight: Remove air
Pack into jar, press to remove air pockets, and add weight. - Ferment: 1–3 months at 60–70°F
Cover and let ferment. Taste after one month; longer ferment yields deeper flavor.
17. Tempeh (Soybean Ferment)
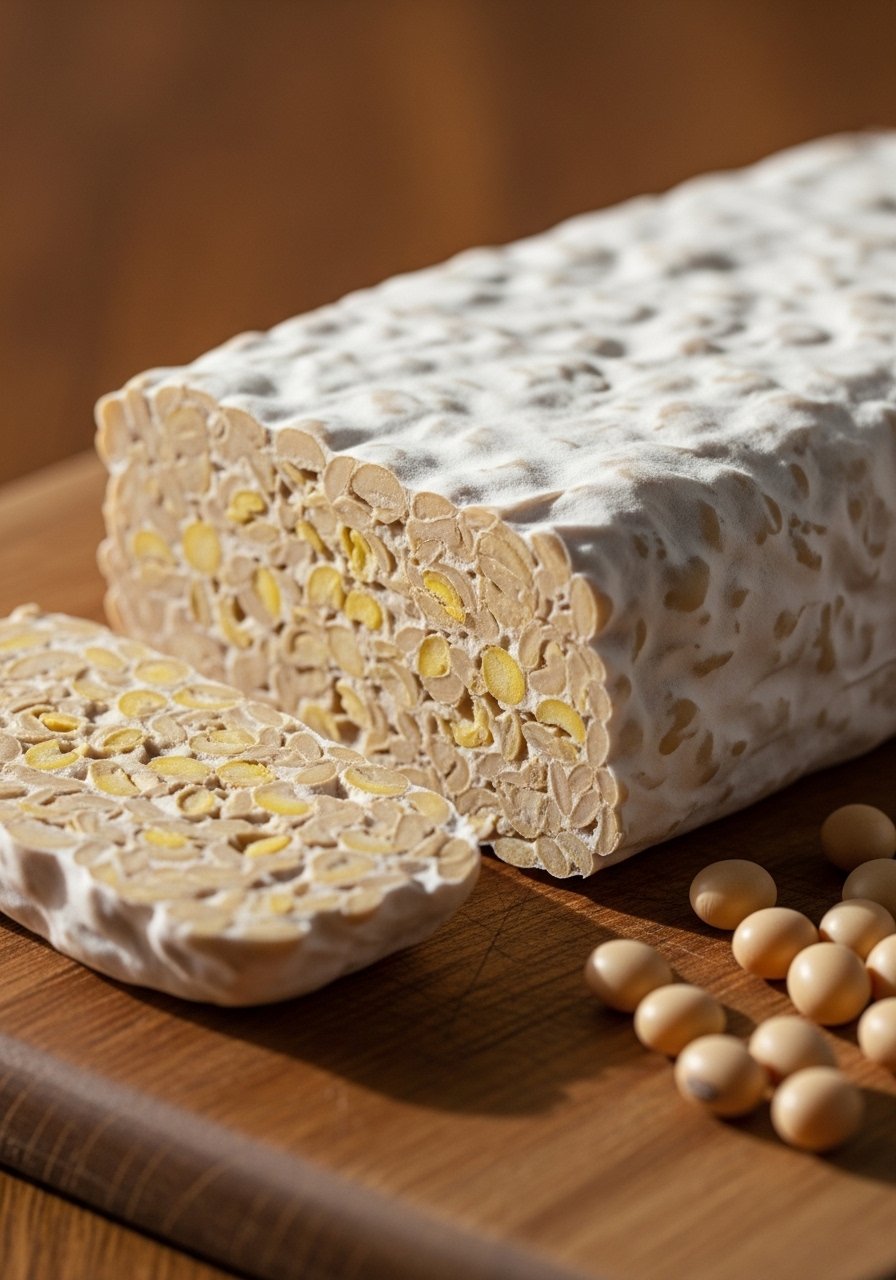
Tempeh is a firm, nutty fermented soybean cake made with a Rhizopus starter. It’s a great plant protein and crisps well when pan-fried.
Ingredients
- 2 cups soybeans, soaked overnight
- 1–2 tsp tempeh starter (Rhizopus)
- Vinegar (1 tbsp)
- Banana leaf or perforated bag for incubation
Step-by-Step Instructions
- Prep Soybeans: Soak, dehull & cook
Soak beans, dehull by rubbing, then cook until tender but not mushy. - Dry & Add Starter: Slightly dry beans
Drain and cool to room temp. Mix in vinegar, then sprinkle tempeh starter. - Pack & Incubate: 24–48 hours at 86–90°F
Pack into perforated bag or wrap in banana leaf. Incubate warm until full white mycelium binds beans (24–48 hours). - Cook or Store: Use fresh or refrigerate
Store in fridge or freeze. Slice and pan-sear or steam.
18. Fermented Mustard Greens (Asian Style)
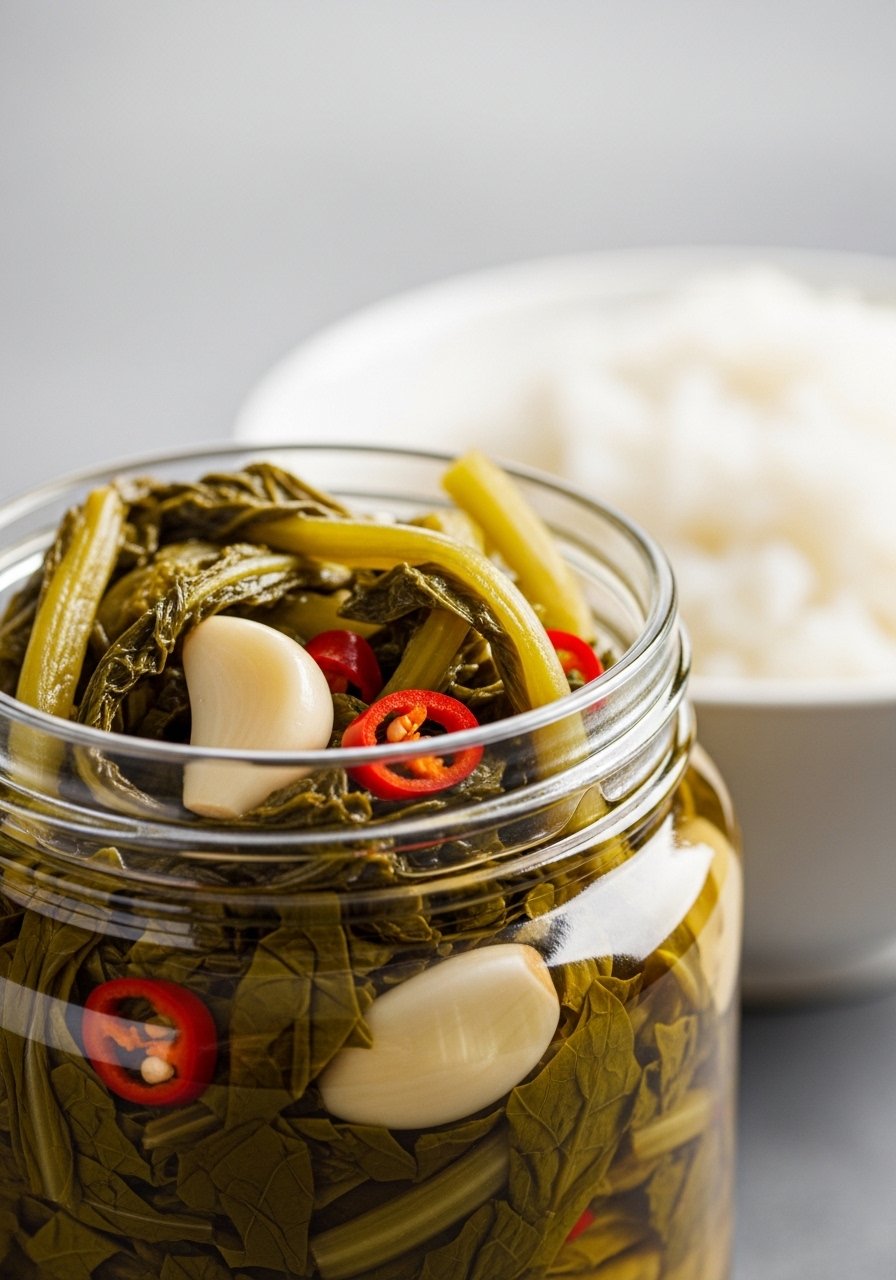
Fermented mustard greens are tangy, slightly spicy, and great with rice and noodle dishes. They retain crunchy bite with vibrant flavor.
Ingredients
- 1 lb mustard greens, chopped
- 1–1.5 tbsp salt per pound of greens
- 2 cloves garlic, sliced, and 1 tbsp fish sauce or tamari
- Quart jar and weight
Step-by-Step Instructions
- Salt The Greens: Wilt them
Toss chopped greens with salt and let sit 20–30 minutes until wilted. - Add Flavorings: Mix garlic & sauce
Mix in garlic and fish sauce/tamari, then press into jar. - Pack & Keep Submerged: Use weight
Add weight so brine covers greens. - Ferment: 3–7 days at 65–72°F
Taste for tanginess; refrigerate when ready.
19. Dilly Green Beans (Fermented)
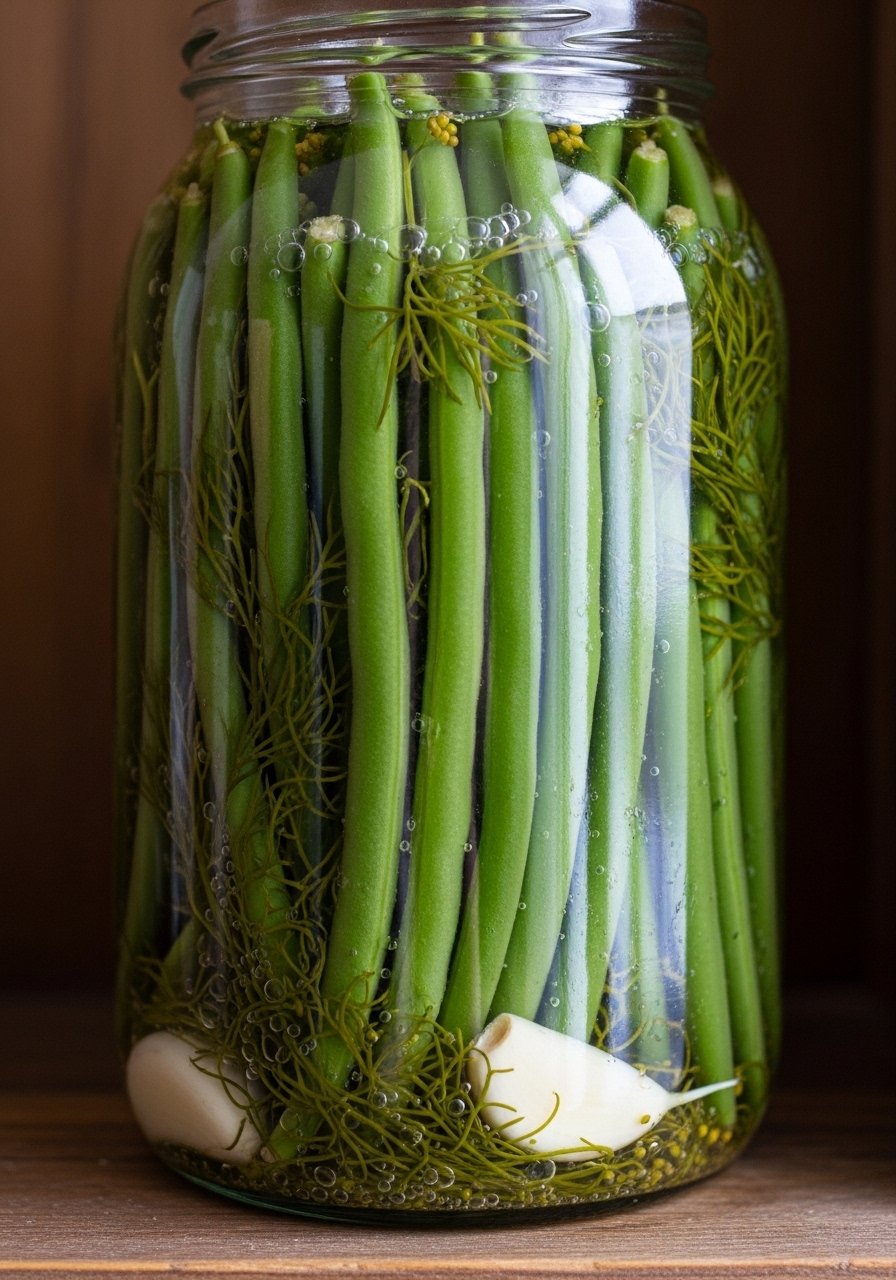
These lacto-fermented green beans are crisp with dill and garlic flavors. They make savory snacks and are a great pickle alternative.
Ingredients
- 1 lb green beans, trimmed
- 3 garlic cloves
- 2 dill sprigs
- 1 tbsp salt dissolved in 2 cups water
- Quart jar
Step-by-Step Instructions
- Pack Beans: Vertical packing
Pack beans upright in jar with garlic and dill. - Add Brine: Cover fully
Pour brine to cover beans and add weight. - Ferment: 5–10 days at 65–70°F
Check for crunch and tang; ferment until preferred sourness. - Refrigerate: Keeps crispy weeks
Move to fridge when flavor is right.
20. Pickled Red Onions (Lacto-Fermented)
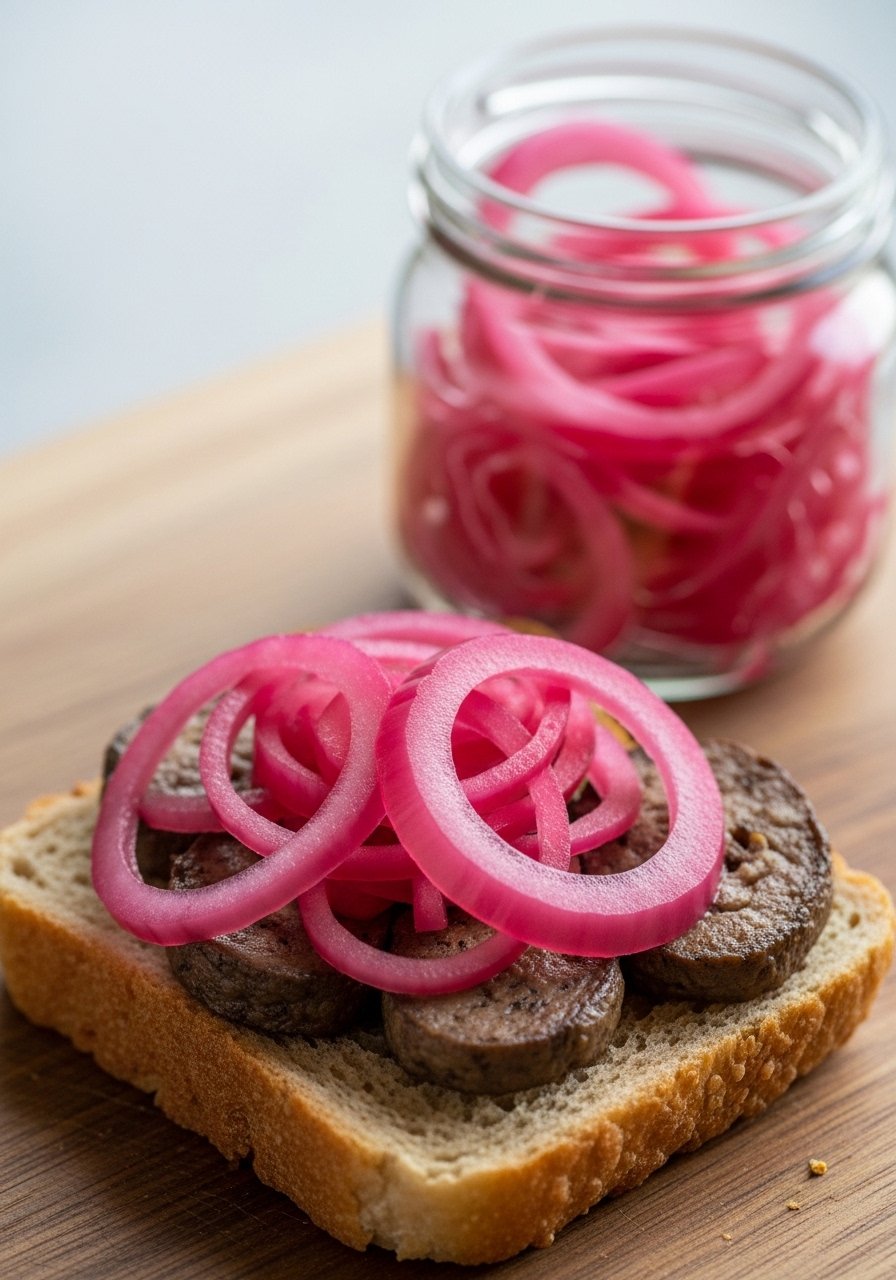
Lacto-fermented red onions are bright, slightly sweet, and tangy. They liven up tacos, salads, and bowls and are simple to make.
Ingredients
- 2 red onions, thinly sliced
- 1 tbsp salt per 1.5 cups onions
- 1 cup water
- 1 tsp sugar (optional)
Step-by-Step Instructions
- Slice Onions: Thin rings
Slice onions thin and pack into jar. - Make Brine: Dissolve salt
Mix salt and water until dissolved. - Cover & Weigh Down: Submerge
Pour brine over onions so they’re fully submerged; add weight. - Ferment: 2–5 days at room temp
Taste daily until pleasantly tangy. Transfer to fridge.
21. Lacto-Fermented Beets
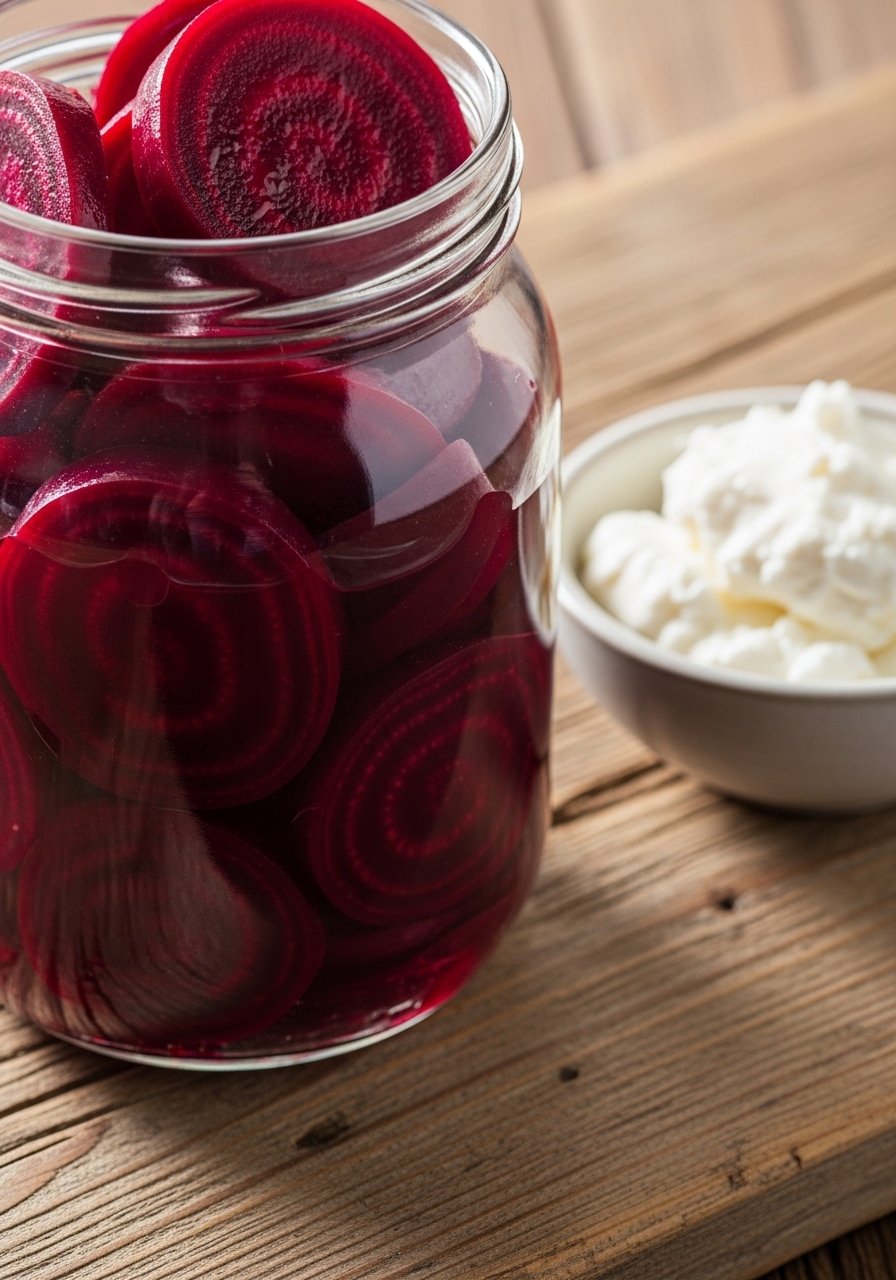
Fermented beets are tender, earthy, and subtly tangy. Fermentation enhances their sweetness and preserves color and nutrients.
Ingredients
- 2–3 medium beets, peeled and sliced
- 1 tbsp salt per 2 cups sliced beets
- 1 cup water
- 1 tsp caraway (optional)
Step-by-Step Instructions
- Slice Beets: Uniform thickness
Slice beets to 1/4-inch for even fermentation. - Pack & Brine: Cover slices
Pack into jar and add salt-water brine with optional caraway. - Ferment: 7–14 days at 60–70°F
Ferment longer for softer texture. Check after one week. - Refrigerate: Store chilled
Once tanginess is right, refrigerate to stop fermentation.
22. Fermented Ketchup
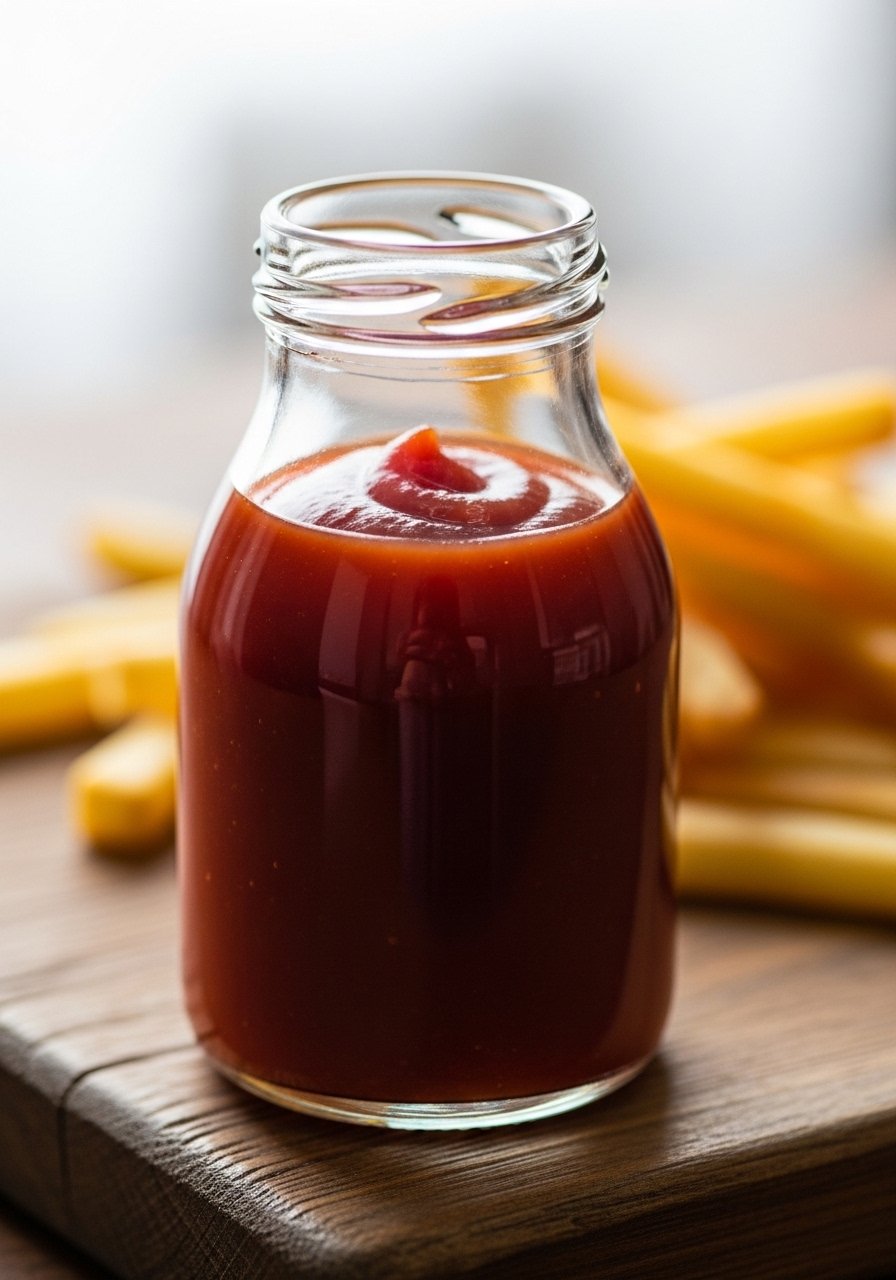
Fermented ketchup adds depth and tang to classic ketchup flavors. It’s savory, slightly sour, and delicious on fries and burgers.
Ingredients
- 1 cup tomato paste
- 1/2 cup apple cider vinegar
- 2 tbsp honey or sugar
- 1 tsp salt, 1 tsp onion powder, 1/2 tsp garlic powder
- 2 tbsp whey or 2 tbsp brine from sauerkraut
Step-by-Step Instructions
- Mix Ingredients: Smooth sauce
Whisk tomato paste, vinegar, sweetener, spices, and starter until smooth. - Jar & Cover: Leave room for gases
Place in jar and cover with breathable lid. - Ferment: 3–7 days at room temp
Taste daily until tangy but not off. Refrigerate when preferred flavor reached. - Use & Store: Keeps weeks
Use as you would ketchup; refrigerate to slow fermentation.
23. Apple Cider Vinegar From Scraps
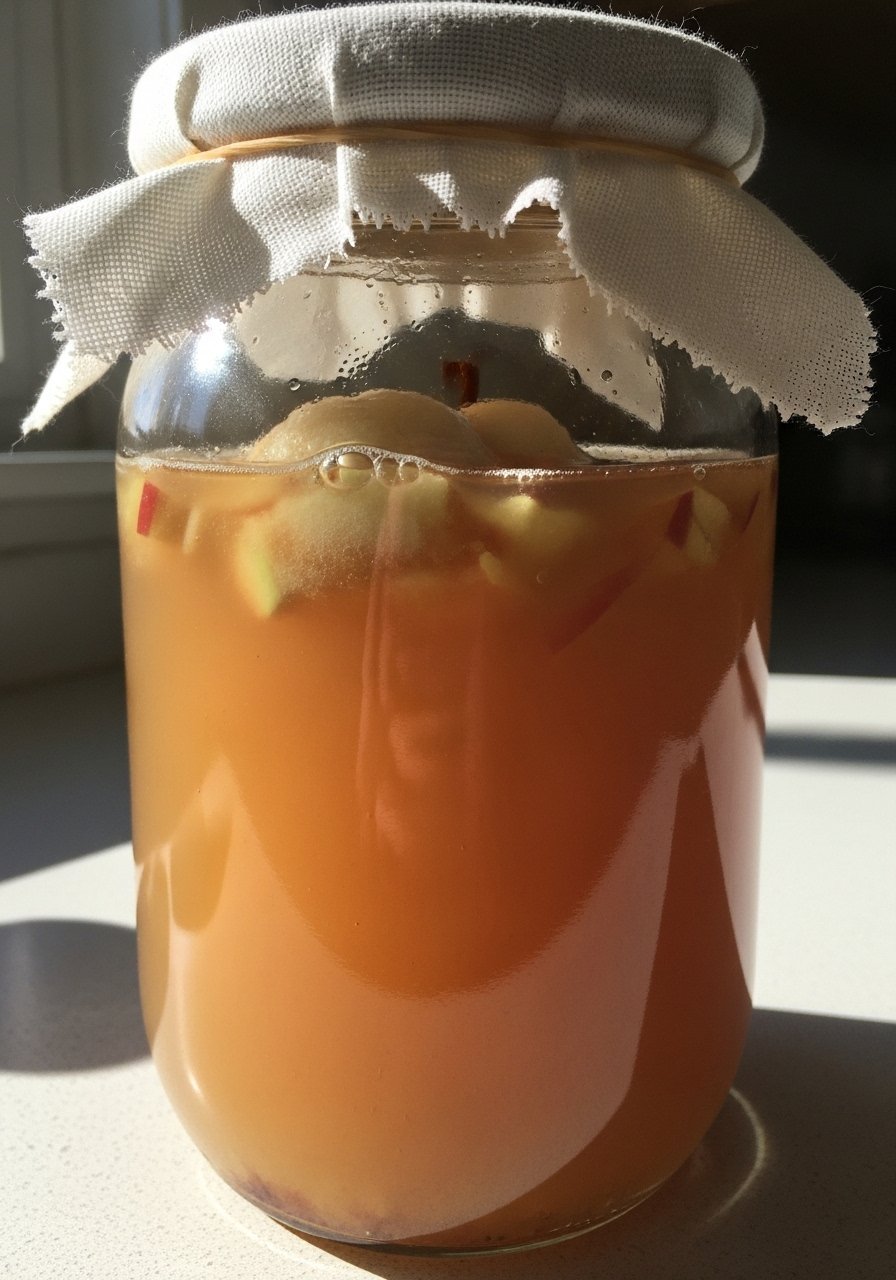
Turn apple scraps into tangy apple cider vinegar (ACV). It’s useful for dressings and cleaning and develops a beneficial “mother” over weeks.
Ingredients
- Apple cores and peels from 4–6 apples
- 2 tbsp sugar per cup of water
- Filtered water to cover
- Wide-mouth jar and breathable cloth
Step-by-Step Instructions
- Fill Jar: Add scraps & sugar water
Place apple scraps in jar and cover with sugar-water solution. - Cover & Ferment: 2–3 weeks (for alcohol)
Cover with cloth and let sit at room temp, stirring every few days. - Strain & Continue Ferment: 3–8 weeks
Strain out solids. Return liquid to jar and ferment 3–8 more weeks until acidic to taste. - Store: Bottle & refrigerate if desired
When vinegar tastes right, bottle and store at room temp.
24. Tepache (Fermented Pineapple Drink)
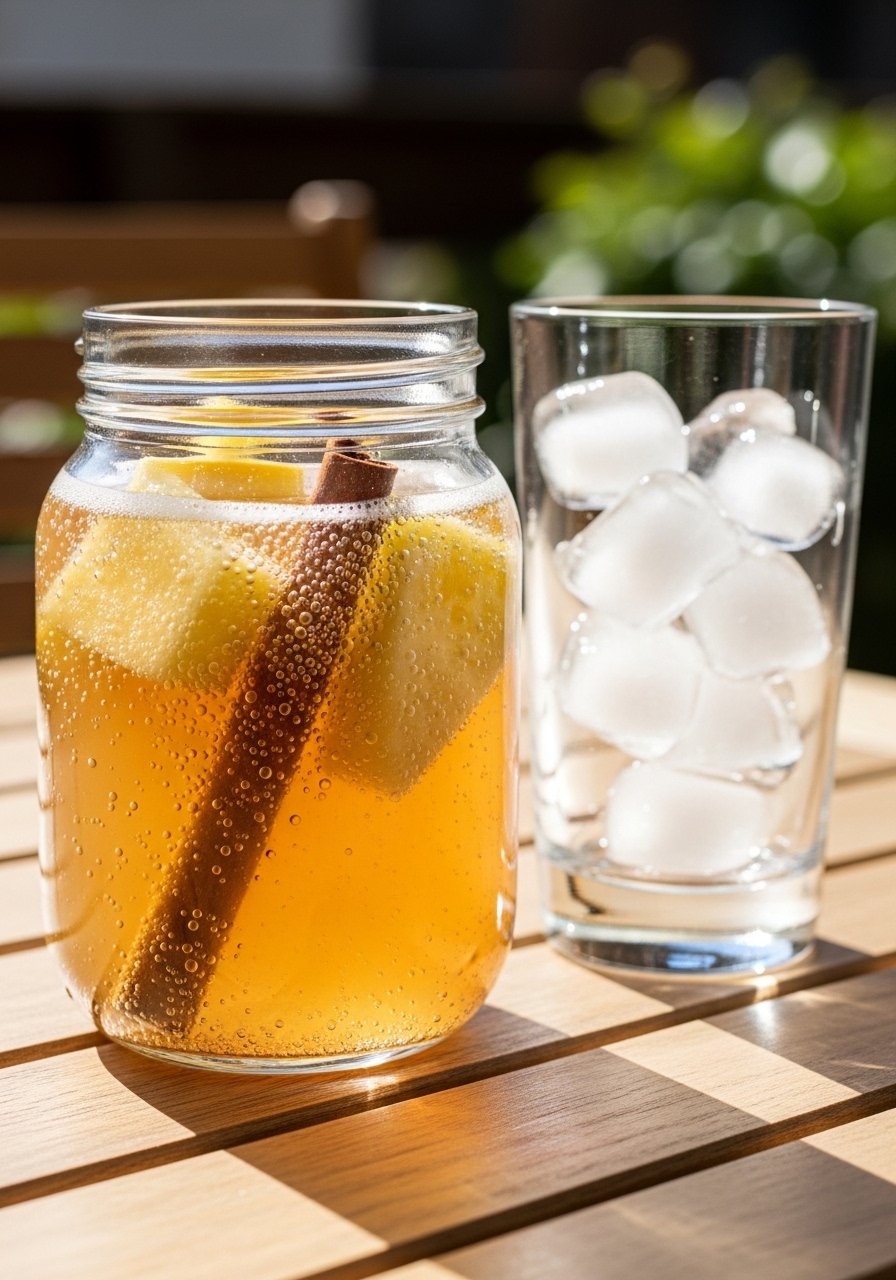
Tepache is a lightly fermented pineapple drink with warm spices and mild effervescence. It’s sweet, tangy, and refreshing on a hot day.
Ingredients
- Rinds and cores of 1 pineapple
- 1/2–1 cup piloncillo or brown sugar
- 1 cinnamon stick, 1 slice ginger (optional)
- 2–3 cups water per pineapple
Step-by-Step Instructions
- Combine Ingredients: Jar with rinds
Place pineapple rinds, sugar, cinnamon, and ginger in a jar and add water. - Ferment: 2–3 days at room temp
Cover loosely and ferment until bubbly and slightly tangy. - Strain & Chill: Stop fermentation
Strain and refrigerate. Serve over ice; second ferment for more fizz if desired. - Use: Drink within a week
Enjoy chilled and fresh.
25. Ginger Bug Starter (For Homemade Sodas)
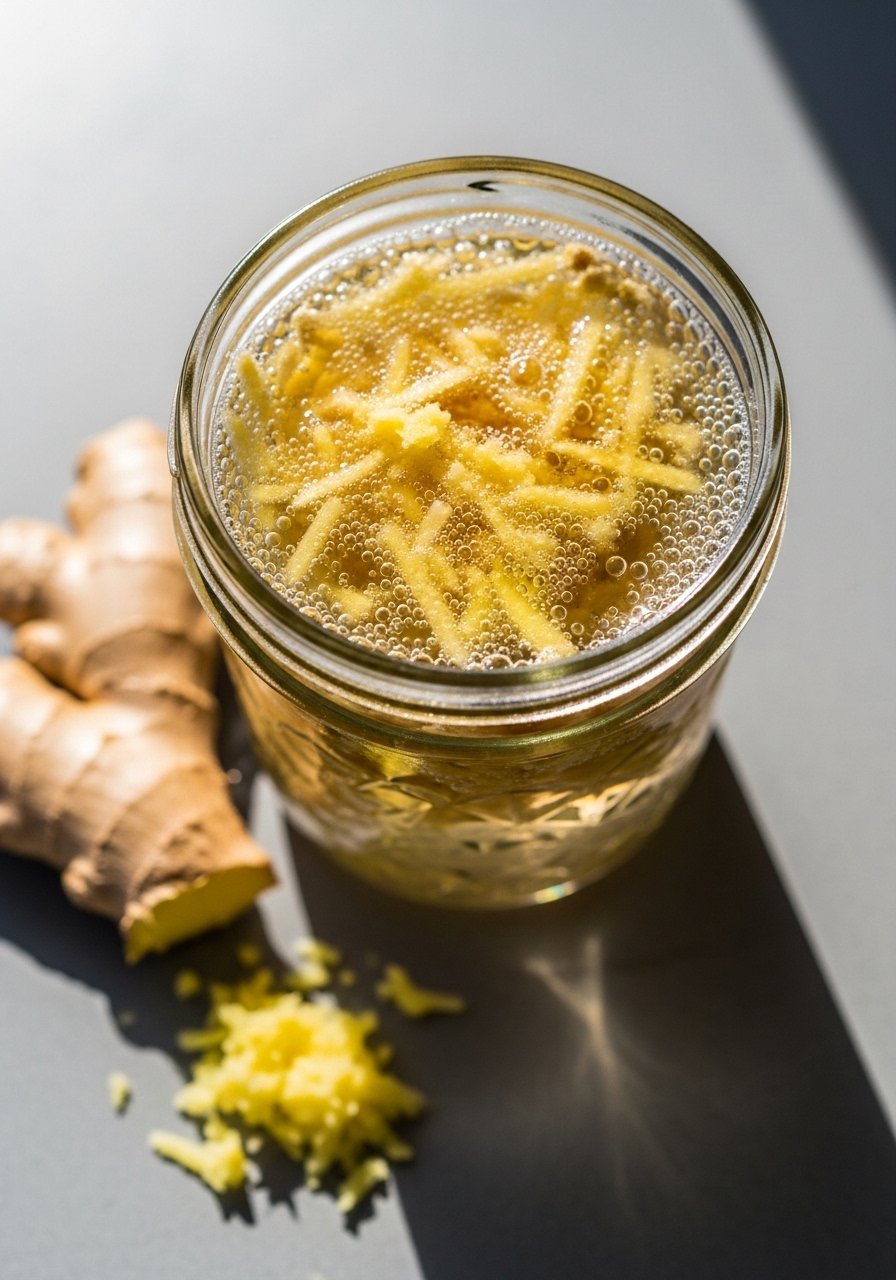
A ginger bug is a live culture used to ferment homemade sodas and beverages. It’s easy to maintain and creates lively carbonation when added to sweetened juices.
Ingredients
- 2 tbsp freshly grated ginger (with skin)
- 2 tbsp sugar
- 1 cup filtered water (room temp)
- Clean jar
Step-by-Step Instructions
- Mix Starter: Stir daily
Combine ginger, sugar, and water in jar. Cover with cloth. - Feed Daily: 3–5 days
Add 1 tbsp each grated ginger and sugar daily until bubbly and active (3–5 days). - Use Bug: Add to sweet juice
Strain and add 1/4–1/2 cup active ginger bug to 1 quart of sweetened juice for soda. Bottle for carbonation. - Maintain: Feed weekly
Keep some ginger bug in fridge and feed weekly or keep at room temp and feed daily.
Final Thoughts
Fermenting at home is simple, creative, and deeply satisfying. Start with one or two recipes and build confidence—your palate will guide you. Remember to taste often and keep things clean, and you’ll enjoy delicious, probiotic-rich foods all week long.
If you’re stocking up on tools, a set of Mason Jars and a pack of Fermentation Weights make many recipes easier. For kombucha fans, a glass Kombucha Brewing Jar and breathable cloth are handy.