Looking for a show-stopping centerpiece for your Halloween party? A Halloween charcuterie board is the perfect mix of spooky, fun, and irresistibly delicious.
It’s the kind of thing that makes guests gather around, snap photos, and graze all night long.
The best part? It’s actually easy to put together, and you don’t need to be a chef or artist to make it look amazing.
In this guide, I’ll show you exactly how to build a Halloween charcuterie board step-by-step, including ingredient ideas, styling tips, and a few fun tricks to make it extra spooky.
What to Include on Your Board
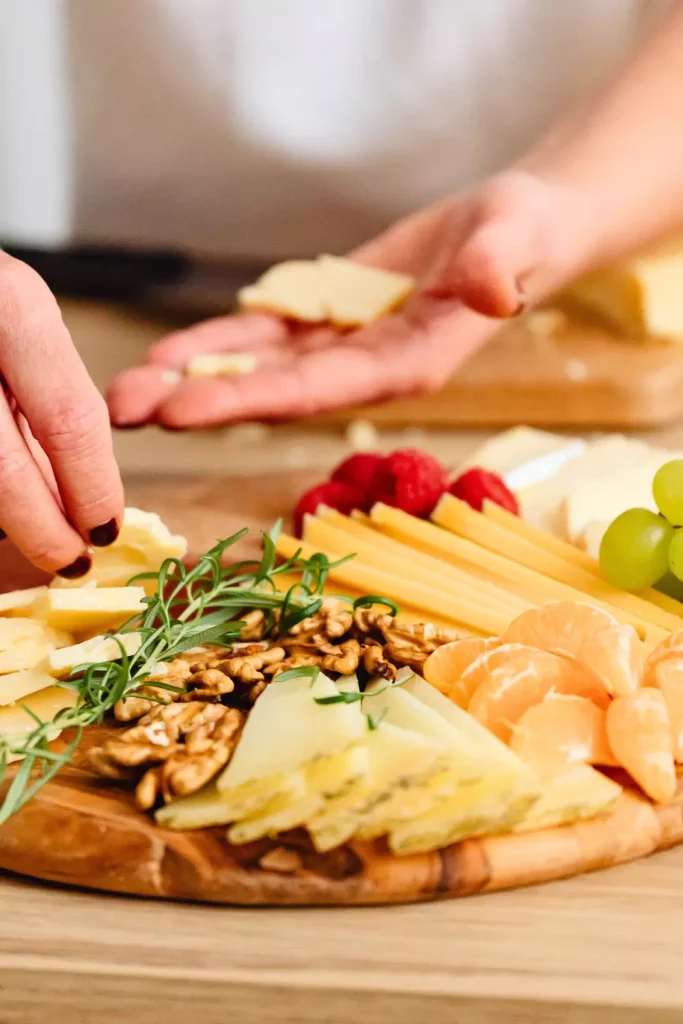
When building a Halloween charcuterie board, start with a mix of cheeses. Choose a combination of soft and hard cheeses to keep it interesting.
Brie is a fantastic choice and can be turned into a spooky centerpiece by cutting a spiderweb pattern on top or drizzling it with a dark balsamic glaze. Aged cheddar adds that perfect pop of orange, fitting right into the Halloween color scheme.
You can also add black wax-covered cheeses for a dramatic, moody vibe, or small mozzarella balls shaped like ghosts using black olive slices for eyes.
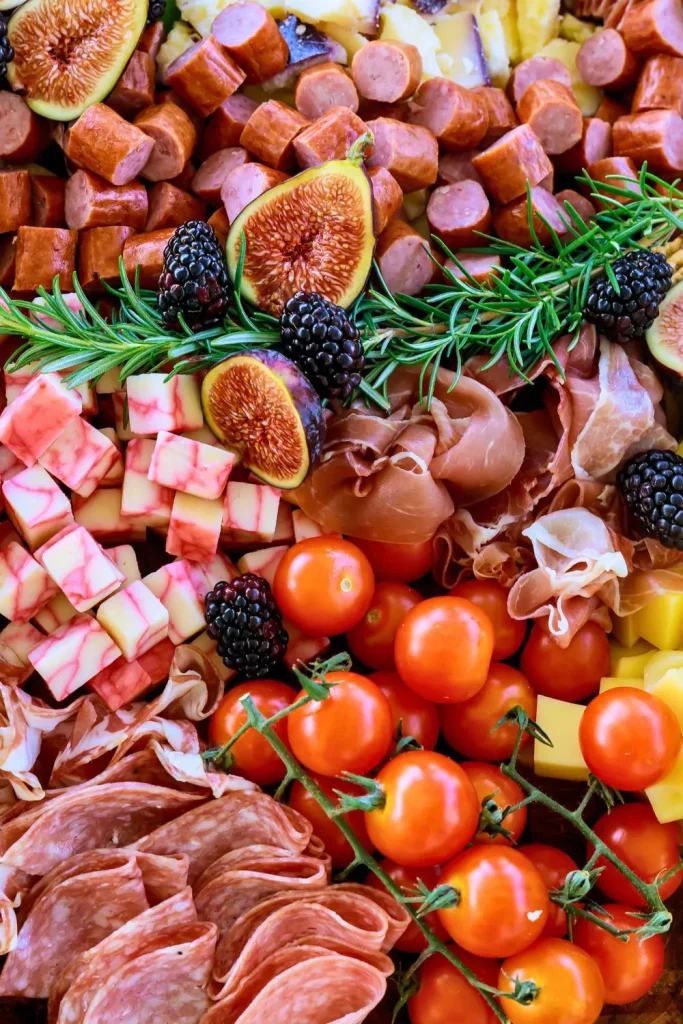
Next, add some cured meats for savory balance. Salami folded into little roses or twisted into shapes that resemble witch hats makes the board look playful and creative.
Prosciutto and pepperoni are great additions too — they’re easy to layer and always a hit.
Crackers and breads are essential for scooping and pairing. Use a variety to create texture and visual interest.
Black sesame crackers add a dark, mysterious look, while classic water crackers and crunchy breadsticks give guests options. Arrange them in little fans or stacks to create movement on the board.
To brighten things up, include fresh fruits. Black or purple grapes look spooky and elegant at the same time.
Apple slices, strawberries, figs, and even blueberries can add color and sweetness. Think about choosing fruits that feel a little dark and moody — perfect for that Halloween vibe.
Of course, you can’t forget the sweet treats! This is where you can really have fun.
Scatter gummy worms or spiders across the board to surprise your guests. Candy corn, chocolate eyeballs, marshmallow ghosts, and mini Halloween-themed cookies add whimsy and a pop of color. A few small chocolates or dark chocolate pieces are always appreciated by adults.
For some extra crunch, sprinkle in nuts like almonds or cashews.
Black and green olives work beautifully too — they look like “monster eyes” and add a briny bite to the mix.
If you’d like, tuck in small bowls of spreads or jams (like a bright red pepper jelly or strawberry jam that looks “bloody”) for dipping and layering.
Assembling Your Board
Start by placing your cheeses and any small bowls first. These will act as the anchors of your board, so spread them out to create balance.
Next, arrange your cured meats around the cheeses. You can fold, roll, or fan them out to create interesting shapes and textures.
Once your main items are set, start layering in the crackers and bread pieces. Try to make them look as natural as possible — like they’re spilling out a little bit. After that, begin filling in with fruits, placing them in little clusters for pops of color.
Now it’s time for the fun part: adding all the Halloween-themed sweets and treats. Tuck gummy worms between crackers, scatter candy eyeballs near the cheeses, and place marshmallow ghosts peeking out from behind grapes.
Finally, fill in any small gaps with nuts, chocolates, or olives.
To make your board feel truly Halloween-ready, add decorative props. A few plastic spiders, mini pumpkins, or rosemary sprigs that resemble little witch brooms instantly bring the spooky theme to life.
Just make sure any decorations don’t touch the food directly, or use food-safe items.
Tips for a Perfect Halloween Board
- Prep ingredients ahead of time. Wash fruits, cut cheeses, and fold meats so you can assemble quickly on the day of your party.
- Assemble about an hour before serving. This keeps everything fresh and avoids crackers or bread getting soggy.
- Cover and chill if needed. If you make it early, cover the board loosely with plastic wrap and refrigerate until guests arrive.
- Leave space to refill. A good board looks abundant but also has space for adding more items as guests graze.
- Use a dark board for a spooky look. Black or slate serving boards make bright cheeses and candies stand out.
- Get creative with shapes. Use cookie cutters to turn cheese slices into ghosts or pumpkins for extra Halloween fun.
- Add “bloody” effects. Drizzle red pepper jelly or strawberry jam to create creepy, blood-like spots.
- Include some unexpected surprises. Tuck plastic spiders or fake eyeballs around the board (just keep them away from direct contact with food).
- Think about texture and color. Mix crunchy, creamy, chewy, and juicy items to make the board exciting and visually appealing.
Final Thoughts
A Halloween charcuterie board is a guaranteed crowd-pleaser. It’s festive, fun, and completely customizable. Most importantly, it brings people together and sets the perfect spooky (but delicious!) mood for your Halloween gathering.
So grab your favorite treats, get creative, and have fun building a board that’s as much a feast for the eyes as it is for the stomach.