You want crunchy, evenly cooked chicken strips without guesswork or soggy bottoms. If your air fryer leaves some pieces perfect and others underdone, this guide will fix that—fast. You'll learn how to air fry chicken strips evenly every time, with small tweaks that make a big difference.
The secret tools are simple: a good air fryer with a roomy basket and an instant-read thermometer to hit 165°F reliably. These give consistent cook space and quick doneness checks so you can stop overcooking.
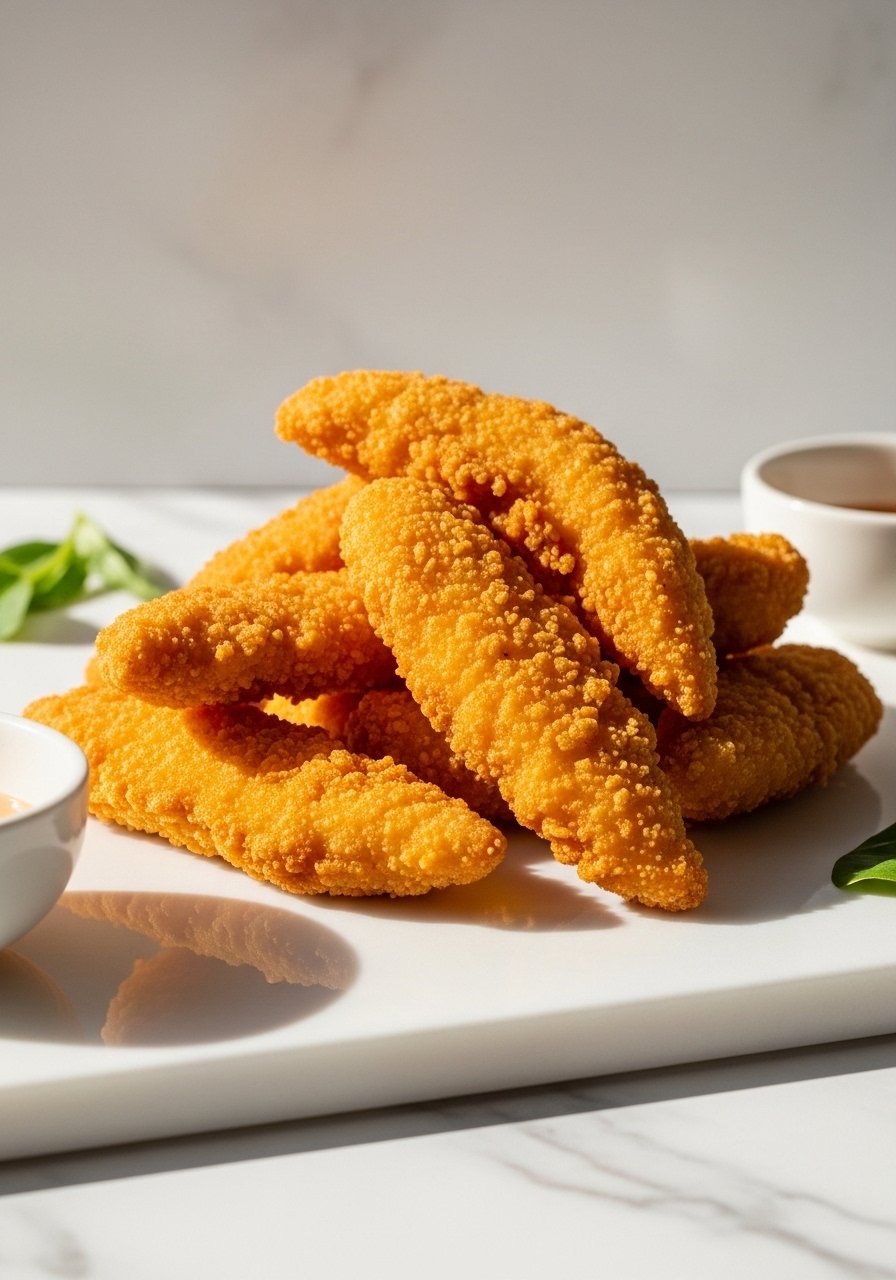
Read on for a 30-minute, meal-prep friendly approach that covers prep, airflow tricks, timing, and storage. You’ll get crisp, golden strips that look as good as they taste.
Preparing Your Ingredients
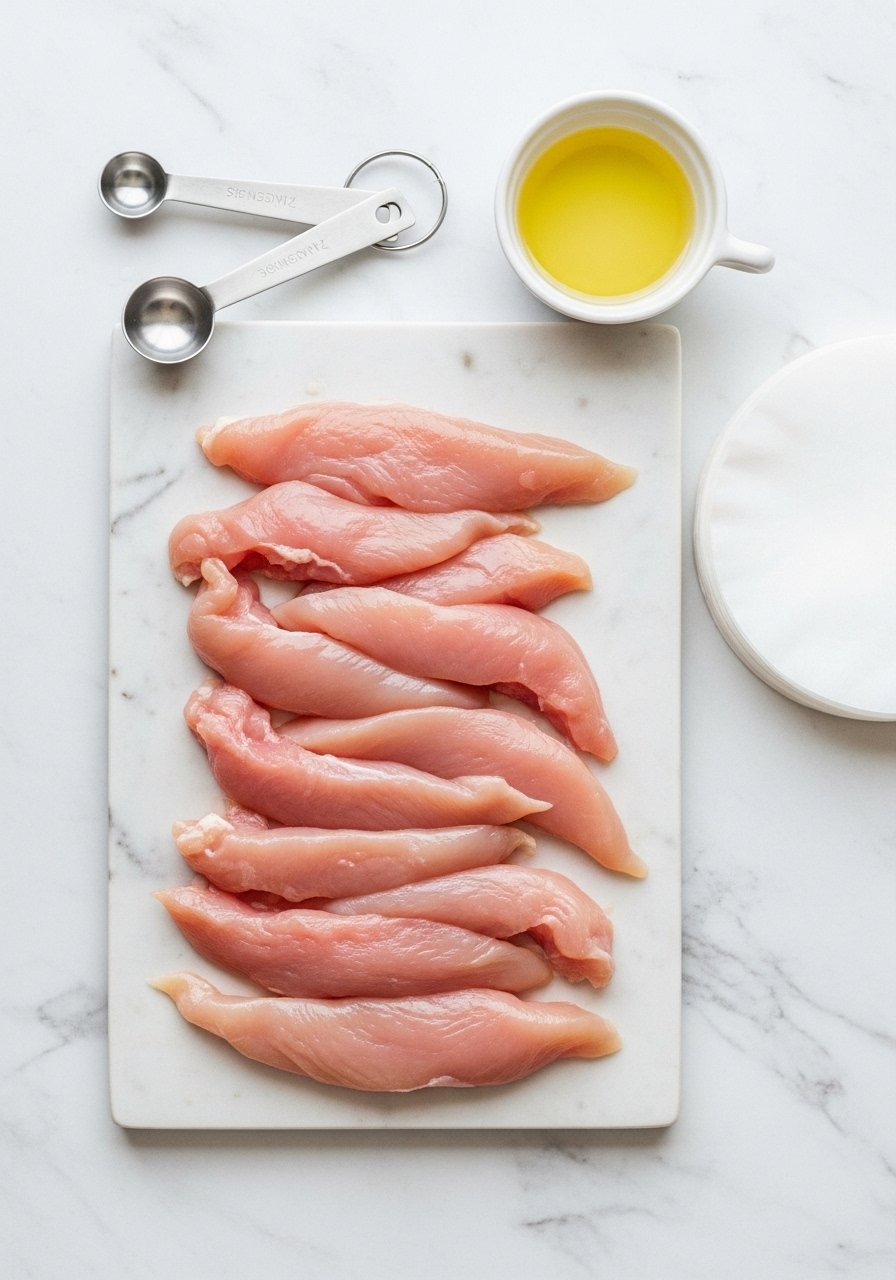
- Trim and slice boneless chicken breasts or thighs into even 3/4-inch strips for uniform cooking.
- Pat pieces dry with paper towels; moisture ruins crisping.
- Season or marinate 15–30 minutes. For a quick binder, whisk 1 large egg with 1 tbsp water and dip strips into seasoned breadcrumbs or panko.
Helpful tools:
- Use measuring spoons to keep your seasoning consistent.
- Store prepped strips in glass meal prep bowls if you're batching for the week.
Pro tip: Weighing strips helps when you batch-cook; equal weights mean equal cook times.
Getting Your Air Fryer Ready (How To Maximize Airflow)

- Preheat your air fryer to 400°F for 3–5 minutes. Preheating gives instant, even heat the moment the strips hit the basket.
- Use air fryer parchment paper liners with holes or leave them out if you need the best airflow. Liners are handy for sticky coatings.
- Arrange strips in a single layer with at least 1/2 inch between pieces. Overcrowding causes steaming instead of crisping.
Tools that help:
- A pair of silicone tongs makes placing strips easy without damaging the coating.
- Use a small oil sprayer for a light, even mist of oil—less sogginess, more color.
Warning: Do not pile strips; if you have a lot, cook in batches to keep results consistent.
Cooking Technique to Air Fry Chicken Strips Evenly
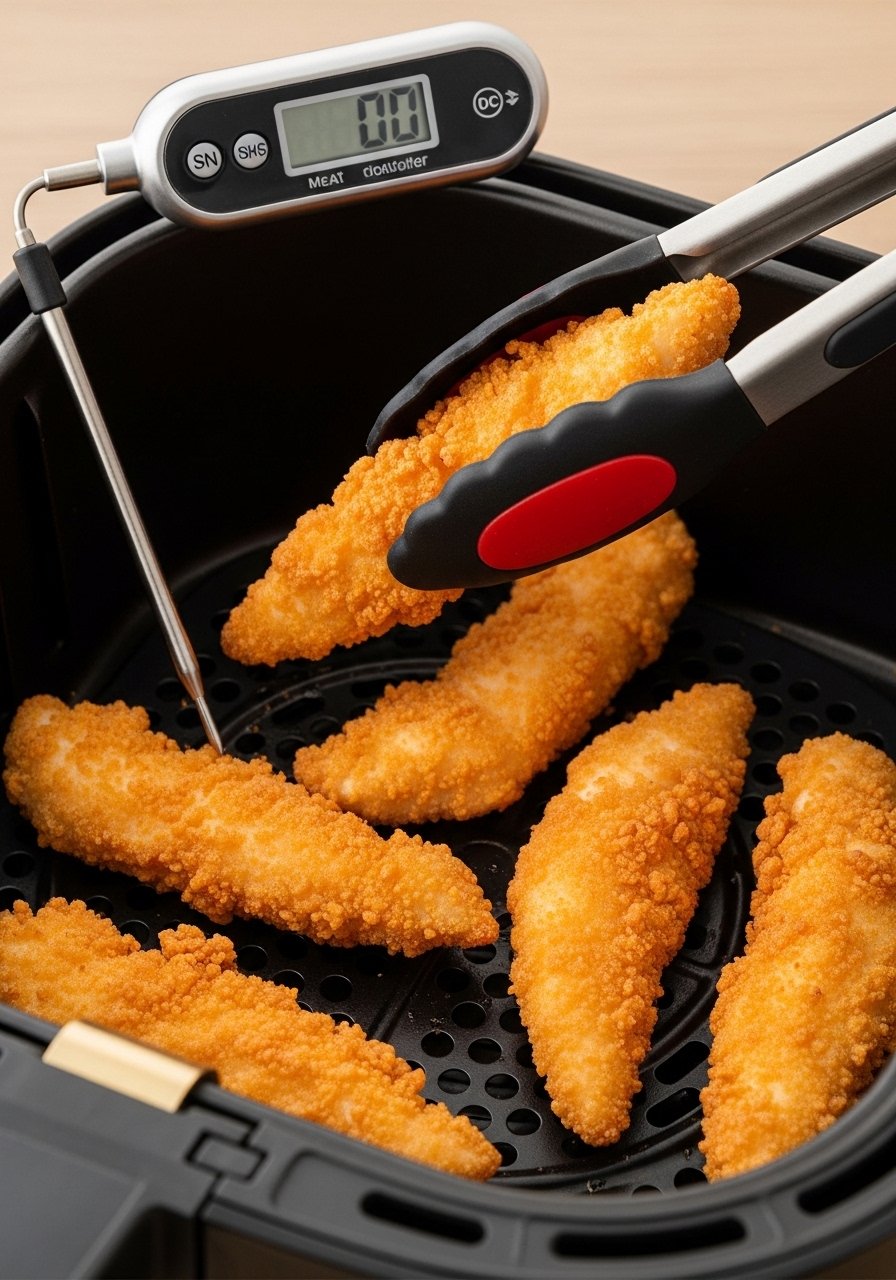
- Set temp to 400°F. Cook for 8–10 minutes for thin strips, 10–12 minutes for thicker ones.
- At the halfway point (4–6 minutes), flip each strip to expose the other side.
- Check internal temp with an instant-read thermometer. Pull at 165°F then rest 3 minutes—carryover heat finishes them.
Extra crisping:
- After flipping, mist again with your oil sprayer for added browning.
- If bottoms are soft, transfer strips to a wire cooling rack placed over a baking sheet for 1–2 minutes to let moisture escape.
Common problems and fixes:
- If coating flakes off, press crumbs firmly during breading and let them set in the fridge 10 minutes.
- If centers are raw but crust is dark, lower temperature to 375°F and add 2–3 minutes.
Finishing Touches and Storage (Meal Prep Friendly)
- Rest strips 3 minutes on a wire cooling rack to keep bottoms crisp.
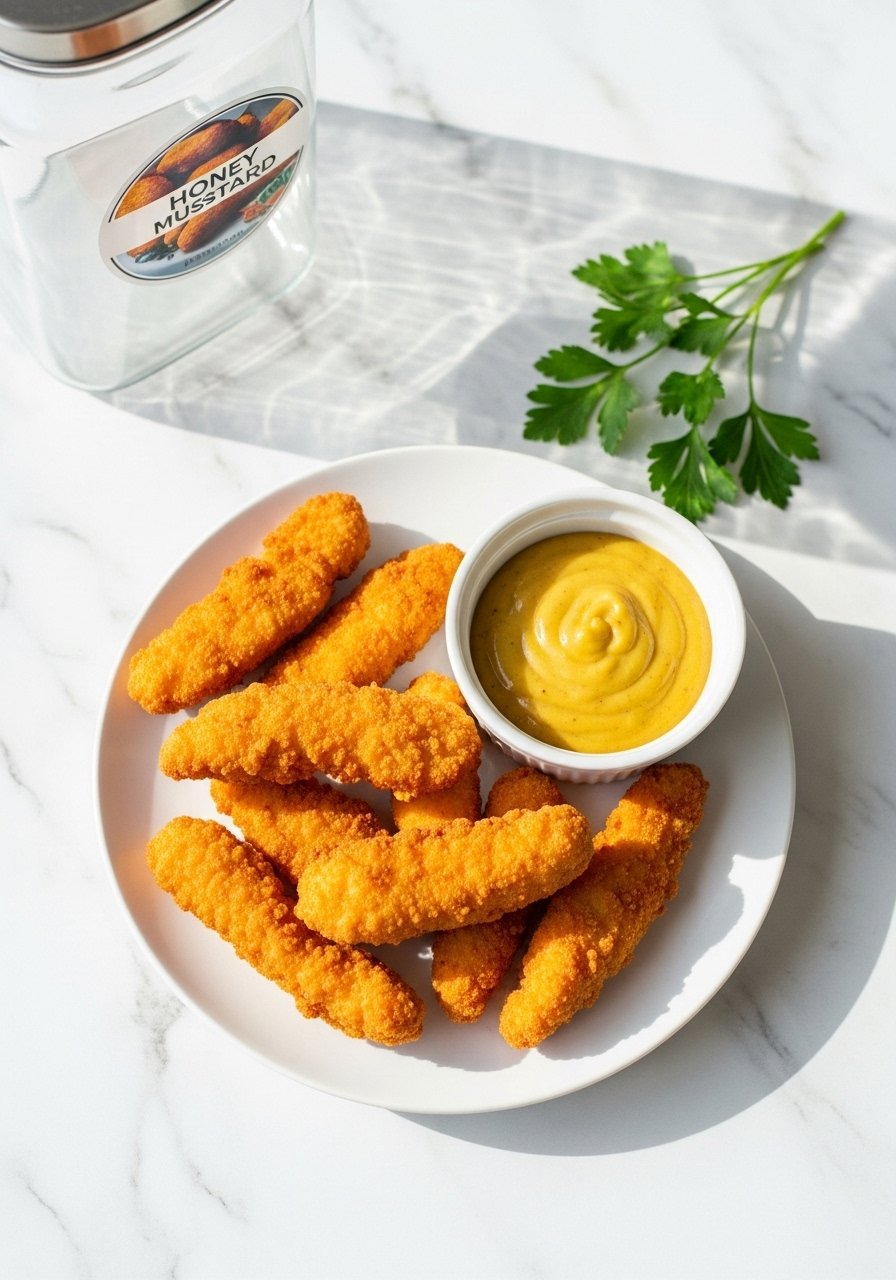
- For sauces, use a silicone pastry brush to glaze without sogginess.
- Store leftovers in airtight glass containers and refrigerate up to 4 days.
- Freeze cooled strips flat in labeled freezer bags. Reheat from frozen in the air fryer at 380°F for 6–8 minutes.
Serving ideas:
- Pair with a green salad for a high-protein 30-minute dinner, or pack for lunches with veggies in glass prep bowls.
Enjoy the crunch and consistency—this method helps you air fry chicken strips evenly whether you're feeding kids, meal-prepping, or making a quick weeknight dinner.
These small steps make a big difference: preheat, space pieces, flip once, and check with an instant-read thermometer. Save this guide, pin it for your next weeknight dinner, and try one tweak at a time. Which tip will you try first—preheating, spacing, or the light oil mist?