You know the disappointment: perfectly golden chicken that goes limp by dinner. This guide shows how to bake chicken strips so they stay crispy at dinner time, even if you’re serving later or doing meal prep. You’ll learn simple timing, coating, and warming tricks that keep the crunch without drying the meat.
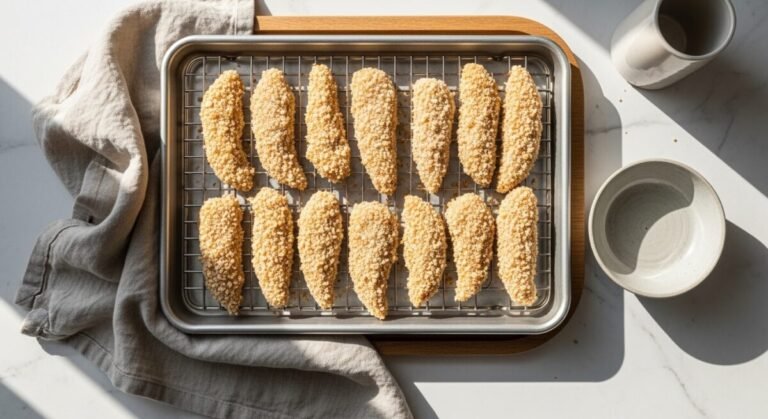
The secret is airflow and a little oil—plus the right tools. Start with a sturdy rimmed baking sheet and a snug wire rack for baking sheet so hot air circulates under the strips. Use a parchment paper or silicone baking mat paired with the rack for easy cleanup.
Read on for a step-by-step plan to bake chicken strips so they stay crispy at dinner time, including prep, baking times, warming tricks, and storage tips you can use tonight.
Preparing Your Ingredients
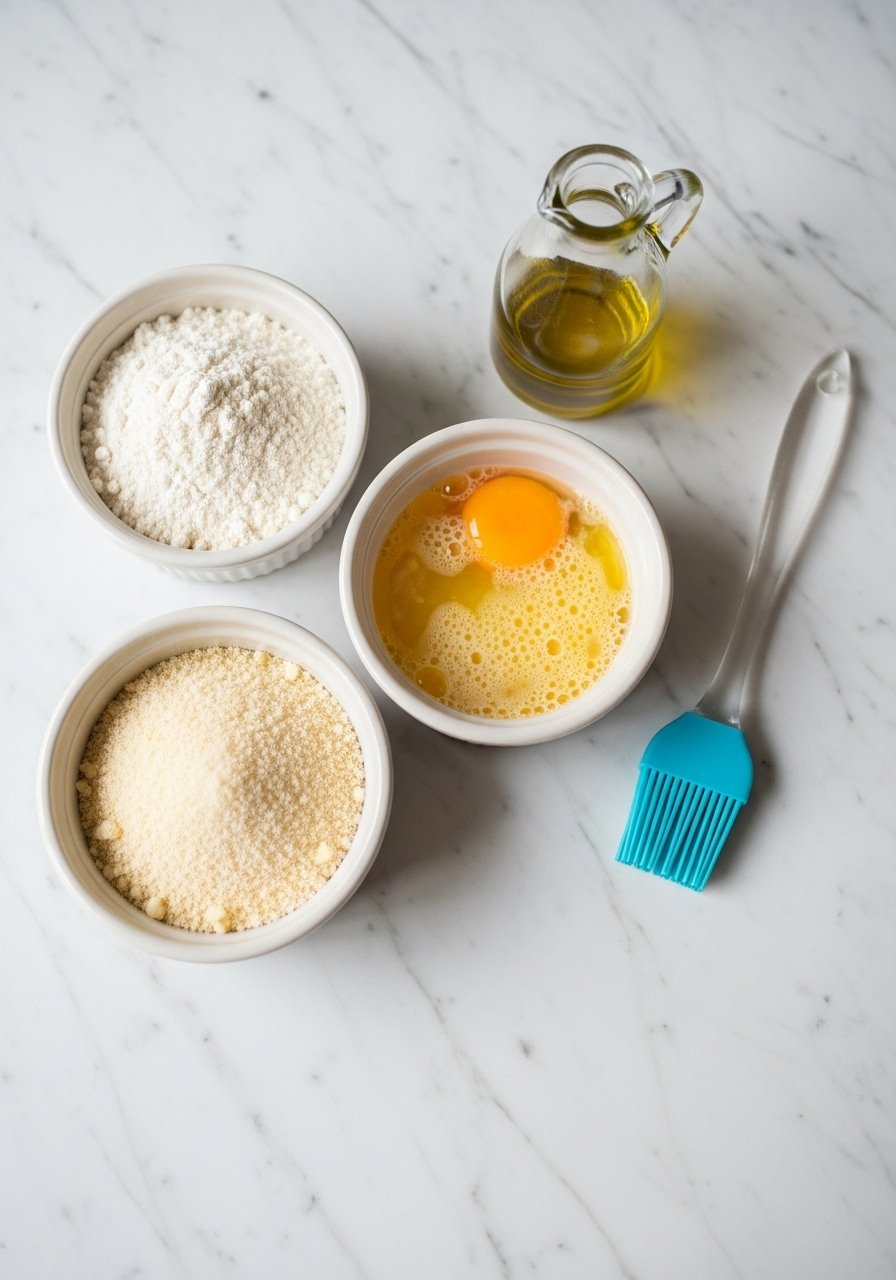
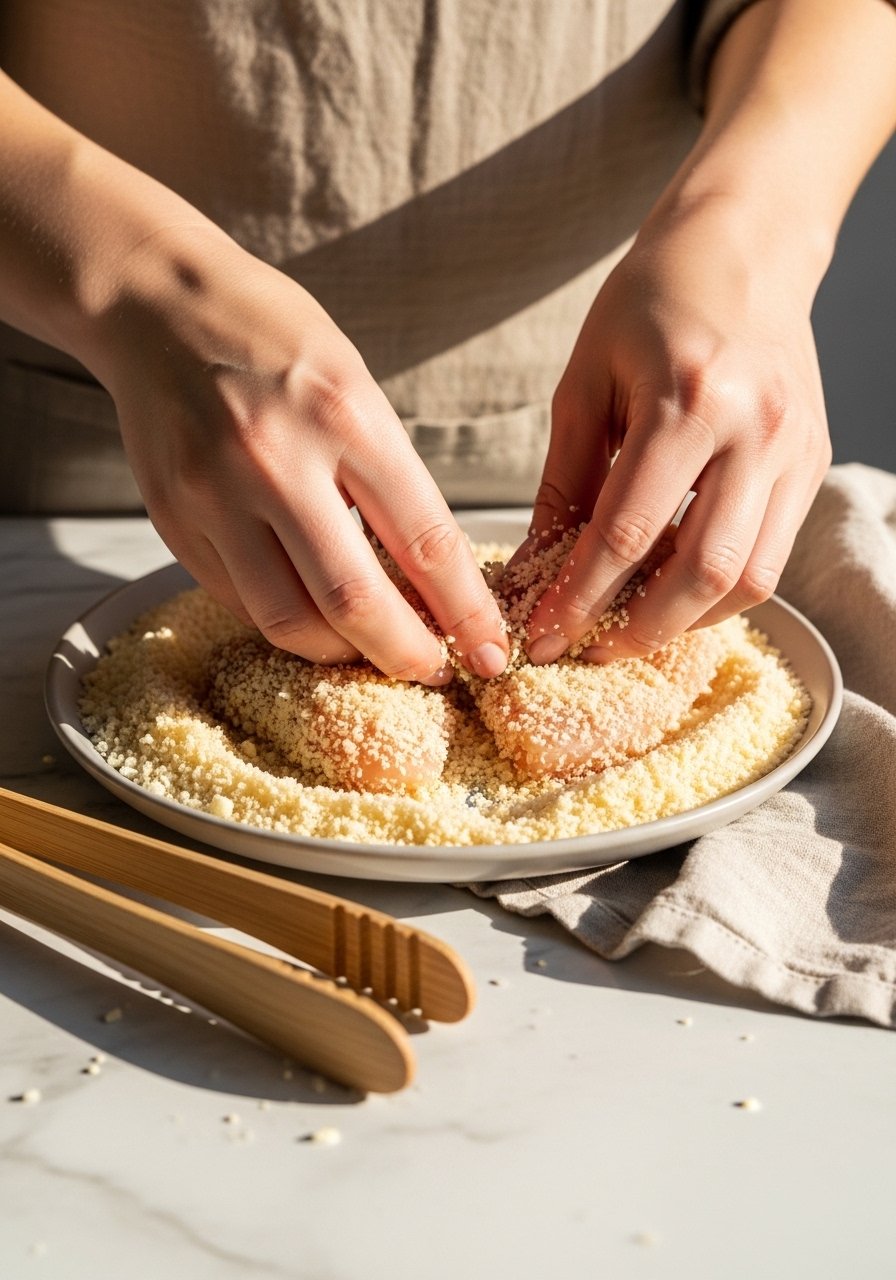
Set up a simple dredge station: flour, seasoned egg wash, and panko for texture. Panko gives better crunch than fine breadcrumbs.
- Trim and slice chicken breasts into ¾–1 inch strips; aim for uniform thickness.
- Season flour with 1 tsp salt and ½ tsp black pepper per cup.
- Beat 2 large eggs with 2 tbsp milk and a splash of hot sauce for flavor.
Helpful tools:
- Use a silicone pastry brush to lightly oil strips before breading for deeper color.
- A pair of kitchen tongs keeps fingers clean and speeds work.
The Coating & Breading Technique
Your coating determines longevity of the crunch. The wet-dry-wet-dry method gives thick, even coverage that seals juices.
- Dredge in seasoned flour, tap off excess.
- Dip in egg wash, then press into panko until well coated.
- Place on the wire rack set over the rimmed baking sheet.
Breading tips:
- Press panko firmly so it adheres—this prevents gaps that go soggy.
- Lightly mist or brush the tops with oil using your silicone pastry brush for even browning.
- If you want extra crisp, chill the breaded strips 10–15 minutes on the rack before baking.
Baking and Timing Tricks
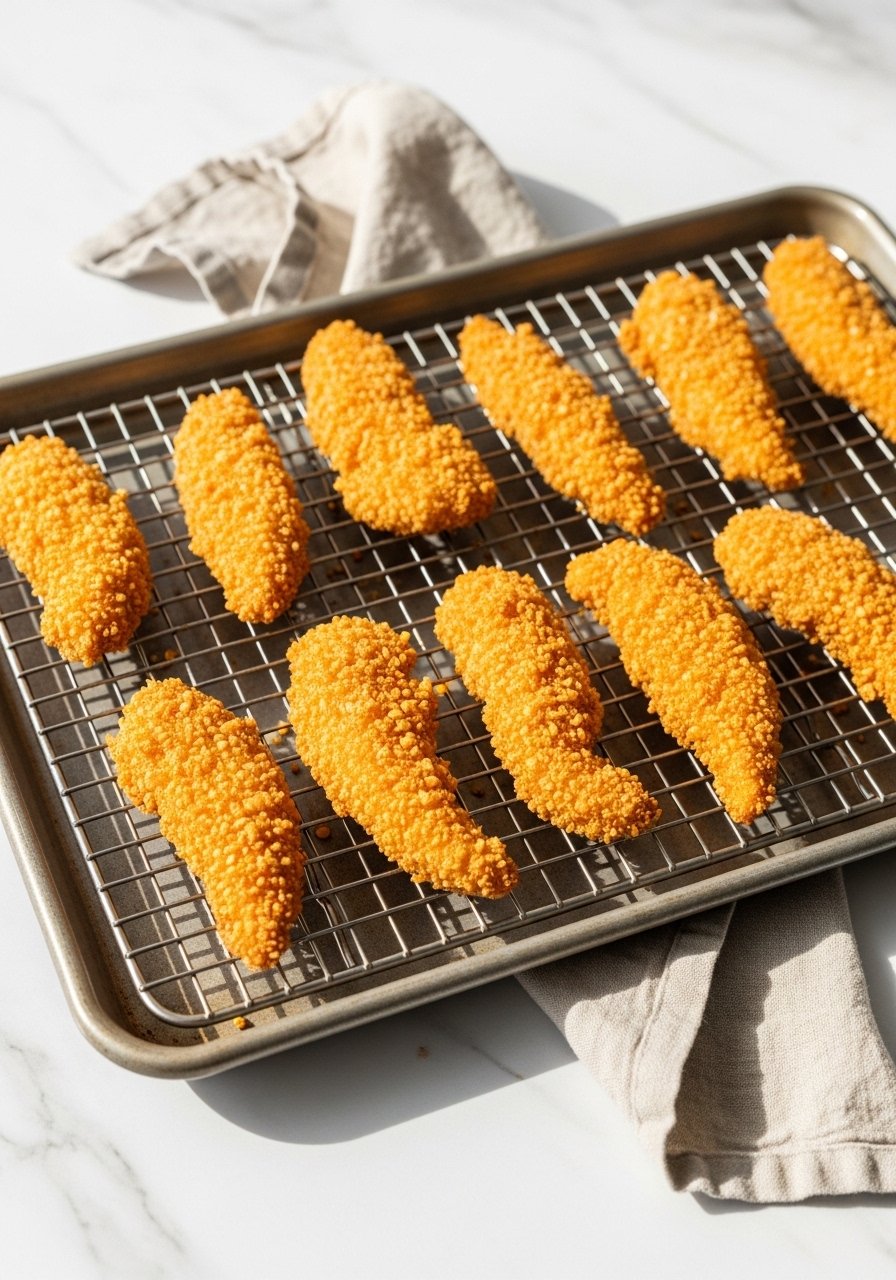
High heat + circulation = crisp. Preheat oven to 425°F and bake with space between pieces.
- Bake for 12–18 minutes, flipping once halfway through (about 8–9 minutes in).
- Aim for internal temp 165°F—check with an instant-read thermometer.
- For sheet-pan dinners, use a silicone baking mat when not using a wire rack to avoid sticking.
Pro tricks to keep crisp until dinner:
- After baking, transfer strips to a wire cooling rack and hold in a 200°F oven for up to 30–40 minutes—this keeps them warm and crisp.
- If you’re serving much later, cool completely then re-crisp in a 400°F oven for 6–8 minutes or pop in an air fryer for 3–4 minutes.
Finishing, Storage, and Reheating
Plan ahead so your crunch survives storage.
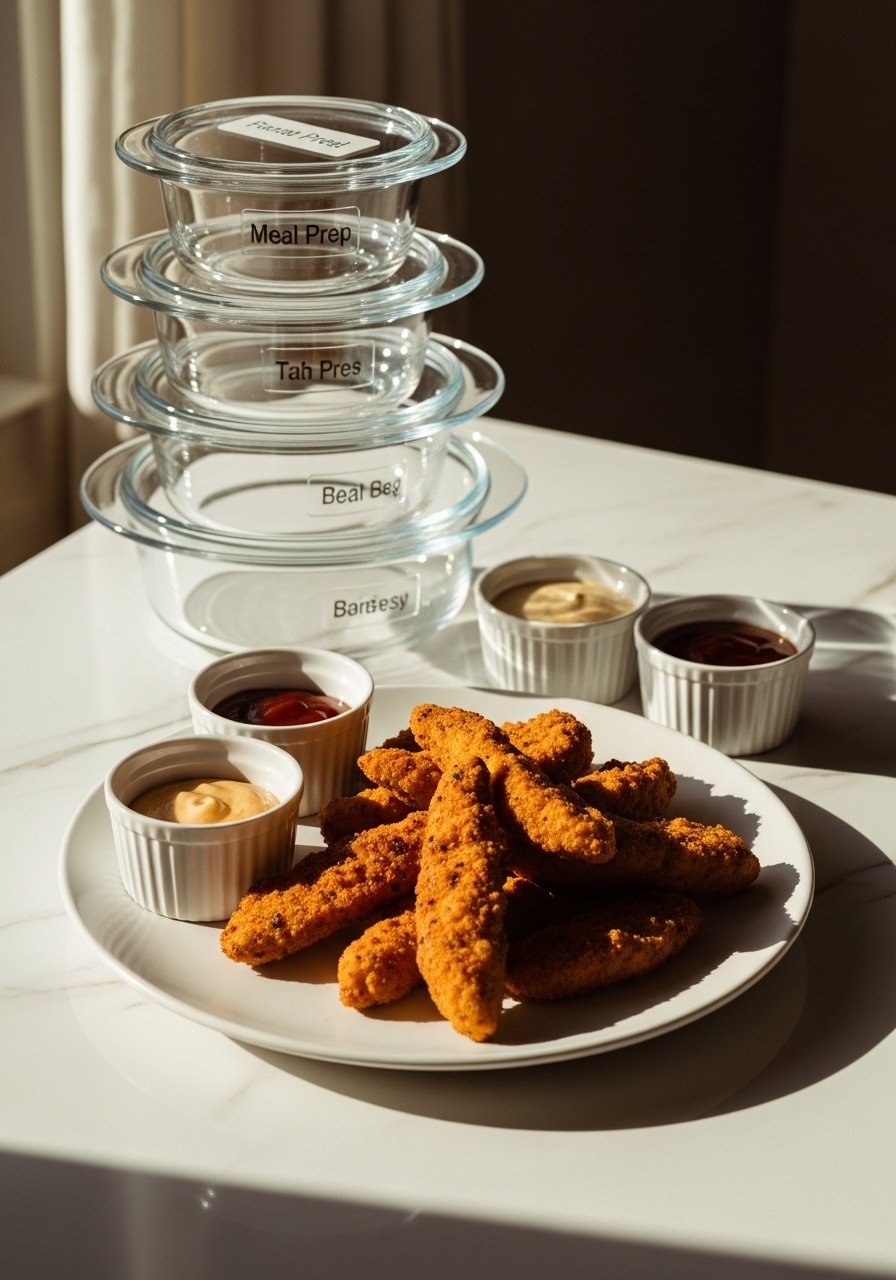
- For meal prep: cool strips fully, then store in glass meal prep bowls or airtight glass storage containers. Line containers with paper towel to absorb moisture.
- Freeze extras flat in freezer bags, then reheat from frozen in a hot oven or air fryer.
- Reheat on a wire rack inside a rimmed baking sheet at 400°F for 6–8 minutes until hot and crunchy.
Serving tip: let strips rest 2–3 minutes before serving so juices redistribute without steaming the crust.
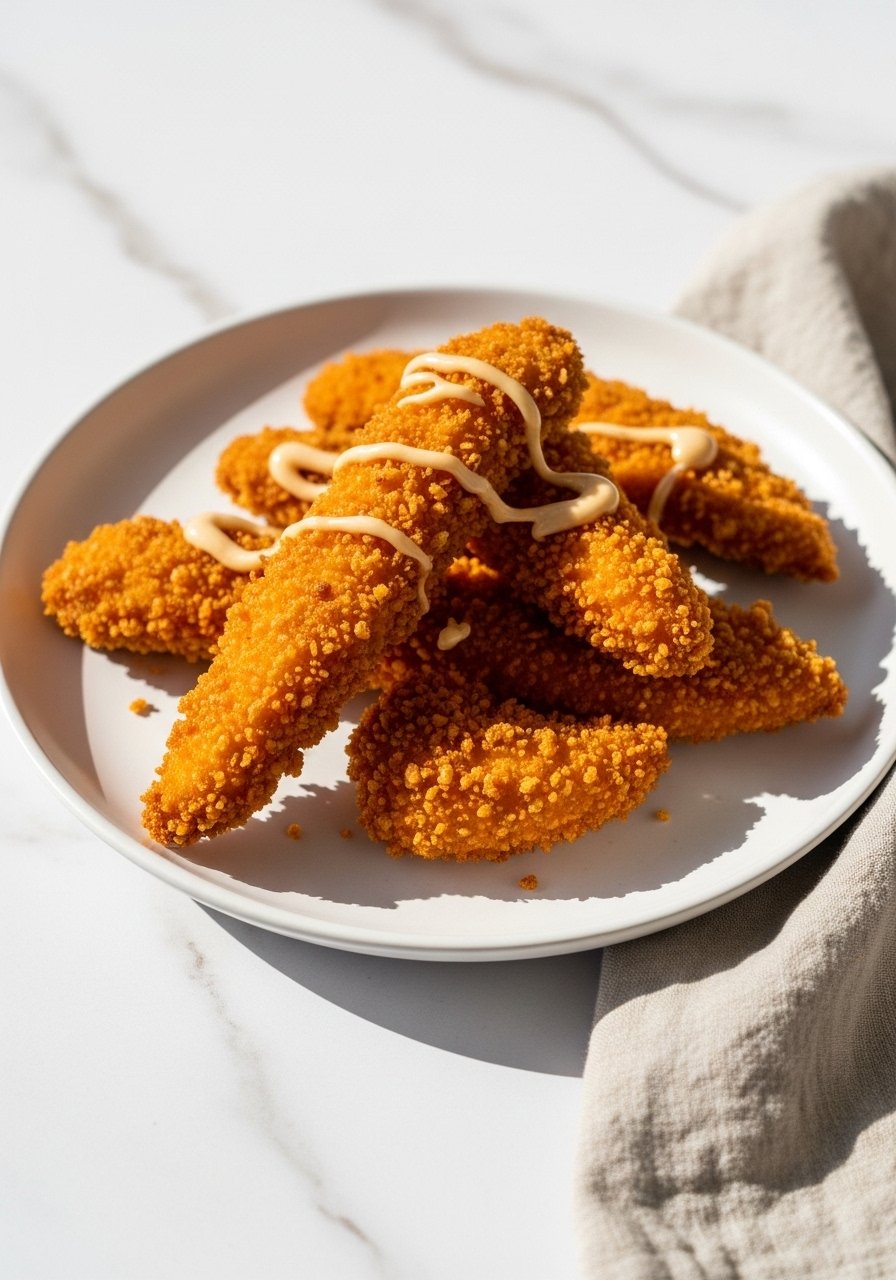
Enjoy the crunch you worked for—whether it's a quick weeknight or a make-ahead game-day spread.
Once you’ve tried these steps to bake chicken strips so they stay crispy at dinner time, saving and sharing this guide will make dinner night easier. Keep a rimmed baking sheet and wire rack for baking sheet on hand—they’ll be the tools you reach for most. Pin this guide for later and tell me: which trick will you try first?