There’s nothing quite like the taste of a sun-ripened tomato at its peak. But what if you could capture that bright, fresh flavor and enjoy it throughout the year? That’s exactly what canning allows you to do.
Many people are intimidated by the idea of home canning, especially when it comes to tomatoes.
But with proper preparation and a careful approach, canning tomatoes is a safe, satisfying, and surprisingly straightforward way to preserve your harvest or your favorite market finds.
In this guide, you’ll learn everything you need to know, from choosing the right tomatoes to sealing your jars safely.
Why Can Tomatoes?
Canning tomatoes at home gives you full control over flavor and texture, without added preservatives or unnecessary ingredients.
A pantry stocked with home-canned tomatoes can become the foundation for quick sauces, hearty soups, stews, and countless other dishes.
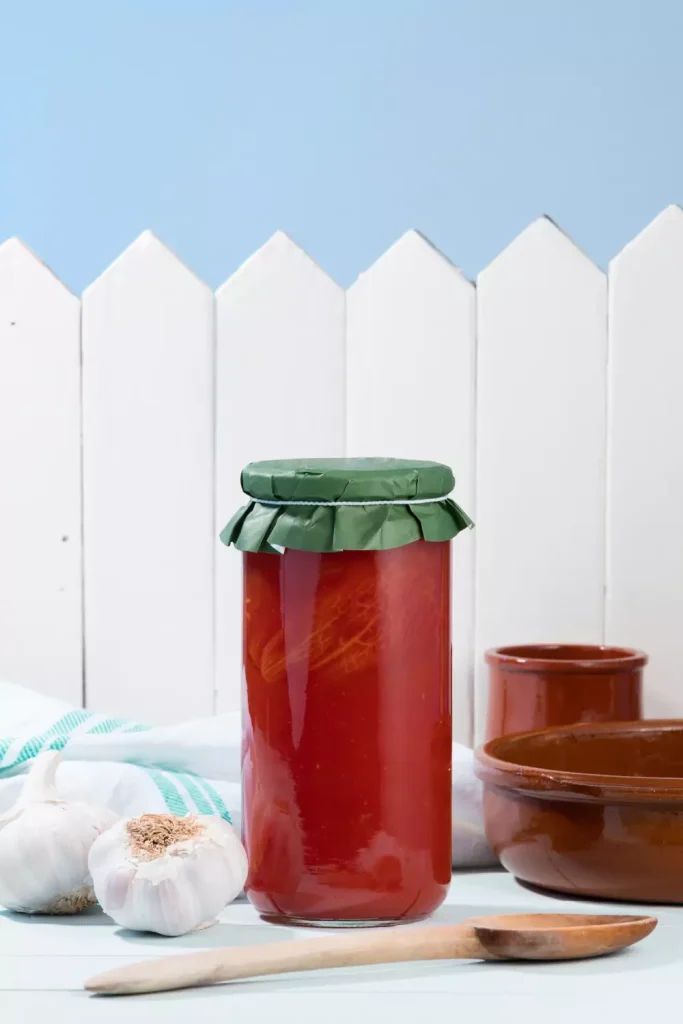
Beyond the practical benefits, there’s a special satisfaction in lining up gleaming jars of tomatoes that you’ve prepared yourself.
What You’ll Need
Ingredients
- Fresh, ripe tomatoes (preferably meaty varieties like Roma or San Marzano)
- Bottled lemon juice or citric acid
- Pickling or kosher salt (optional)
Equipment
- Large stockpot or canning pot with a rack
- Large bowls (for ice bath)
- Slotted spoon
- Paring knife
- Jar lifter
- Bubble remover or spatula
- Canning jars (pint or quart size) with lids and bands
- Ladle
- Clean kitchen towels
Step 1: Choose and Prepare Your Tomatoes
Start by selecting firm, fully ripe tomatoes that are free from blemishes or cracks. Wash them thoroughly under cool running water.
To peel the tomatoes easily, bring a large pot of water to a boil and lightly score a shallow “X” on the bottom of each tomato.
Submerge them in the boiling water for about 30 to 60 seconds, just until the skins begin to loosen, then transfer immediately to an ice bath.
Once cooled, slip off the skins and remove the cores with a paring knife.
This process not only improves texture but also removes potential bacterial sources that can interfere with safe canning.
Step 2: Prepare Your Jars
Properly preparing your jars is crucial. Sterilize them by submerging in boiling water for about 10 minutes, and keep them hot until you’re ready to use them.
Lids should be heated gently in simmering water (not boiling) to soften the sealing compound.
This helps achieve a secure seal once the jars are filled and processed.
Step 3: Add Acid
Why? Even though tomatoes are acidic, their pH can vary. Adding acid ensures they stay at a safe level to prevent botulism.
- For pint jars, add 1 tablespoon of bottled lemon juice or ¼ teaspoon citric acid.
- For quart jars, add 2 tablespoons lemon juice or ½ teaspoon citric acid.
You can also add ½ to 1 teaspoon of salt per jar if desired (for flavor only).
Step 4: Pack Your Jars
There are two main methods: raw pack and hot pack.
Raw Pack
- Fill jars with raw peeled tomatoes, pressing them gently to release juice and fill gaps.
- Leave about ½ inch of headspace at the top.
Hot Pack
- Heat peeled tomatoes in a pot until they begin to release juice and are fully heated through.
- Pack hot tomatoes into jars, again leaving ½ inch headspace.
Use a spatula or bubble remover to release any trapped air bubbles. Wipe the rims clean with a damp cloth to ensure a proper seal.
Step 5: Seal and Process
Place lids on jars and screw on the bands until fingertip-tight.
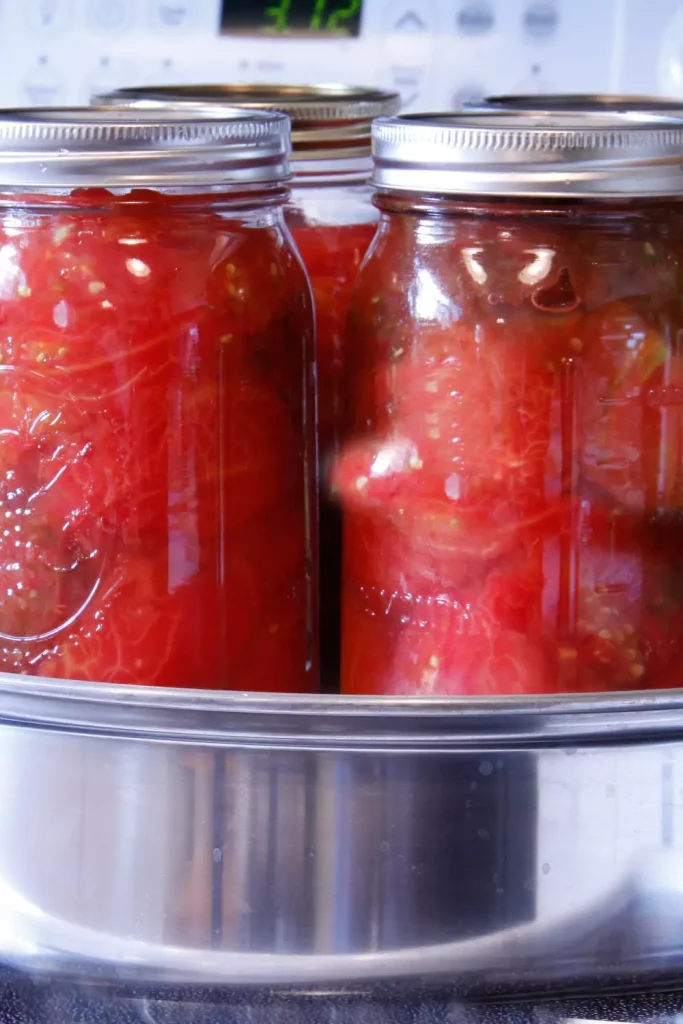
Water Bath Canning
- Place jars on a rack in a large pot of boiling water, ensuring at least 1 inch of water covers the tops.
- Bring water back to a rolling boil and start timing:
- Pints: 40 minutes.
- Quarts: 45 minutes.
- Adjust for altitude if necessary:
- Above 1,000 feet: Add 5 extra minutes for each additional 1,000 feet.
Pressure Canning (Alternative)
- Use if you do not want to acidify or if combining with low-acid ingredients.
- Process at 10–11 psi for around 25 minutes (consult your specific canner instructions).
After processing, turn off the heat and let jars rest in the pot for 5 minutes before removing them.
Step 6: Cool and Check Seals
Place jars on a towel-lined counter or wooden board. Let them sit undisturbed for 12–24 hours.
Once cooled, check the lids:
- Properly sealed lids will be concave and not flex up and down when pressed.
- If a jar didn’t seal, refrigerate and use within a few days or reprocess within 24 hours.
Step 7: Store and Enjoy
Label jars with the date. Store them in a cool, dark place like a pantry or cellar.
Home-canned tomatoes are best used within 12–18 months for optimal flavor, but they can remain safe up to 2 years if properly sealed and stored.
Final Thoughts
Canning tomatoes at home is more than a way to preserve food — it’s a time-honored tradition that connects you to the seasons and allows you to savor your favorite flavors year-round.
By following these careful steps, you can ensure that your jars are both delicious and safe, ready to brighten up countless meals for months to come.