Cooking chicken breast in the air fryer sounds easy—until you end up with meat that’s dry, tough, or oddly pale on the outside. You want that sweet spot: browned edges, a tender center, and real juiciness when you slice.
This guide walks you through exactly how to cook chicken breast in air fryer for juicy and tender results, with timing that actually works and the small details that make the difference.
How To Cook Chicken Breast In Air Fryer
You’re making simple, seasoned air fryer chicken breast that’s browned on the outside and moist inside. The method focuses on even thickness, high-enough heat, and resting time so the juices stay in the meat. It’s straightforward, beginner-friendly, and reliable for both small and larger chicken breasts.
Ingredients
- 2 boneless, skinless chicken breasts (about 6–8 oz each; similar size helps them finish together)
- 1 tablespoon olive oil (helps browning and keeps the surface from drying)
- 1 teaspoon kosher salt (use 3/4 teaspoon if using fine salt)
- 1/2 teaspoon black pepper
- 1 teaspoon garlic powder (even flavor without burning like fresh garlic can)
- 1 teaspoon paprika (optional, adds color and mild warmth)
Step-By-Step Instructions
1) Even out the thickness (so it cooks evenly)
If one end of your chicken breast is much thicker than the other, it will cook unevenly—dry on the thin side before the thick side is safe.
Place the chicken in a zip-top bag and gently pound the thickest part to an even thickness (aim for about 3/4 inch). A Meat Mallet makes this fast and controlled, but the bottom of a small saucepan works too.
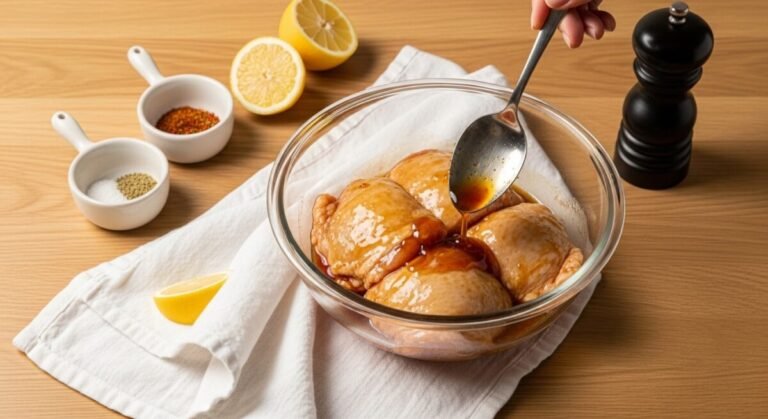
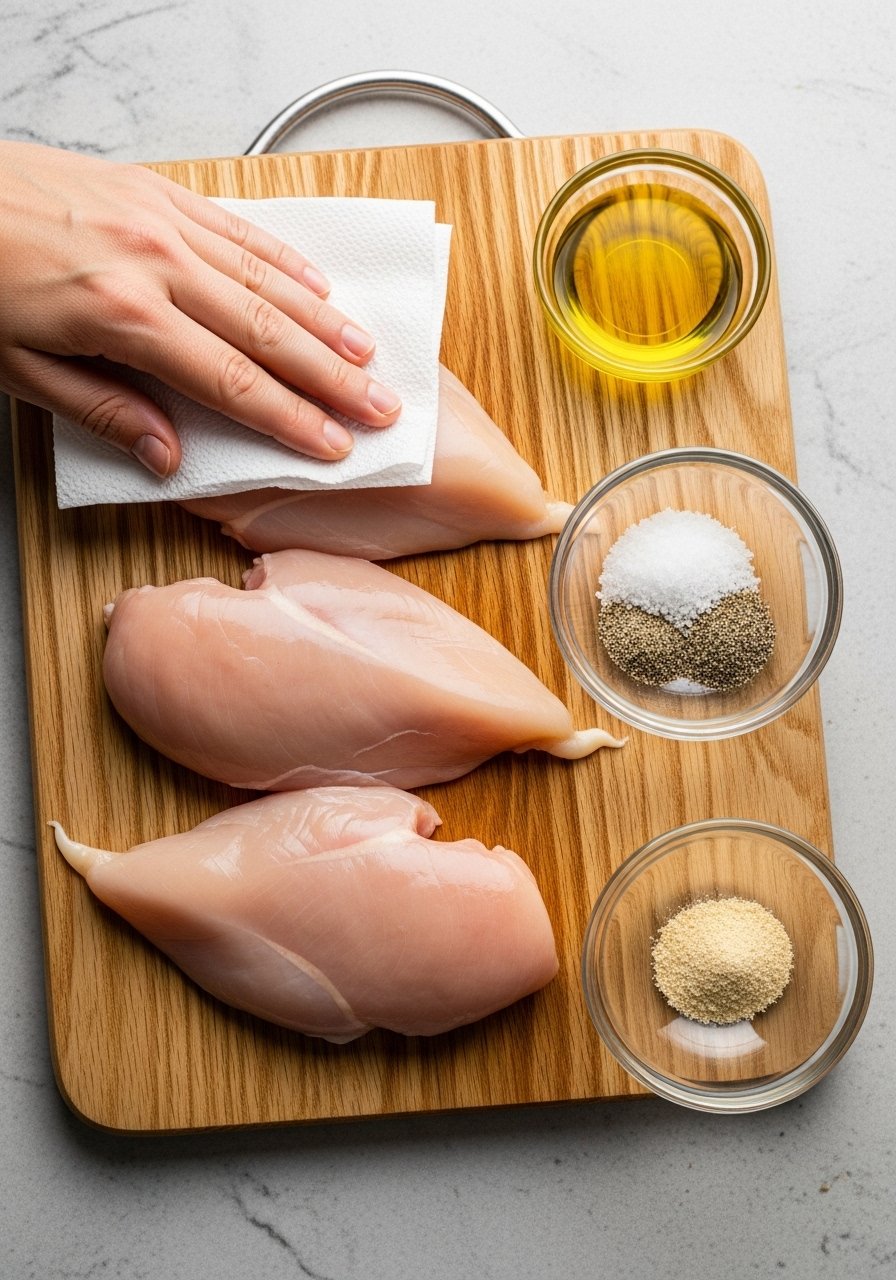
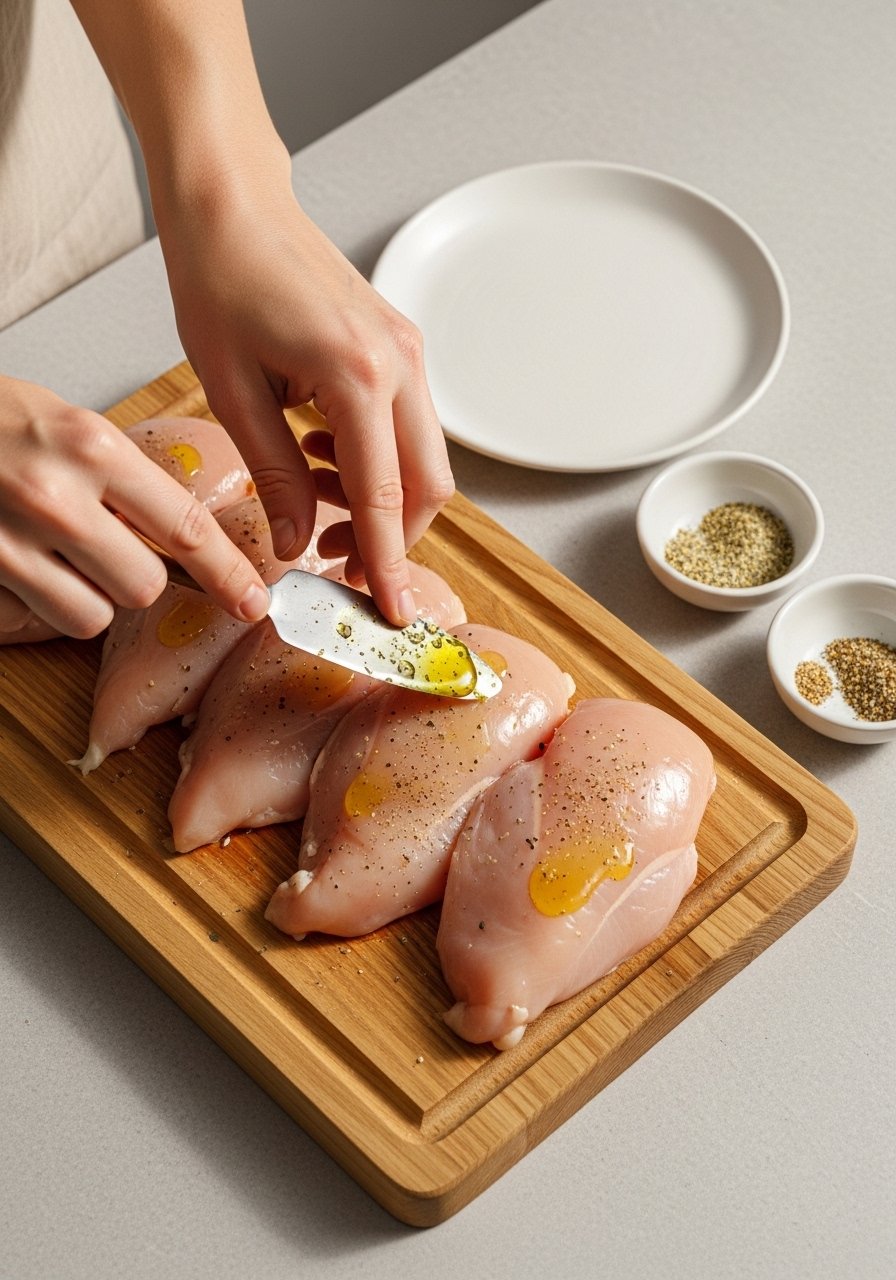
2) Dry, oil, and season (for browning and flavor)
Pat both sides dry with paper towels. This helps the outside brown instead of steaming.
Rub with olive oil, then season all over with salt, pepper, garlic powder, and paprika. Don’t just season one side—you want balanced flavor in every bite.
3) Preheat and set up the basket (for consistent results)
Preheat your air fryer to 380°F for about 3 minutes. Preheating helps the chicken start cooking immediately, which improves browning and reduces overcooking.
Lightly oil the basket if yours tends to stick. A quick spritz from an Oil Sprayer for Cooking is more even than brushing and avoids excess oil pooling.
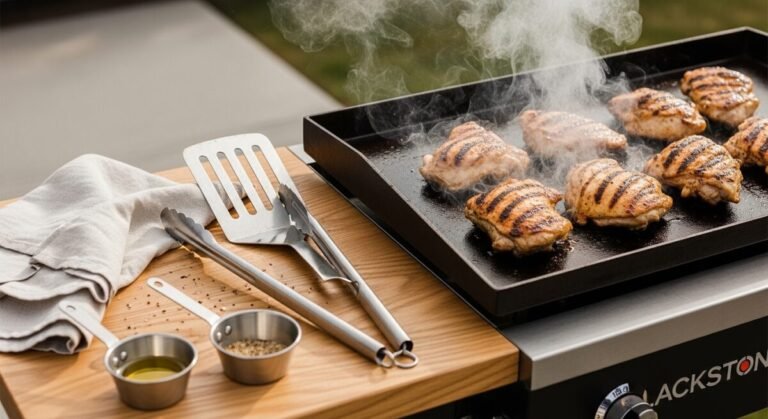
4) Air fry, flip, and use temperature as the finish line
Place chicken breasts in a single layer with space around each one. Cook at 380°F for 10 minutes, then flip and cook 4–8 minutes more, depending on thickness.
- Smaller (6 oz, ~3/4 inch): usually 14–16 minutes total
- Larger (8–10 oz, thicker): usually 16–18 minutes total
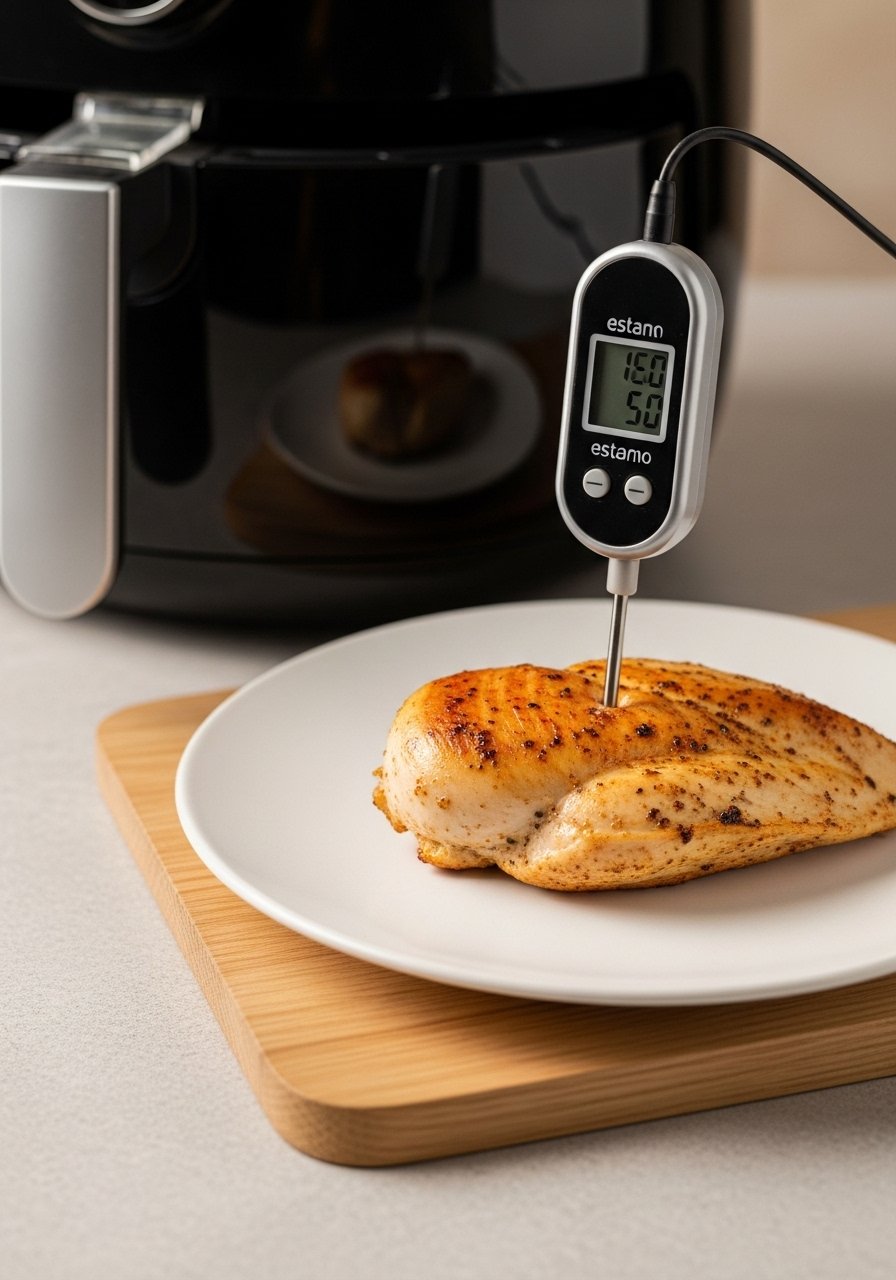
Pull the chicken when the thickest part hits 165°F on an instant-read thermometer. A Digital Meat Thermometer removes the guesswork and prevents the #1 issue: overcooking “just to be safe.”
5) Rest, then slice correctly (to keep it juicy)
Transfer chicken to a plate and rest 5 minutes. This lets the juices redistribute so they don’t run out when you cut.
Slice against the grain (look for the muscle lines and cut across them). You’ll get noticeably more tenderness and cleaner slices.
Air Fryer Chicken Breast Time Chart (By Size)
Timing varies mostly by thickness, not just weight. If you’re unsure, measure the thickest point and use temperature to confirm doneness.
- About 1/2 inch thick: 380°F for 10–12 minutes total, flip halfway
- About 3/4 inch thick: 380°F for 14–16 minutes total, flip halfway
- About 1 inch thick: 380°F for 16–18 minutes total, flip halfway
If your air fryer runs hot, start checking 2 minutes early. If it runs cool or your breasts are very cold from the fridge, you may need an extra 1–3 minutes.
How to Know It’s Done (Without Drying It Out)
The safest, most reliable signal is internal temperature at the thickest part.
- Target 165°F in the center. Insert the thermometer from the side for a more accurate reading.
- Look for clear juices and opaque white meat (no translucent pink).
- The outside should be lightly browned and dry to the touch, not wet or gray.
Avoid relying on “extra time” for peace of mind. Those extra minutes are usually what turn juicy chicken breast into chalky chicken breast.
Common Air Fryer Chicken Breast Mistakes (And Fixes)
Most issues come down to airflow, thickness, and timing.
- Crowding the basket: Chicken steams instead of browning. Cook in a single layer with space around each breast.
- Skipping the flip: Flipping helps even browning and more even cooking.
- No resting time: Cutting right away dumps the juices. Rest 5 minutes.
- Uneven thickness: Thin ends overcook fast. Pound to even thickness first.
- Wrong temp: Too low can dry the chicken out over a longer cook. Stick to 380°F for this method.
If sticking is a recurring problem, lightly oil the basket and use Silicone-Tipped Tongs to flip without tearing the surface.
Final Thoughts
Once you use even thickness, 380°F heat, and a thermometer to finish, air fryer chicken breast becomes predictable—in the best way. You’ll get real browning and a juicy center without babysitting the stove.
Do it a couple of times, note your air fryer’s timing, and you’ll be able to cook chicken breast confidently whenever you need it.