Cooking chicken on a Blackstone is fast, satisfying, and dangerously easy to mess up. One minute it looks perfect, the next it’s dry and tough.
If you’ve been chasing that juicy, tender bite with a browned griddle crust, you’re in the right place.
You’ll learn exactly how to cook chicken on a Blackstone griddle without drying it out—using the right heat, thickness, timing, and a few simple habits that make a huge difference.
How To Cook Chicken On A Blackstone Griddle
Your goal on a Blackstone is a quick sear followed by controlled cooking to the correct internal temperature—without overcooking the outside. That happens when you even out the thickness, use the right zone heat, and pull the chicken at the right moment. The griddle makes it easy to get color fast, so the “juicy” part is all about heat management and timing.
Step-By-Step Guide
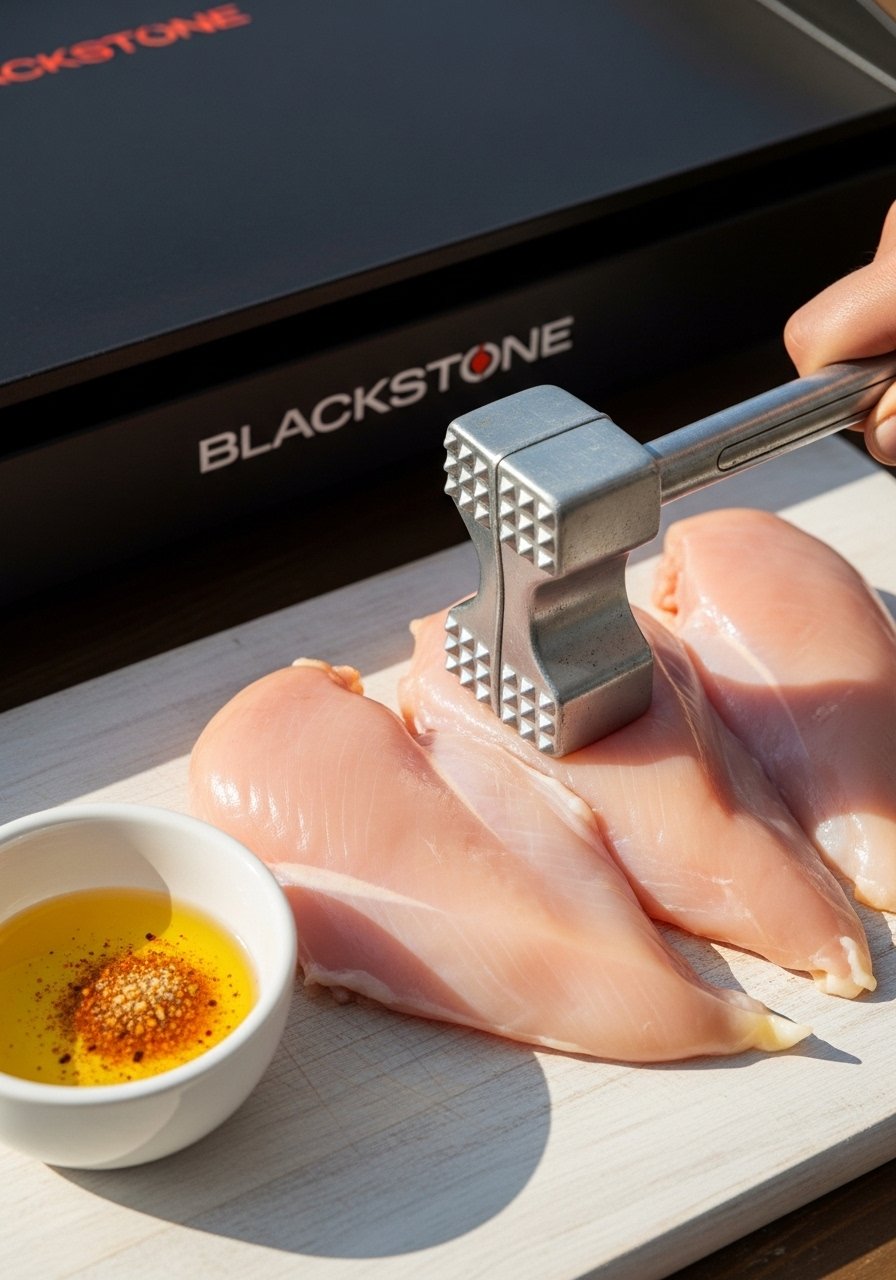
1) Even out thickness (so it cooks evenly)
Start by checking thickness. If one end is much thicker, it will stay underdone while the thin end dries out.
Place the chicken between parchment and gently pound to an even thickness (about 1/2–3/4 inch). This single step prevents the most common Blackstone problem: overcooking the edges while waiting on the center.
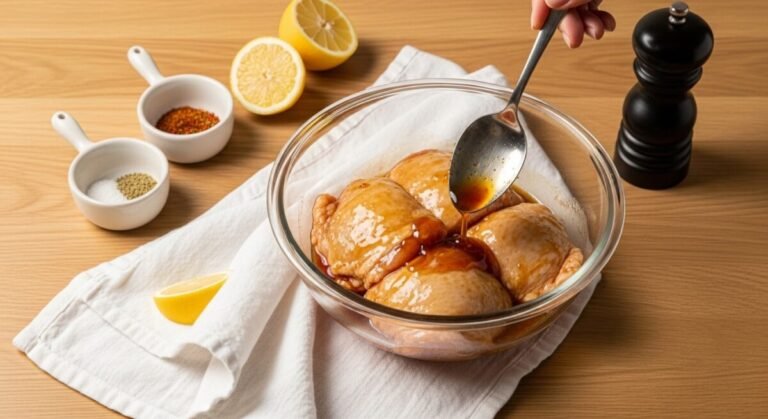
2) Dry, oil, and season (so it browns fast without sticking)
Pat the chicken very dry with paper towels. Moisture is the enemy of browning on a griddle.
Lightly coat with oil (about 1–2 teaspoons per pound), then season. Oil on the chicken (not dumped on the griddle) helps create an even sear and reduces sticking.
3) Preheat and set up two heat zones (so you can control doneness)
Preheat the Blackstone for 8–10 minutes. You want a hot side for searing and a lower side to finish gently.
A simple setup: two burners on medium-high for the sear zone, one burner on low/medium-low for the finish zone. Heat control is how you avoid drying out chicken on a flat top.
4) Sear first, then cook through (don’t chase “extra color”)
Lay chicken down on the hot zone and don’t move it for 3–5 minutes, until it releases easily and has deep golden color.
Flip once and cook another 3–5 minutes. If it’s browning too fast, slide it to the cooler zone. You’re aiming for color from contact—not prolonged cooking.
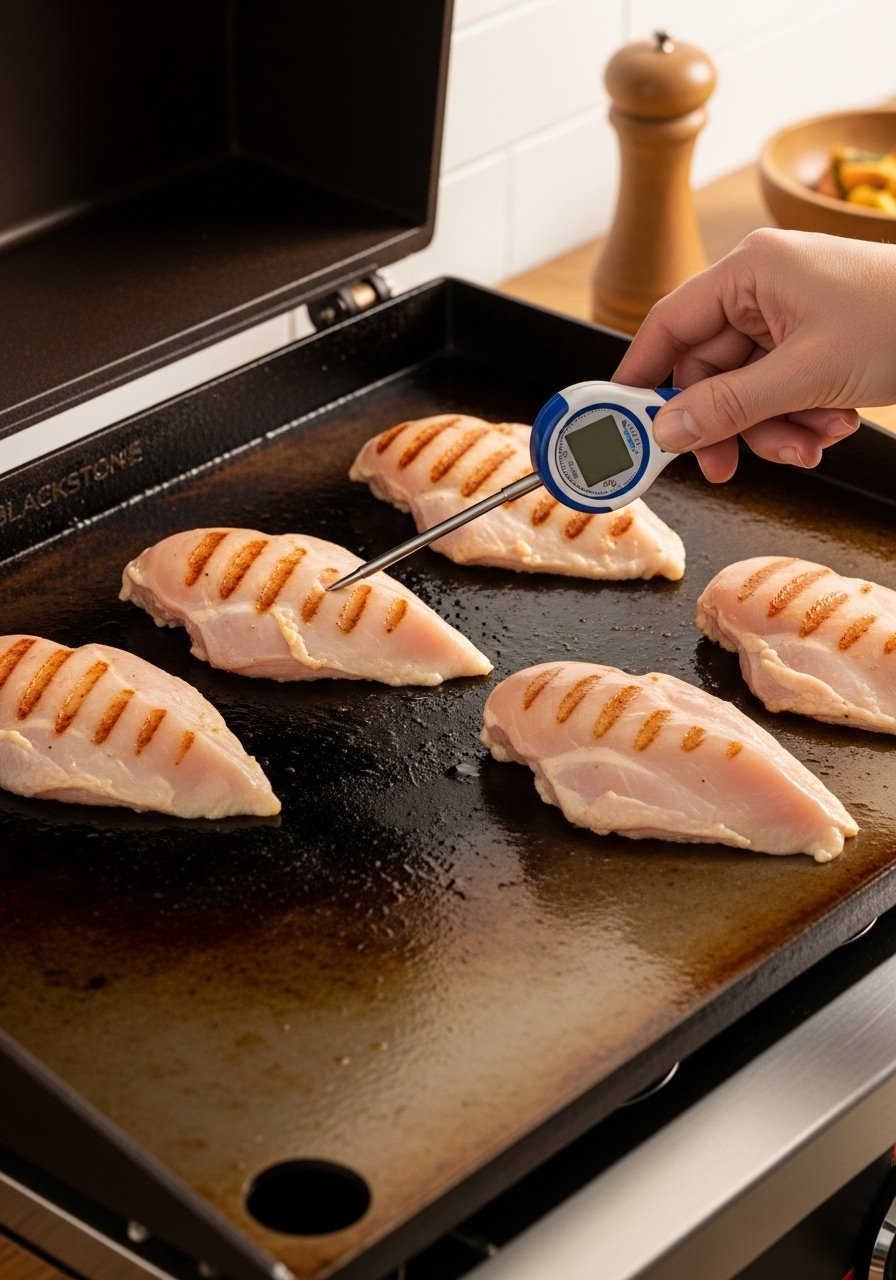
5) Use internal temp as the finish line (the real juiciness secret)
Check the thickest part with an instant-read thermometer. Pull chicken at 160°F, then rest 5 minutes to carryover to 165°F.
This prevents the classic dry result that comes from cooking “just to be safe.” Safety is 165°F—overcooking is what dries it out.
Helpful tools you’ll use naturally here: an accurate thermometer like ThermoPro Instant Read Meat Thermometer and a sturdy turner like Blackstone Griddle Spatula.
The Best Heat and Timing (So You Don’t Dry It Out)
Chicken dries out on a Blackstone when the outside gets hammered on high heat while the inside lags behind. Two zones fix that.
Use this timing as a starting point (always verify with temperature):
- 1/2 inch thick: 3–4 minutes per side on medium-high
- 3/4 inch thick: 4–6 minutes per side, finish on lower heat if needed
If your griddle is smoking aggressively or the chicken is darkening too fast, drop the heat. You want steady sizzling, not scorching.
The Internal Temperature Targets That Keep Chicken Juicy
A thermometer is the most reliable way to stop guessing. It’s also the easiest way to stop overcooking.
- Pull breasts at 160°F, rest 5 minutes (carryover brings it to 165°F).
- Pull thighs at 170–175°F if you like them more tender (they handle a little extra heat better).
Insert the probe from the side into the thickest part. Avoid touching the griddle surface, which can give a false high reading. If you don’t already have one, a fast, accurate option is the ThermoWorks Thermapen ONE.
Common Blackstone Mistakes That Make Chicken Dry
Most “dry chicken” is one of these simple issues—easy to fix once you know what to look for.
- Cooking uneven pieces together: Thin cutlets finish early and dry out while thick pieces catch up. Pound or sort by thickness.
- Pressing down with the spatula: It squeezes out juices and doesn’t speed cooking much.
- Flipping repeatedly: More flipping can mean less crust and more time on heat. Sear, flip, finish.
- Skipping the rest: Resting 5 minutes lets juices redistribute so they stay in the meat when you slice.
If sticking is your issue (and you end up tearing the chicken), use a thin, sharp-edged turner and adequate preheat. A scraper helps keep the surface clean between batches: Blackstone Griddle Scraper.
How to Rest and Slice Chicken So It Stays Moist
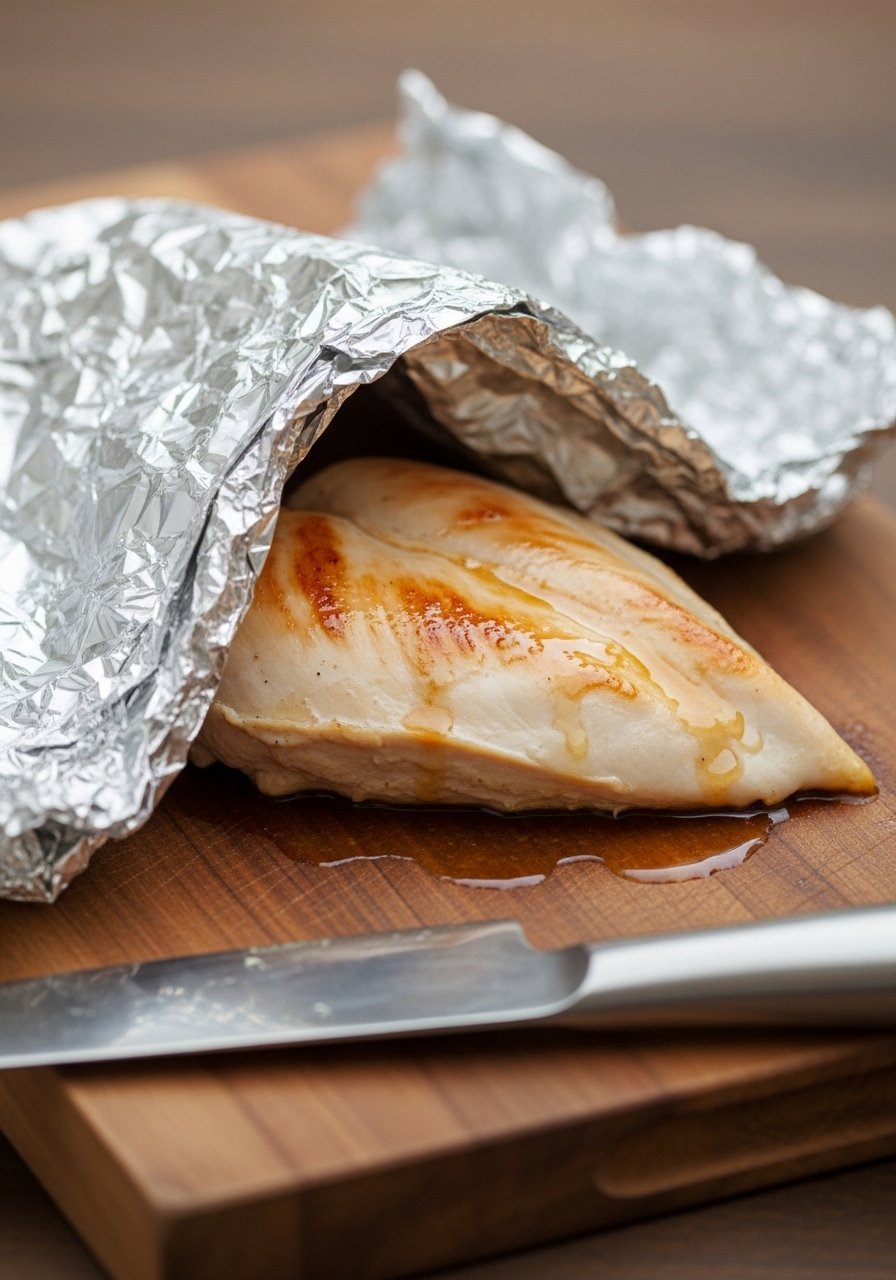
Rest the chicken for 5 minutes after it hits your pull temperature. On a hot griddle cook, this rest is where the texture turns from “tight” to “tender.”
When you slice, cut across the grain. For breasts, that usually means slicing from the narrow end across into strips. A sharp knife prevents shredding and moisture loss—something like a Victorinox Chef’s Knife makes clean slicing much easier.
Final Thoughts
Juicy chicken on a Blackstone comes down to three things: even thickness, controlled heat, and pulling it at the right internal temperature. Once you cook by temperature instead of guesswork, dryness stops being a problem.
Take it one batch at a time, and you’ll get browned, tender chicken you can trust every time.