You hunted or bought lean ground deer and now you want it juicy—not dry and crumbly. This guide walks you through the exact steps to cook ground deer meat so it stays tender, moist, and flavorful every time.
You’ll learn simple prep, precise cooking temperatures, and small additions that add fat and moisture without masking venison’s clean flavor. Follow these steps and tips for reliably juicy results.
How To Cook Ground Deer Meat
Ground deer cooked this way becomes tender with a slightly crumbly, moist texture and a clean game flavor that isn’t dry. You’ll brown for flavor, then finish low-and-gentle with a splash of liquid and a brief rest so the juices redistribute. The result is versatile meat for tacos, sauces, or simple plates.
Ingredients
- 1 lb ground deer (venison), slightly chilled
- 3–4 tbsp pork fat, beef tallow, or bacon fat (about 10–20% fat by weight) — finely diced or melted
- 1 small onion, finely diced (optional, adds moisture)
- 1–2 tbsp neutral oil with high smoke point (avocado or canola)
- 1/4 cup low-sodium beef or chicken broth (for finishing)
- 1 tsp kosher salt (adjust to taste)
- 1/2 tsp freshly ground black pepper
- 1 tsp Worcestershire or soy sauce (optional, balances flavor)
- Fresh herbs or chopped parsley for finishing (optional)
Step-By-Step Instructions
Prep and Chill the Meat
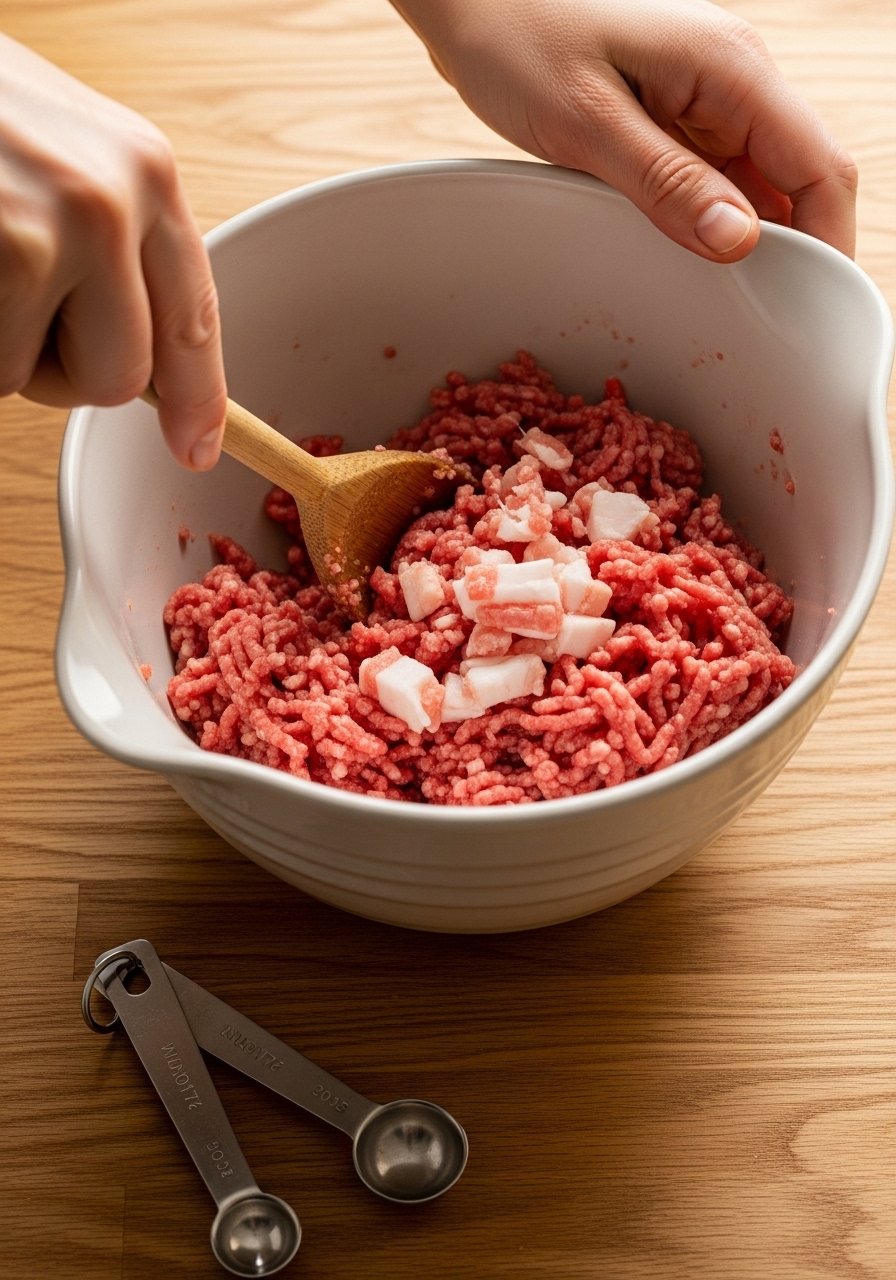
Gently pat the ground deer dry with paper towels and keep it cold until cooking. Cold meat browns better; surface moisture prevents searing. If your ground deer is very lean, fold in the pork fat or a couple tablespoons of beef tallow in the bowl now so the fat mixes evenly. Use a large stainless or glass mixing bowl like a standard set for even distribution: Mixing Bowls Set.
Heat the Pan Properly
Warm a 10–12" cast-iron or heavy skillet over medium to medium-high heat for 2–3 minutes until hot but not smoking. Add 1 tbsp neutral oil to coat. A hot pan creates quick browning, sealing flavor without overcooking. I recommend a reliable skillet for even heat: Lodge Cast Iron Skillet.
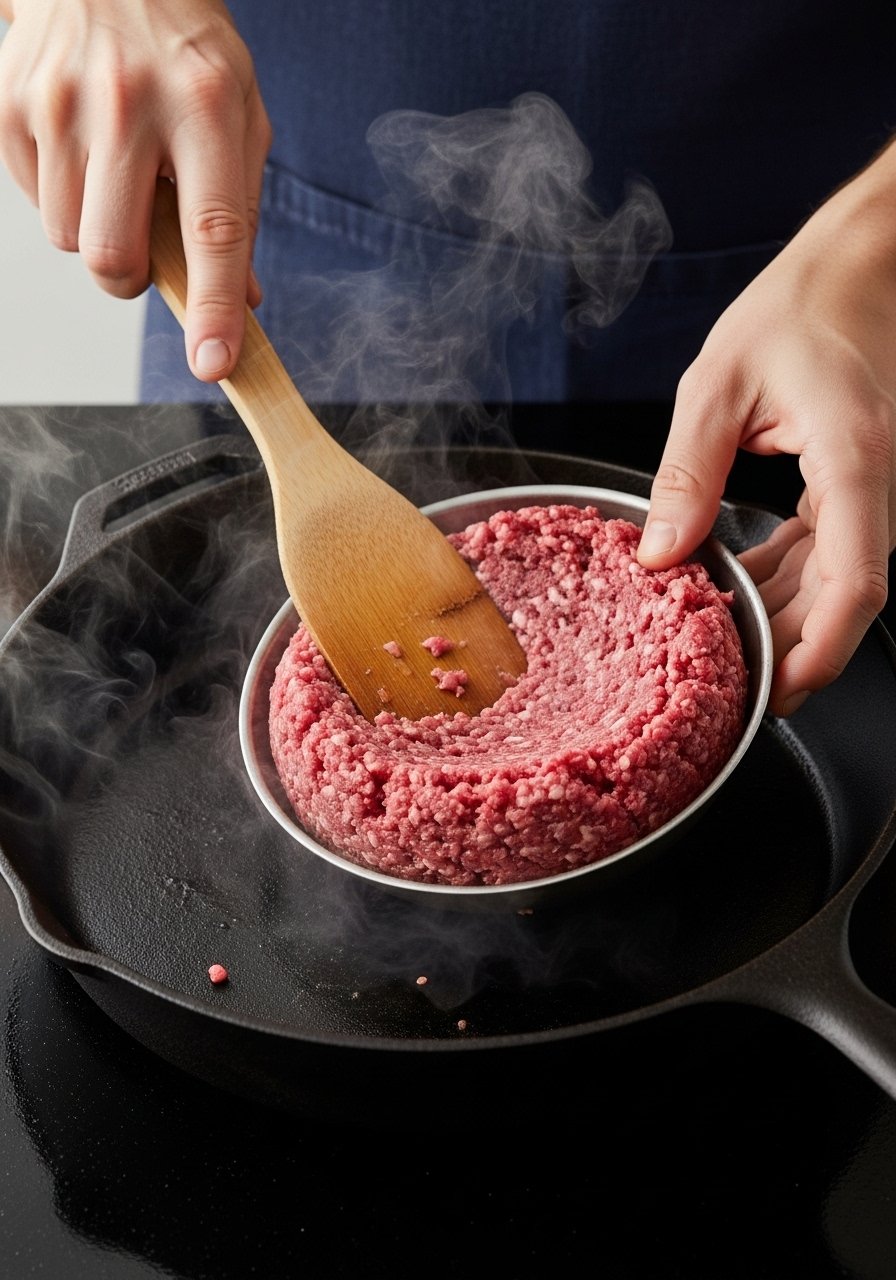
Brown in Batches Without Overcrowding
Add the meat in a thin layer; don’t crowd. Let it sit 1–2 minutes to form a brown crust, then stir or break up with a spatula. Browning creates flavor; overcrowding steams the meat and causes a soggy texture. Cook until most pieces are browned with a few pink spots — about 4–6 minutes total per batch. Use a silicone or wooden spatula to scrape fond: Silicone Spatula.
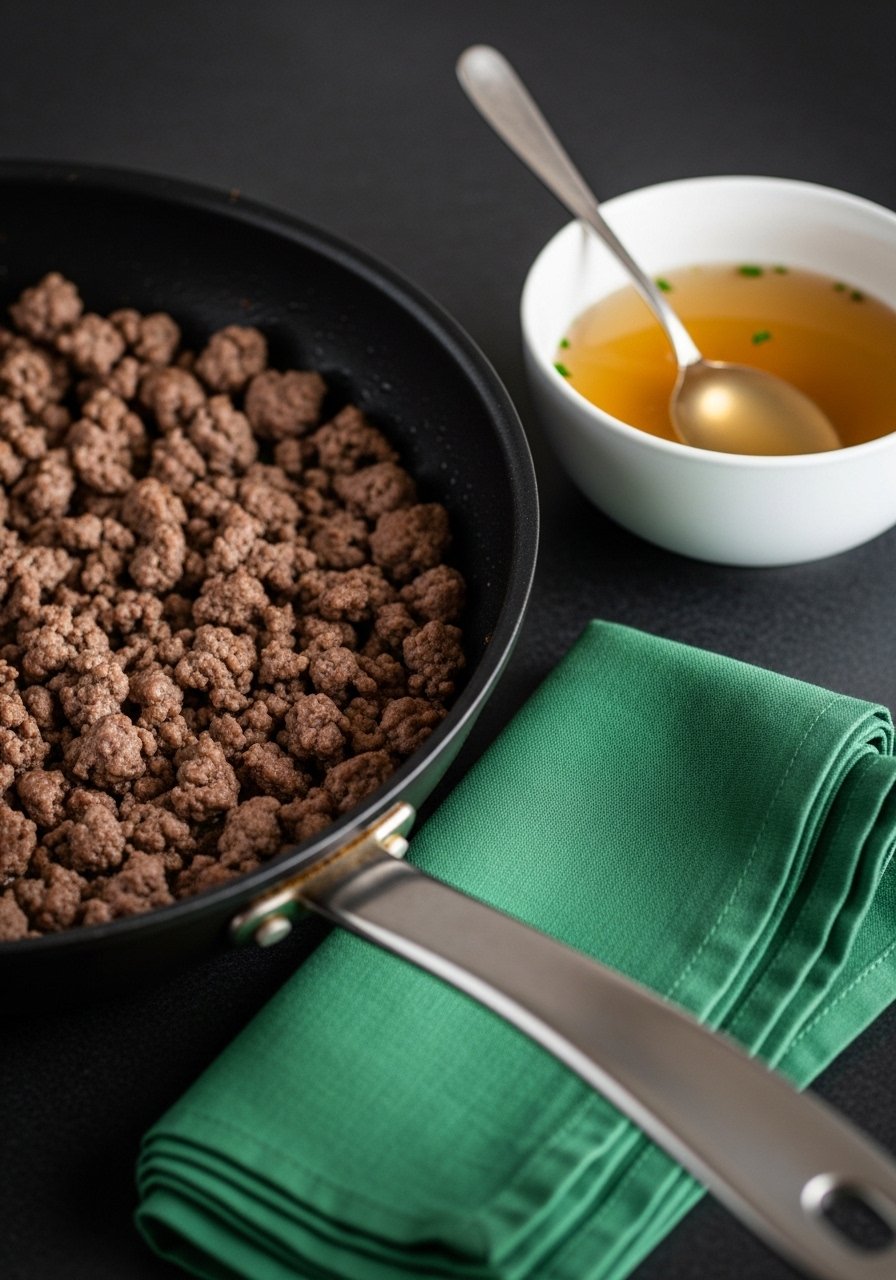
Finish Low-and-Gentle with Liquid and Rest
Reduce heat to medium-low. Add the broth and Worcestershire, stir to loosen browned bits, and simmer 1–2 minutes until liquid mostly absorbs. This adds moisture back into the lean meat. Check doneness with an instant-read thermometer — ground venison should reach 160°F for safety. Remove from heat and let sit 3–5 minutes; resting lets juices redistribute for a tender bite. I use an instant-read thermometer for accuracy: Instant-Read Thermometer.
Common Mistakes That Dry Out Ground Deer
- Salting too early and overworking. Salt draws moisture; add salt after you’ve combined fat and just before or during cooking.
- Overcrowding the pan. Cook in batches for even browning and less steam.
- Cooking too hot for too long. Searing is quick; finish on lower heat with a splash of broth to reintroduce moisture.
- Using no added fat with very lean grind. A 10–20% fat addition prevents a chalky texture.
How to Add Fat and Moisture Without Masking Venison
- Use neutral fats (pork fat, beef tallow, or a bit of olive oil) — start with 10% fat by weight and adjust.
- Finely dice or render bacon for flavor if you want smokiness, but keep amounts small to preserve venison’s profile.
- Deglaze with low-sodium broth or a tablespoon of water to lift browned flavor into the meat, then simmer briefly so the meat reabsorbs juices.
- Avoid heavy creams or thick sauces unless that’s your intended dish; they hide the meat’s natural taste.
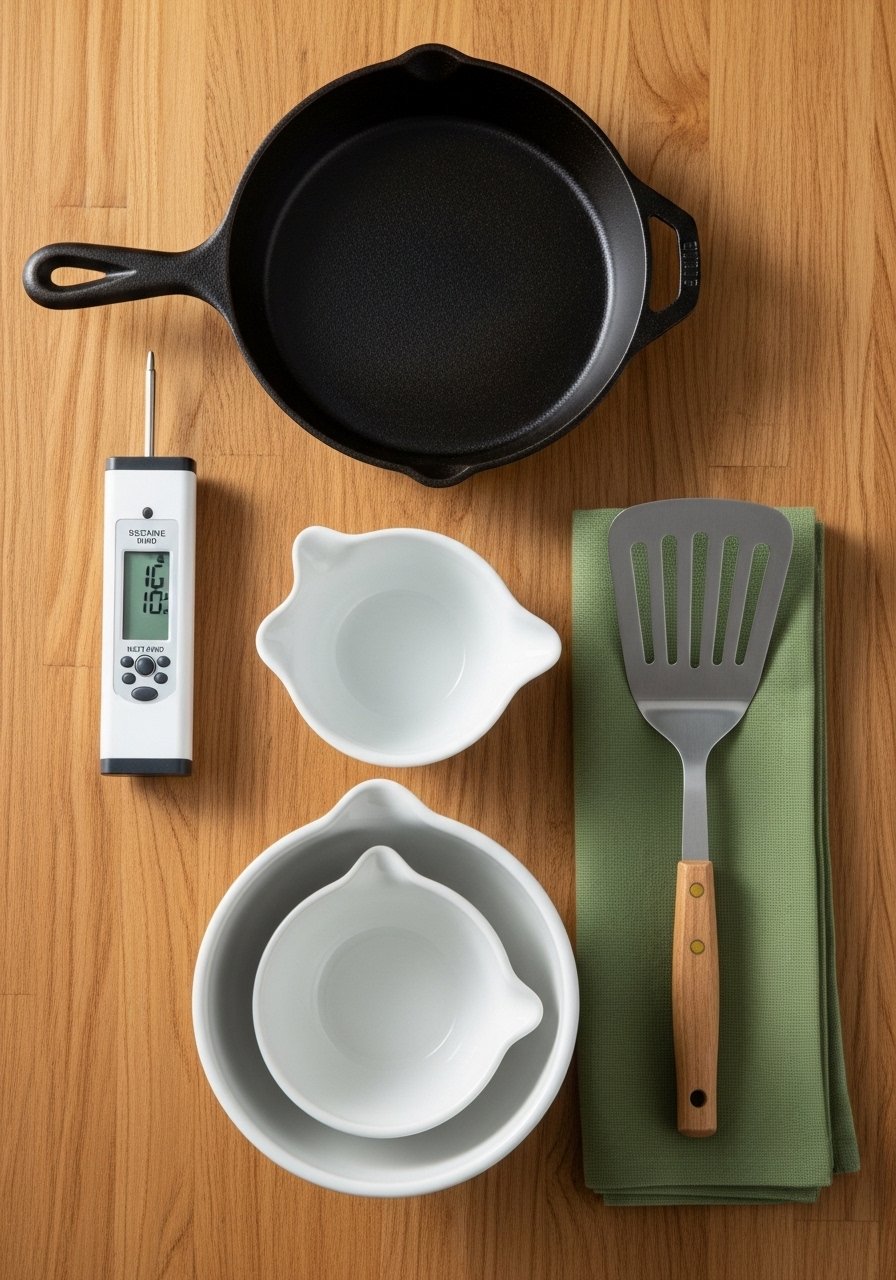
Tools and Temps That Keep It Juicy
- Cast iron or heavy skillet for stable heat and good browning: Lodge Cast Iron Skillet
- Instant-read thermometer to hit 160°F reliably: Instant-Read Thermometer
- Mixing bowl for even fat distribution: Mixing Bowls Set
- Silicone spatula to deglaze and stir without scratching: Silicone Spatula
Final Thoughts
You can turn lean ground deer into juicy, tender meat by adding modest fat, using proper browning, finishing with a little liquid, and resting briefly. Small technique tweaks make a big difference.
Start with one pound, follow the steps, and adjust fat and seasoning to your taste. You’ll get reliably moist, flavorful results.