You want fast, evenly cooked meals, but uneven chicken strips ruin timing and texture. If you've ever ended up with some pieces dry and some still raw, learning how to cut chicken breast into even strips will change weeknight cooking. Cut strips cook faster, sear evenly, and make meal prep predictable.
The secret is a sharp knife and consistent portions. I use a chef's knife for clean slices and a digital kitchen scale to portion each strip for even cooking. Follow these simple steps and you'll cut chicken breast into even strips every time—perfect for 30-minute dinners, stir-fries, and high-protein meal prep.
Expect a quick setup, a few pro tips, and storage advice so your strips stay juicy. Ready? Let’s get your cutting board set.
Preparing Your Station
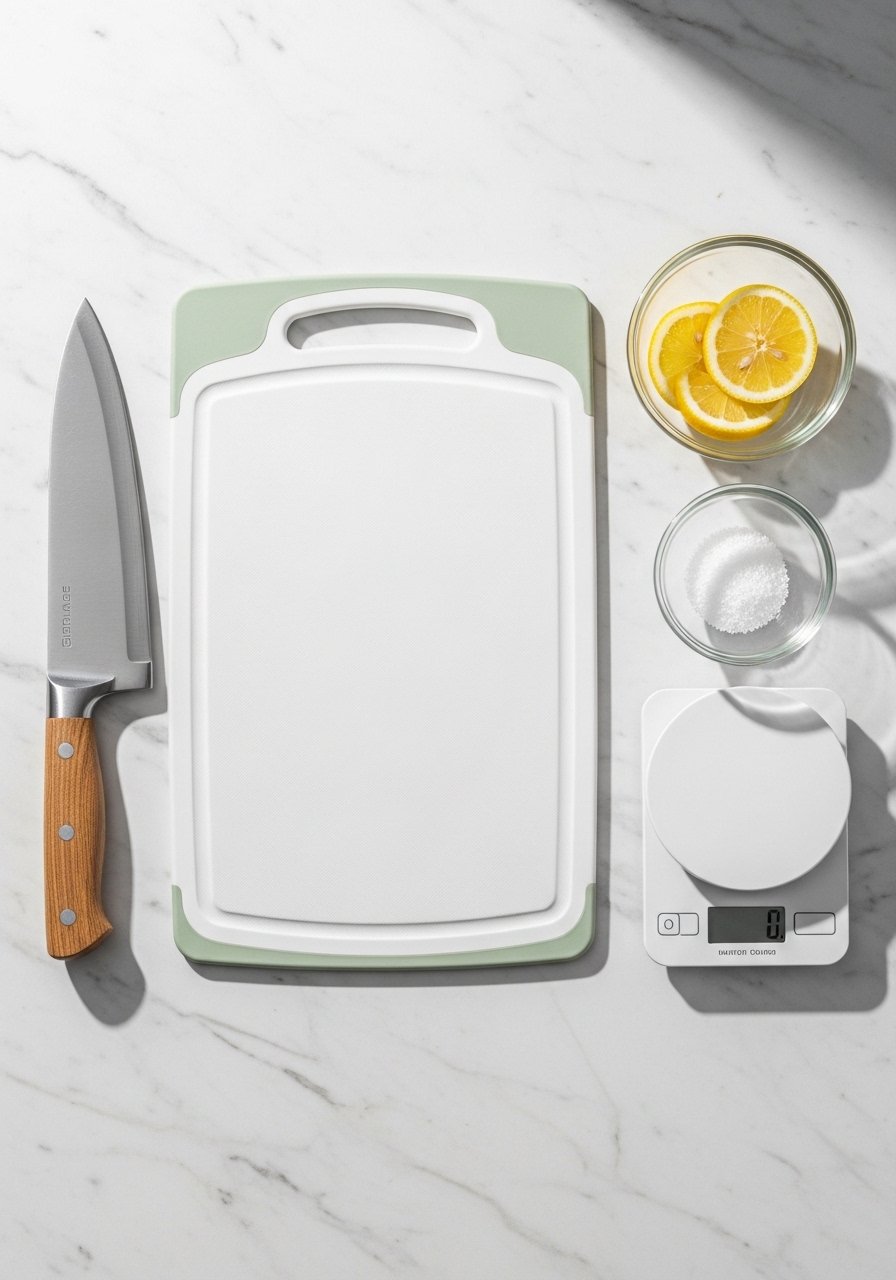
Set a clean, dry workspace. A non-slip surface keeps the breast from sliding and speeds safe cutting.
- Lay a damp kitchen towel under the cutting board to stop movement.
- Have a non-slip cutting board ready; plastic boards are easier to sanitize after raw poultry.
- Tare a digital kitchen scale if you want uniform portion sizes (try 4 oz portions for an entrée).
Quick tip: chill the chicken briefly (about 20–30 minutes) if it’s very soft—firmer meat cuts cleaner.
Mastering the Cut
Follow these steps to cut chicken breast into even strips that cook fast and evenly:
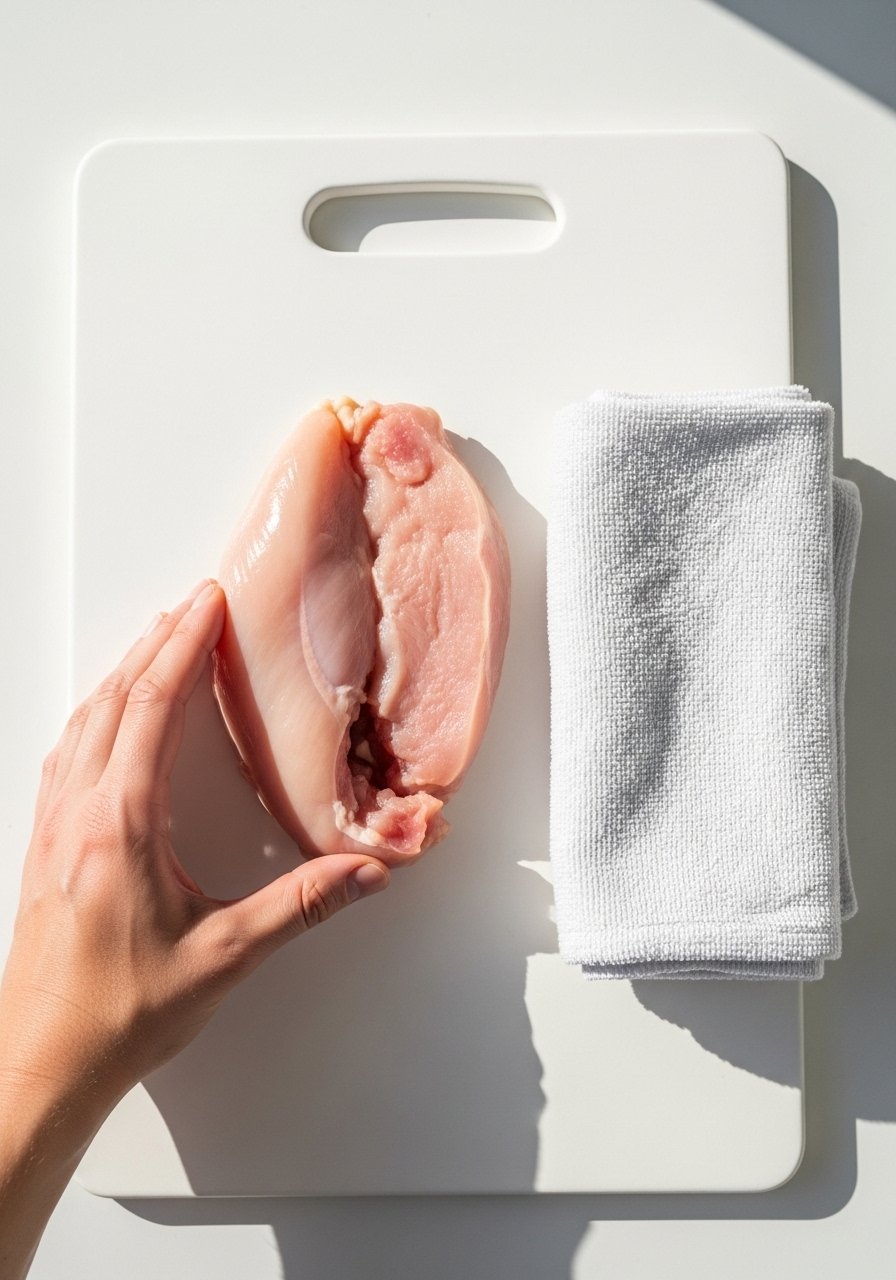
- Trim: Remove fat and the thin tendon with kitchen shears or a small knife. Use a kitchen shears for quick tendon snips.
- Butterfly (if breast is thick): Place one hand flat on top, slice horizontally through the center to open like a book. This yields a uniform thickness.
- Pound to even thickness (optional): If one side is thicker, cover with plastic and gently flatten with a meat mallet to about 1/4–1/2 inch thickness.
- Slice across the grain into 1/2-inch wide strips for fast stir-fries, or 1/4-inch thick for ultra-fast searing.
- Weigh a representative strip with your scale; adjust slice width so each strip is within ±0.2 oz of your target.
- Use a steady, single downward stroke with your chef's knife instead of a sawing motion.
- Keep slices uniform by aligning the tip and guiding the blade with your knuckles.
Troubleshooting Common Issues

If strips are slipping or ragged, try these fixes:
- Slippery chicken: Pat dry with paper towels before cutting. Dry meat slices cleaner and browns better.
- Uneven pieces: Partially freeze breasts for 15–20 minutes; firmer meat slices more evenly.
- Tough biting: Stop over-pounding. Aim for even thickness, not paper-thin.
- Not sure about doneness? Use an instant-read thermometer while cooking—target 165°F internal temperature for safety.
Small tool tip: keep a boning knife on hand for tight trimming and removing tendons without wasting meat.
Storage & Meal-Prep Shortcuts
After cutting, decide whether you’ll cook now or prep for later.
- Refrigerate raw strips in the coldest part for 1–2 days.
- Cooked strips last 3–4 days in the fridge.
- Freeze flat on a tray, then transfer to freezer bags to save space; use within 3–4 months for best quality.
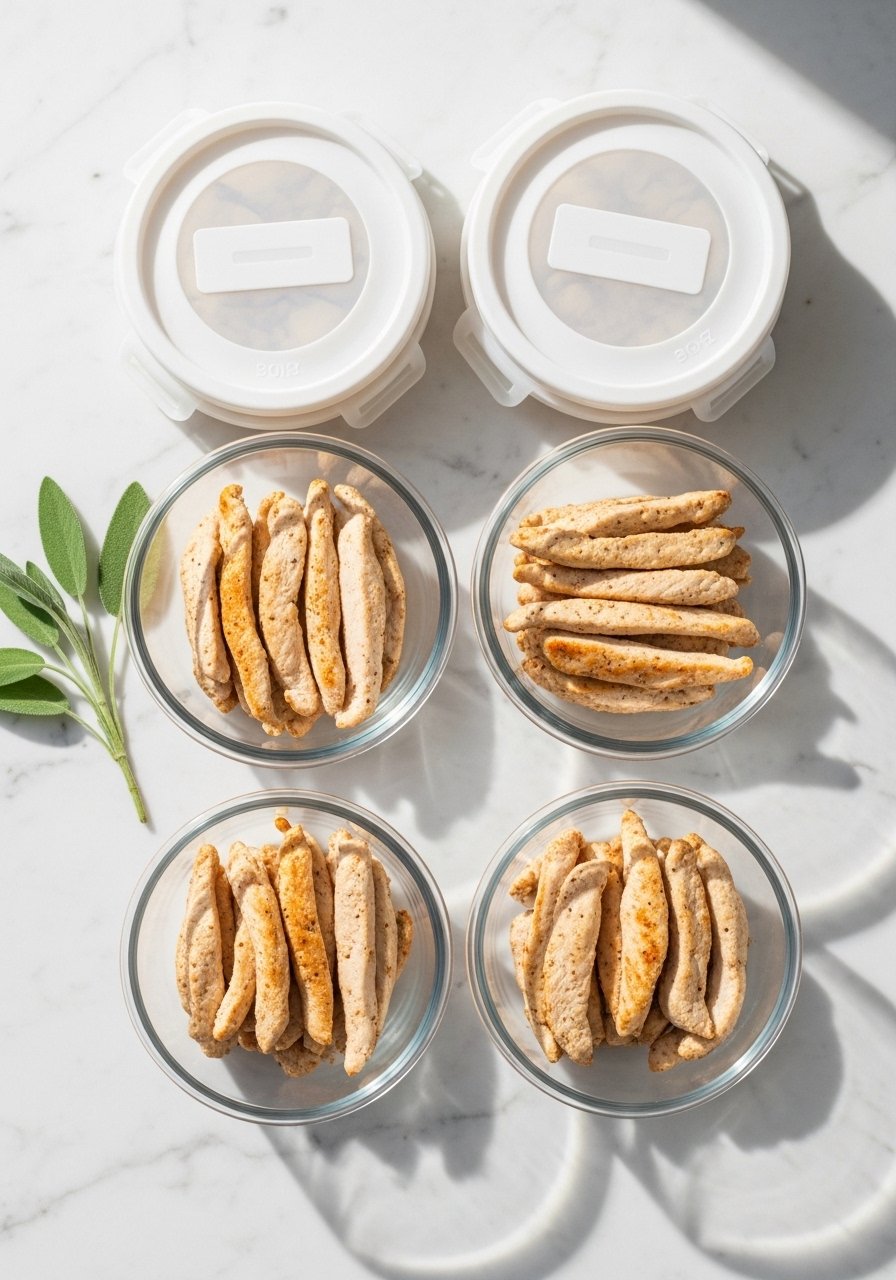
- Pack cooked strips in airtight glass containers for grab-and-go lunches.
- For quick reheats, thaw in the fridge overnight and reheat gently in a skillet or oven until 165°F.
Meal-prep trick: portion cooked strips into glass meal prep bowls with grains and veggies for balanced 30-minute lunches.

You’ve just learned how to cut chicken breast into even strips that cook evenly and speed up weeknight meals. With a sharp chef's knife, a digital kitchen scale, and a few quick tricks—partial freezing, pounding, and slicing across the grain—you’ll get consistent results every time. Pin this guide for your next meal prep and try cutting one breast into equal 4 oz portions today. Which tip will you try first?