Grilling chicken on a Blackstone can feel intimidating at first—especially when you’re worried about sticking, dryness, or undercooking. The good news: a griddle is one of the most beginner-friendly ways to get juicy chicken fast.
You’ll use steady heat, a simple seasoning, and clear visual cues so you know exactly when to flip and when it’s done.
This step-by-step guide walks you through it, start to finish, with the little details beginners usually miss.
How To Grill Chicken On Blackstone For Beginners
You’re going to preheat your Blackstone, season chicken simply, then grill it on a lightly oiled surface until it’s deeply browned and safely cooked through. The key for beginners is controlling heat zones and using doneness checks you can trust, so your chicken stays juicy instead of dry.
Step-By-Step Guide
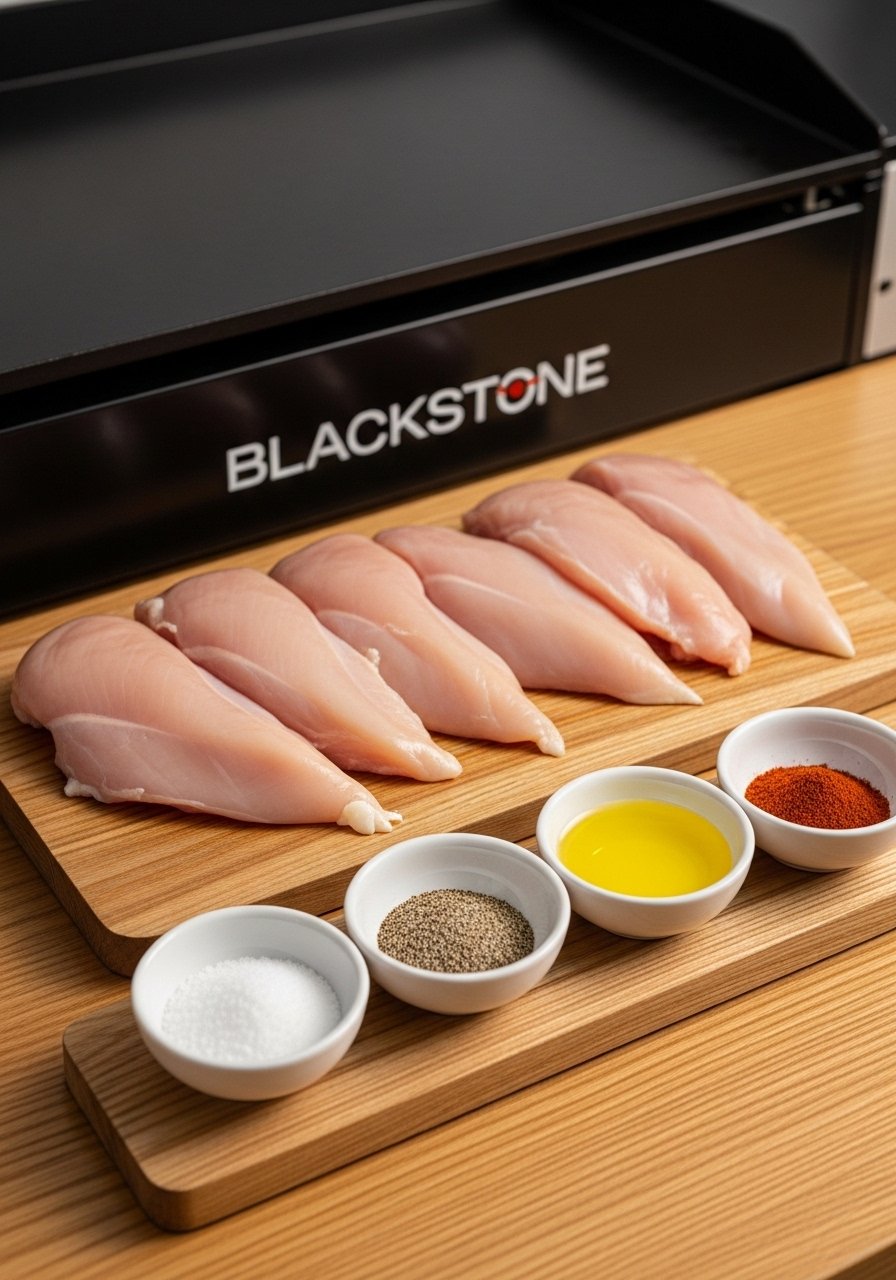
1) Set up tools and prep the chicken
Start with chicken breasts, thighs, or tenders—anything works, but thickness matters. If your pieces are uneven, they cook unevenly. Pat the chicken dry with paper towels so it browns instead of steaming.
Keep these tools within reach: Blackstone Griddle Spatula Set, Griddle Tongs, and an instant-read thermometer like ThermoPro Instant Read Meat Thermometer. Having them ready prevents overcooking while you hunt for tools.
2) Preheat and build two heat zones
Preheat your Blackstone for about 8–10 minutes. Aim for medium-high on one side and medium (or slightly lower) on the other. This gives you control: sear on the hotter zone, then finish gently if the outside is getting too dark.
If you have an infrared temp gun like Infrared Thermometer Gun, look for roughly 375–425°F on the hot side. No temp gun? You want the surface hot enough that a drop of water sizzles and skitters quickly.
3) Oil the griddle the right way (so chicken won’t stick)
Add a small amount of high-smoke-point oil to the griddle (about 1–2 teaspoons per batch). Spread it into a thin sheen with your spatula or a folded paper towel held with tongs.
This matters because beginners often add too much oil (which can fry and splatter) or none at all (which leads to sticking). You want just enough to help contact and browning.
4) Season, place, and don’t touch it yet
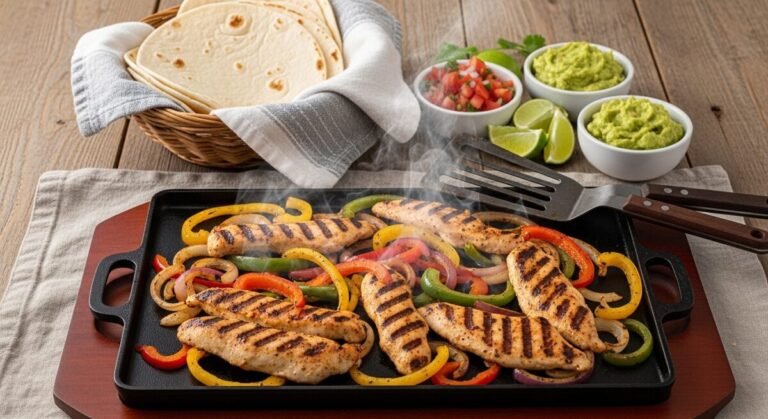
Season both sides of the chicken with salt and pepper at minimum. If you want a simple “grilled” flavor, add garlic powder and paprika. Place chicken on the hot zone with space between pieces so heat can circulate.
Now leave it alone. Let it cook 4–6 minutes for thinner cutlets/tenders, or 6–8 minutes for thicker breasts/thighs. This undisturbed time builds a crust—if you try to flip early, it’s more likely to stick and tear.
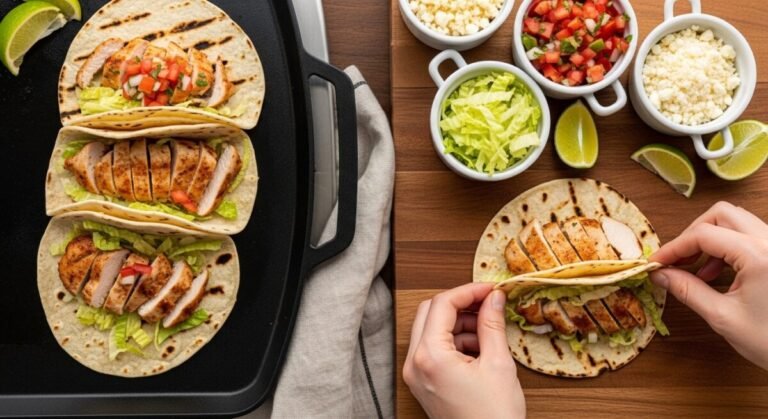
5) Flip once, then cook to temperature
Flip when the chicken releases easily and you see golden-brown edges. Cook the second side about 4–8 minutes depending on thickness. If the outside is browning too fast, slide it to the cooler zone to finish.
Check doneness with an instant-read thermometer in the thickest part:
- 165°F for chicken breast
- 165°F for thighs (many people prefer 170–175°F for a more tender bite)
Using temperature removes the guesswork that trips up most beginners.
6) Rest briefly, then serve
Move chicken to a clean plate and rest 3–5 minutes. Resting keeps juices in the meat instead of spilling out when you cut.
While it rests, scrape the griddle clean with a tool like Griddle Scraper so leftover bits don’t burn under your next batch.
The Easiest Chicken Cuts For Beginners On A Blackstone
Breasts, thighs, and tenders all work—but some are more forgiving when you’re learning timing.
- Chicken thighs (boneless/skinless): Harder to dry out, very beginner-friendly. They may take a little longer but stay juicy.
- Chicken tenders: Fastest and simplest. Great when you want quick success, but watch closely because they cook fast.
- Chicken breasts: Lean, so they dry out quickest. If they’re thick, pound to an even thickness first for better results.
If you want more consistent results, use a basic tool like a Meat Mallet to even out thick chicken before it hits the griddle.
Blackstone Chicken Temperature And Timing (Beginner Targets)
Timing varies with thickness and heat, so use this as a starting point—then confirm with a thermometer.
- Tenders (thin): ~3–4 minutes per side on medium-high
- Thin cutlets: ~4–6 minutes per side
- Average breasts (about 1 inch thick): ~6–8 minutes per side
- Boneless thighs: ~6–9 minutes per side

Visual cues that help: the surface turns opaque on the sides, juices run clear, and the chicken releases cleanly when it’s ready to flip. But temperature is still your best “beginner proof” check.
Beginner Mistakes That Make Blackstone Chicken Dry Or Stick
Most beginner issues come down to heat control and early flipping.
First, don’t start on a lukewarm griddle. Chicken will stick and go pale instead of browning. Preheat until the surface is truly hot.
Second, don’t move it around. Let the crust form, then flip once. If it’s sticking, it usually just needs another minute.
Third, don’t rely on time alone. Thickness varies. A simple thermometer prevents both dryness (overcooking) and safety worries (undercooking). If you’re still learning, keep one like the ThermoPro Instant Read Meat Thermometer next to your griddle every time.
Final Thoughts
Once you preheat well, oil lightly, and flip only when the chicken releases, Blackstone chicken gets easy fast. Use two heat zones and cook to temperature, not guesswork.
Do it a couple of times and you’ll feel the timing in your hands—juicy chicken, clean flips, no stress.