Bread crumbs are one of those kitchen staples that make dishes crispier, tastier, and more satisfying.
Instead of buying store-bought ones, why not make them at home? It’s super easy, cost-effective, and you can control exactly what goes in.
Let’s learn step-by-step how to make bread crumbs in your own kitchen!
Where We Can Use Bread Crumbs
Bread crumbs are incredibly versatile and can add a delicious crunch or soft texture to many dishes.
You can use them to coat meats and vegetables, sprinkle over casseroles, mix into meatballs, or even thicken soups.
They’re also great for adding extra texture to salads and for making homemade stuffing.
Step-by-Step Process to Make Bread Crumbs
Step 1: Choose Your Bread
The first step is selecting the right bread, which is the base of your crumbs.
You can use almost any kind of bread: white, whole wheat, multigrain, sourdough, baguette, or even gluten-free bread.
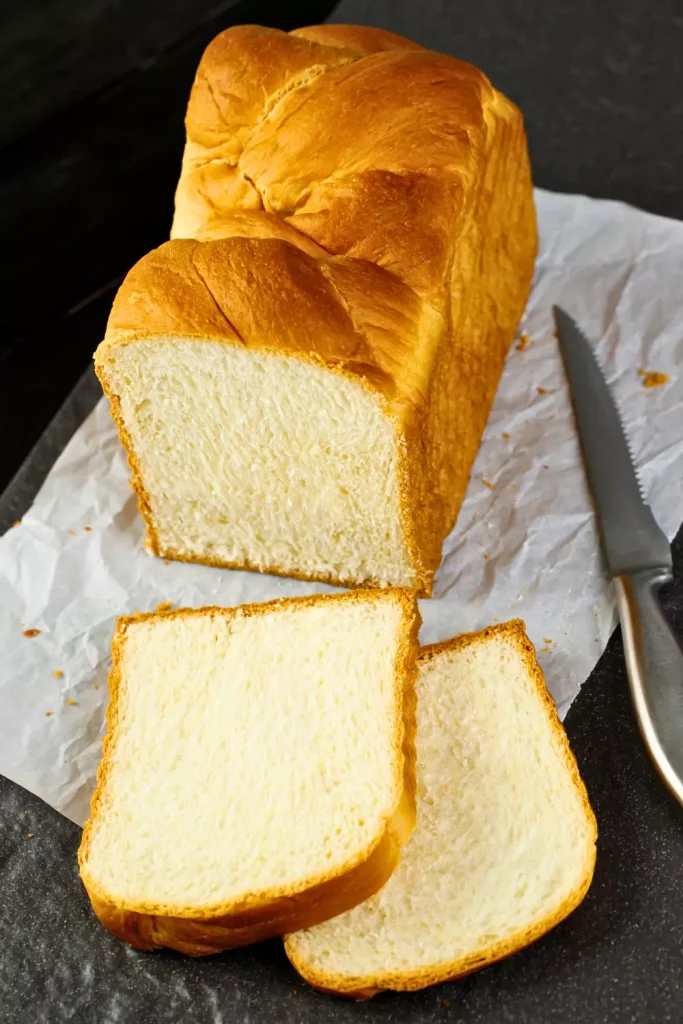
Slightly stale bread is ideal because it dries more easily and creates better crumbs.
If you want lighter crumbs, you can remove the crusts, but leaving them on will give you a deeper flavor and a bit more color.
Step 2: Cut the Bread
Cutting the bread into smaller pieces helps it dry out more evenly and makes it easier to blend or process.
Take your bread slices and cut them into cubes about 1 inch in size. This makes the bread dry faster in the oven and ensures that all the pieces crisp up properly.
If your bread is already in small slices, you can simply tear it by hand into small chunks.
Step 3: Dry Out the Bread
Drying the bread is an important step that makes it crisp enough to grind into crumbs.
Preheat your oven to 300°F (150°C). Spread the bread cubes in a single layer on a baking sheet so they do not overlap.
Place the tray in the oven and bake for about 10 to 15 minutes.
Halfway through, flip or stir the cubes to make sure they dry evenly on all sides. Watch closely toward the end to prevent burning.
The bread should feel hard and crisp when it is done.
If you prefer not to use the oven, you can let the bread pieces sit out at room temperature for a day or two to air dry, but this takes longer and may not give you the same even crispness.
Step 4: Let the Bread Cool
Cooling the bread pieces completely prevents steam from making the crumbs soggy during grinding.
Once your bread pieces are dry and crisp, take them out of the oven and leave them on the baking sheet to cool completely.
Warm bread can create moisture in your food processor or blender, making the crumbs clump together instead of staying dry and fluffy.
Step 5: Grind the Bread
This step turns your dry bread pieces into crumbs of the texture you prefer.
Place the cooled bread pieces into a food processor or blender. Pulse in short bursts rather than blending continuously.
This gives you more control over the texture, allowing you to make either coarse or fine crumbs depending on your need.
If you don’t have a food processor, put the bread pieces into a sturdy plastic bag and crush them using a rolling pin until they reach the desired consistency.
Step 6: Optional — Add Seasonings
Adding seasonings is an optional step that gives your bread crumbs extra flavor and makes them ready to use for different recipes.
Once you have your plain crumbs, you can mix in dried herbs like parsley, basil, or oregano, along with garlic powder, onion powder, paprika, or grated Parmesan cheese.
Blend or stir briefly to combine all the seasonings evenly. This step is especially helpful if you plan to use your bread crumbs for breading meats or vegetables.
Step 7: Store Properly
Storing your bread crumbs correctly will keep them fresh and ready to use anytime.

Transfer the finished bread crumbs into an airtight container or jar.
Store them in a cool, dry place, like a pantry, for up to two weeks. If you want to keep them longer, you can store them in the freezer for up to three months.
When using frozen bread crumbs, you can add them directly to recipes without thawing.
Final Tips
Homemade bread crumbs are easy to make and a great way to use up leftover bread. You can customize them exactly to your taste, control the ingredients, and avoid preservatives.
Always make sure the bread is completely dry before grinding and before storing to prevent mold or clumping.
Now you know exactly how to make bread crumbs step by step, so you’ll never need to buy them again. Try making a batch this week and see how much better your dishes taste with fresh, homemade crumbs.