Cheesemaking is an ancient craft—dating back thousands of years—rooted in simple science and time-honored tradition.
With just a few ingredients and basic equipment, you can transform milk into a delicious spectrum of cheeses—from fresh ricotta and paneer to aged cheddar and flavorful bries.
Let’s jump into the step-by-step process, grounded in both practicality and the fascinating microbiology behind it.
How to Make Cheese (Step-by-Step Process)
1. Gather Ingredients & Tools
- Milk: The star ingredient—raw, pasteurized (but not ultra-pasteurized), cow, goat, or sheep. Richer milk makes tastier cheese.
- Starter culture or acid: Lactic cultures acidify milk for aged or fresh cheeses, while direct acidifiers like vinegar or lemon juice work for quick cheeses (paneer, queso fresco).
- Rennet: An enzyme blend (often microbial-based) that coagulates proteins into curds.
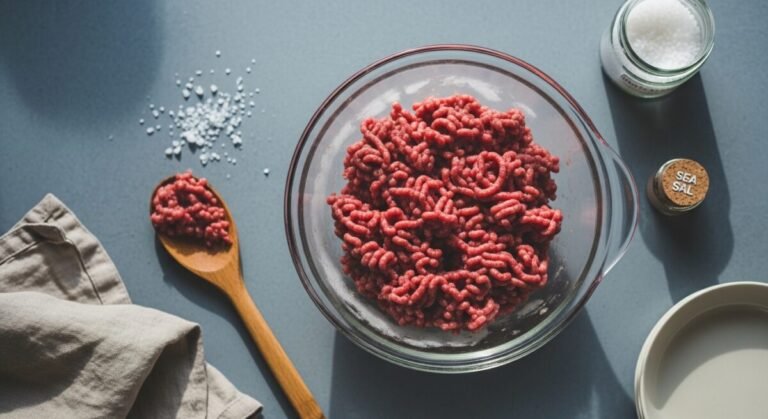
- Salt: Enhances flavor and controls moisture and microbial growth.
- Optional: additives like calcium chloride, annatto for coloration.
Equipment: Pot, thermometer, cheesecloth, colander, molds/press, long knife, ladle—mostly everyday kitchen tools are sufficient
2. Heat the Milk
Pour your milk into the pot and begin gently heating it over low to medium heat. The temperature you aim for depends on the cheese you’re making, but it usually falls between 86 and 102 degrees Fahrenheit.
Stir slowly and steadily to avoid scorching at the bottom of the pot.

Gradual, even heating is crucial for developing the proper curd structure. Take your time; rushing can lead to inconsistent curds and poor texture.
3. Acidify or Add Starter Culture
Once the milk has reached the target temperature, add your starter culture if making traditional cheeses. This culture contains beneficial bacteria that convert lactose into lactic acid, gently acidifying the milk over time.
Stir thoroughly using an up-and-down motion to ensure the culture is evenly distributed. Let the milk sit undisturbed for about 30 to 60 minutes to allow acidification to start.
If making fresh acid-set cheeses like paneer or ricotta, you can add an acid directly (such as lemon juice or white vinegar) instead of using a culture.
Add the acid slowly while stirring gently until you see the milk separate into curds and whey—a clear sign of successful coagulation.
The whey should appear translucent and yellowish, while the curds clump together.
4. Add Rennet (If Using)
For most aged or firmer cheeses, you’ll add rennet after the initial acidification. Dilute the rennet in cool, non-chlorinated water first to distribute it evenly.
Pour it into the milk while stirring very gently for about 30 seconds.
Stop stirring and cover the pot. Let the milk rest undisturbed for 30 to 60 minutes. During this time, the milk will transform into a soft gel-like consistency known as a curd mass.
To test if it’s ready, insert a clean knife at an angle and lift slightly—if you see a clean break and clear whey separates, it’s time to move on.
5. Cut the Curds
Cutting the curds is a critical step that influences the texture and moisture content of your final cheese.
Use a long knife to slice the curd mass into uniform cubes, typically about 1 cm (½ inch) in size, for firmer cheeses. The smaller the curds, the more whey they expel, resulting in a drier cheese.
Make vertical cuts first, then horizontal cuts, carefully reaching down to the bottom of the pot. Once cut, let the curds rest for a few minutes to allow more whey to rise to the surface.
6. Cook and Stir the Curds

Gradually heat the curds to a higher temperature, usually around 100 to 108 degrees Fahrenheit, depending on the cheese type.
Stir gently and continuously to prevent the curds from clumping together and sticking to the pot.
This process firms up the curds and further expels whey. The cooking time can range from 20 to 45 minutes. Check the curds’ firmness by squeezing a piece between your fingers—they should feel springy and slightly elastic when ready.
7. Drain and Mold the Curds
When the curds have reached the desired texture, it’s time to drain the whey. Line a colander with cheesecloth or butter muslin and carefully ladle or pour the curds into it.
Allow the whey to drain naturally for a few minutes. For soft or fresh cheeses, minimal pressing is needed—simply tie up the cloth and hang it to drain for a few hours.
For hard cheeses, transfer the drained curds into a cheese mold lined with cheesecloth.
Fold the cloth neatly over the top and place a follower (a flat disc) on top. Apply gentle, steady pressure using a cheese press or homemade weights.
Pressing helps expel more whey and shapes the cheese into a solid block. The pressing time and weight depend on the type of cheese—some require just a few hours, others overnight.
8. Salt and Age
After pressing, remove the cheese from the mold and carefully unwrap it. At this stage, salt is applied in one of three ways: dry salting (rubbing salt onto the surface), brining (soaking in a saltwater solution), or adding salt directly to the curds before molding.
Salt not only adds flavor but also influences the rind formation and protects against unwanted microbes.
For fresh cheeses like ricotta or paneer, you can enjoy them immediately after salting.
However, for aged cheeses such as cheddar or gouda, the cheese must be aged under controlled conditions. Place the cheese in a cool, humid environment—usually around 50–55 degrees Fahrenheit with 80–85% humidity.
Turn and monitor the cheese regularly to encourage even drying and rind development.
Depending on the style, aging can range from a few weeks to several years, gradually intensifying the flavor and texture.
9. Enjoy or Continue Aging
Once your cheese has aged to your liking, it’s ready to be savored. Slice, grate, or melt it as you wish.
Fresh cheeses should be consumed within a few days to a week, while aged cheeses can last much longer if properly stored.
Each cheese you make is unique, carrying the nuances of your milk, techniques, and environment—a true reflection of your personal cheesemaking journey.
Conclusion
Making cheese at home is a delightful blend of science and craftsmanship. While it requires patience and attention to detail, the process is deeply rewarding and surprisingly accessible once you understand the steps.
Starting with simpler fresh cheeses builds confidence and skills, eventually allowing you to explore complex aged varieties.