You love crunchy chicken strips but hate when the meat turns dry. If you’ve wondered how to make chicken strips extra crispy without drying them out, this guide walks you through reliable tricks that lock in juiciness while delivering crunch. You'll see exactly when to brine, how to bread, and which cooking method to choose.
The secret combo: a short brine or buttermilk soak, a cornstarch + flour dredge, and resting on a wire rack after cooking. I use an instant-read thermometer so I hit 165°F every time, and a wire cooling rack to keep bottoms crisp.
Read on for step-by-step timing, a fail-safe breading system, quick oven/air-fryer swaps, and storage tips so you can make crispy chicken strips in about 30 minutes.
Preparing Your Ingredients
Start by trimming chicken breasts into uniform strips—about 1/2–3/4 inch thick so they cook evenly. If time allows, pound slightly for uniform thickness. Consistent size prevents overcooking and keeps strips juicy.
Quick brine or buttermilk soak:
- For a brine: dissolve 1 tablespoon salt and 1 tablespoon sugar in 2 cups water; soak strips 15–30 minutes.
- For richer flavor, soak in 1 cup buttermilk with a pinch of salt for 20–30 minutes.
Prep tools that help:
- Use a digital kitchen scale to portion strips evenly.
- Transfer prepped strips to glass meal prep bowls to keep work tidy.
The Wet–Dry Breading System That Keeps Moisture
This is where many people fail. Use a two-step wet-dry system: a light coating of cornstarch + flour for adhesion, then a panko-heavy final dredge for crunch.
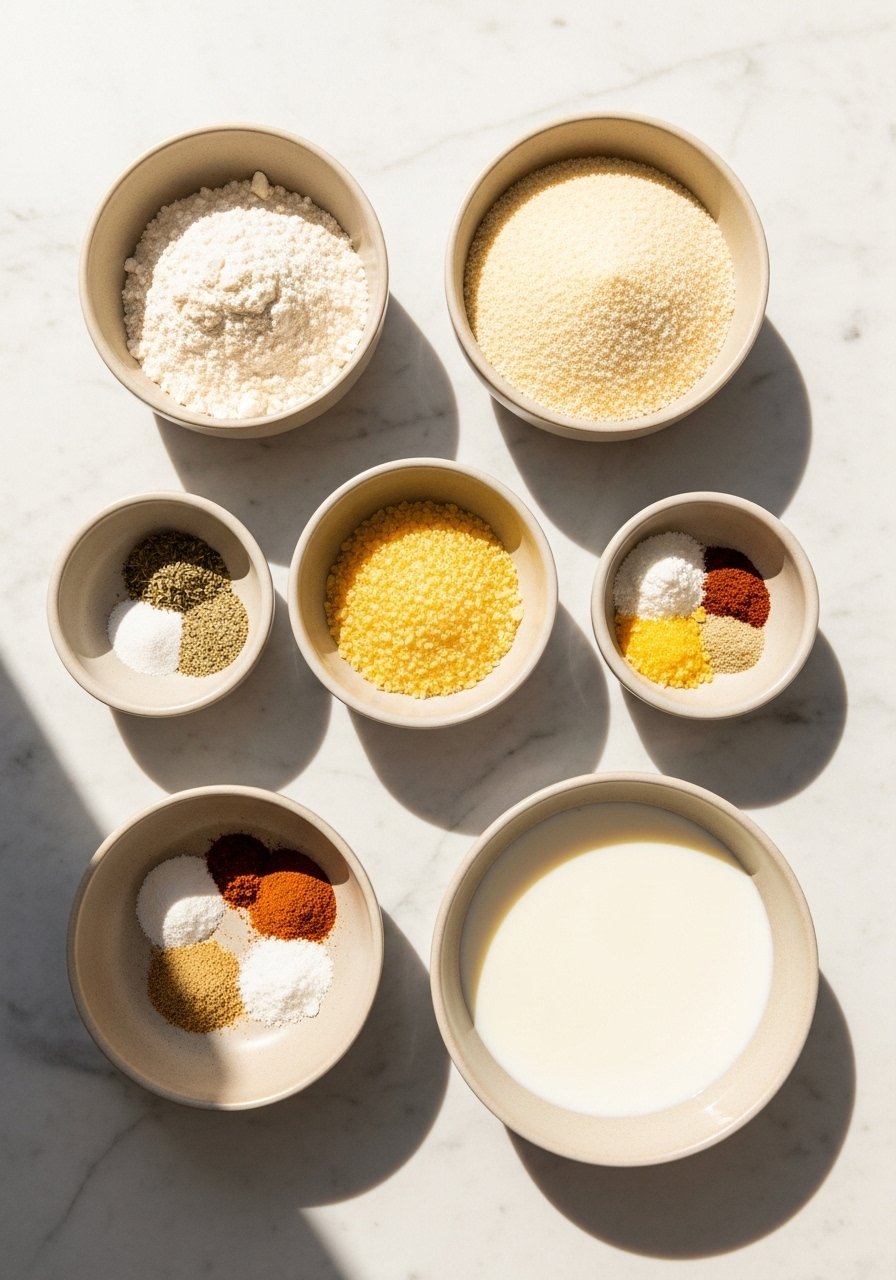
Breading mix:
- 1 cup all-purpose flour + 1/2 cup cornstarch (for extra crisp)
- Season with 1 tsp smoked paprika, 1 tsp salt, 1/2 tsp black pepper
- Final dredge: equal parts panko and fine breadcrumbs for great texture
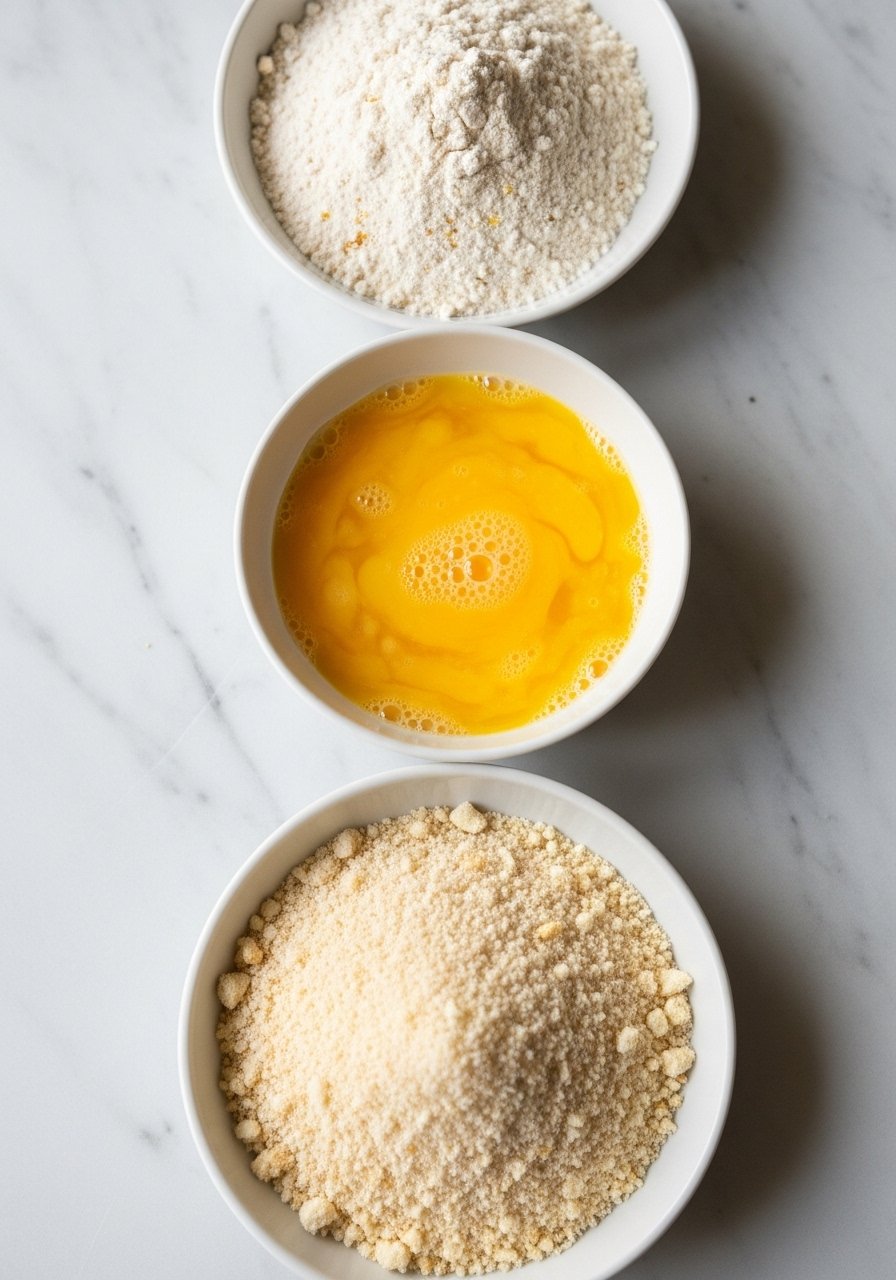
Dredging steps:
- Toss strips lightly in the flour/cornstarch mix, shake off excess.
- Dip into beaten eggs or buttermilk thin.
- Press into the panko blend—firmly but not crushing.
Pro tips:
- Add a tablespoon of baking powder to the flour mix for oven or air-fryer methods to make a lighter crust.
- Use silicone tongs to keep hands clean and avoid knocking breading off.
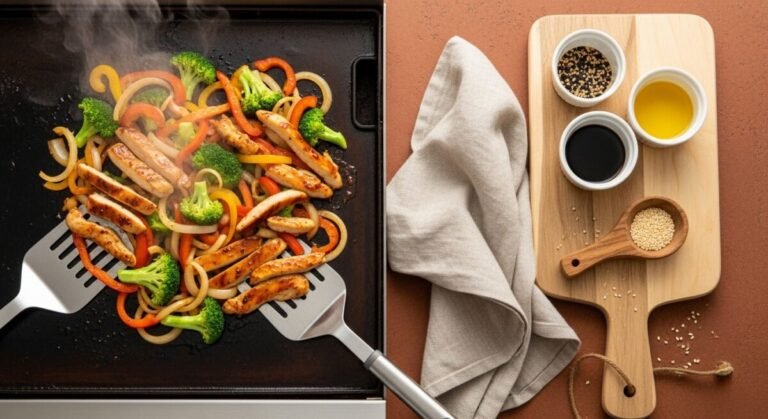
Cooking Methods: Frying, Oven, and Air Fryer Tricks
Choose a method that fits your time and cleanup comfort. All methods aim to heat the crust quickly so the interior stays juicier.
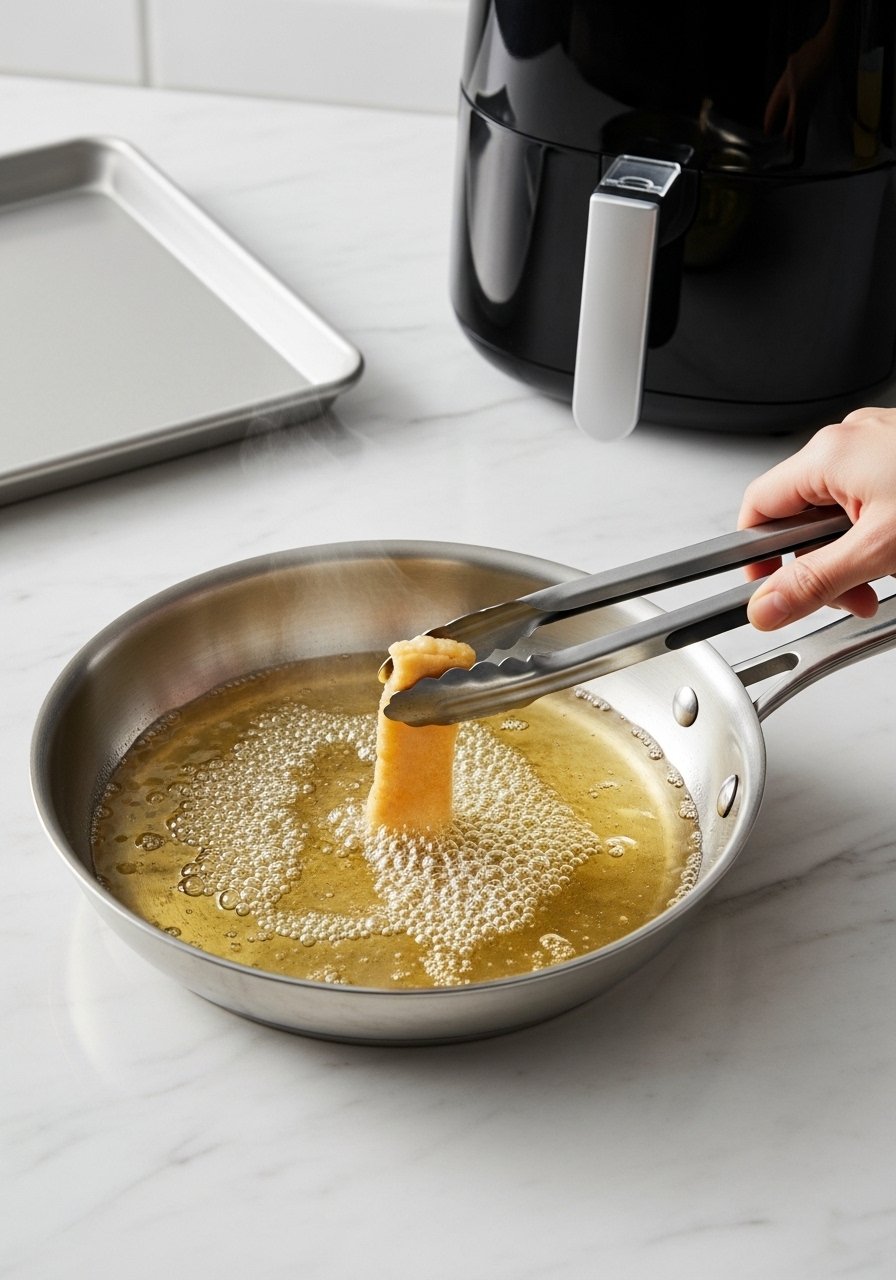
Pan-fry (crispiest): Heat oil to 350–375°F. Fry strips 3–4 minutes per side until golden. Drain on a wire cooling rack set over a rimmed baking sheet. Use an instant-read thermometer to confirm 165°F.
Oven (30-minute weeknight): Preheat to 425°F. Place strips on a wire rack for baking sheet and spray lightly with oil from an oil mister. Bake 12–18 minutes, flipping once.
Air fryer (fast): Spray strips lightly and air-fry at 400°F for 8–10 minutes, flipping halfway. A non-stick air fryer basket liner prevents sticking and speeds cleanup.
Avoid overcrowding—space lets hot air circulate and keeps the crust crisp.
Finishing, Resting, and Storage for Crispiness

Resting is essential. Let strips rest 3–5 minutes on a wire rack so steam escapes. If you stack them, the bottoms will steam and get soggy.
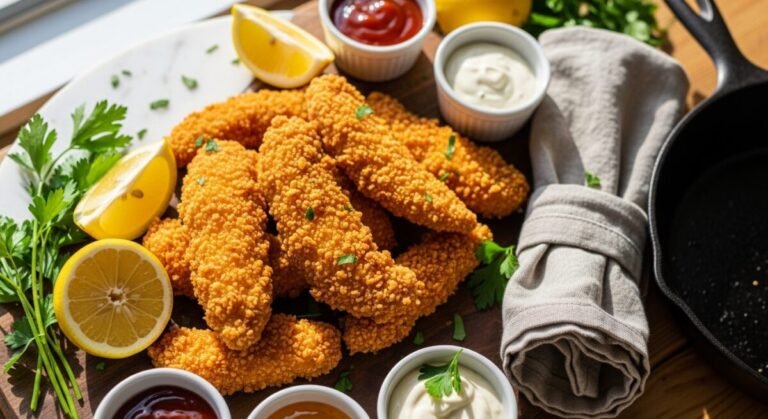
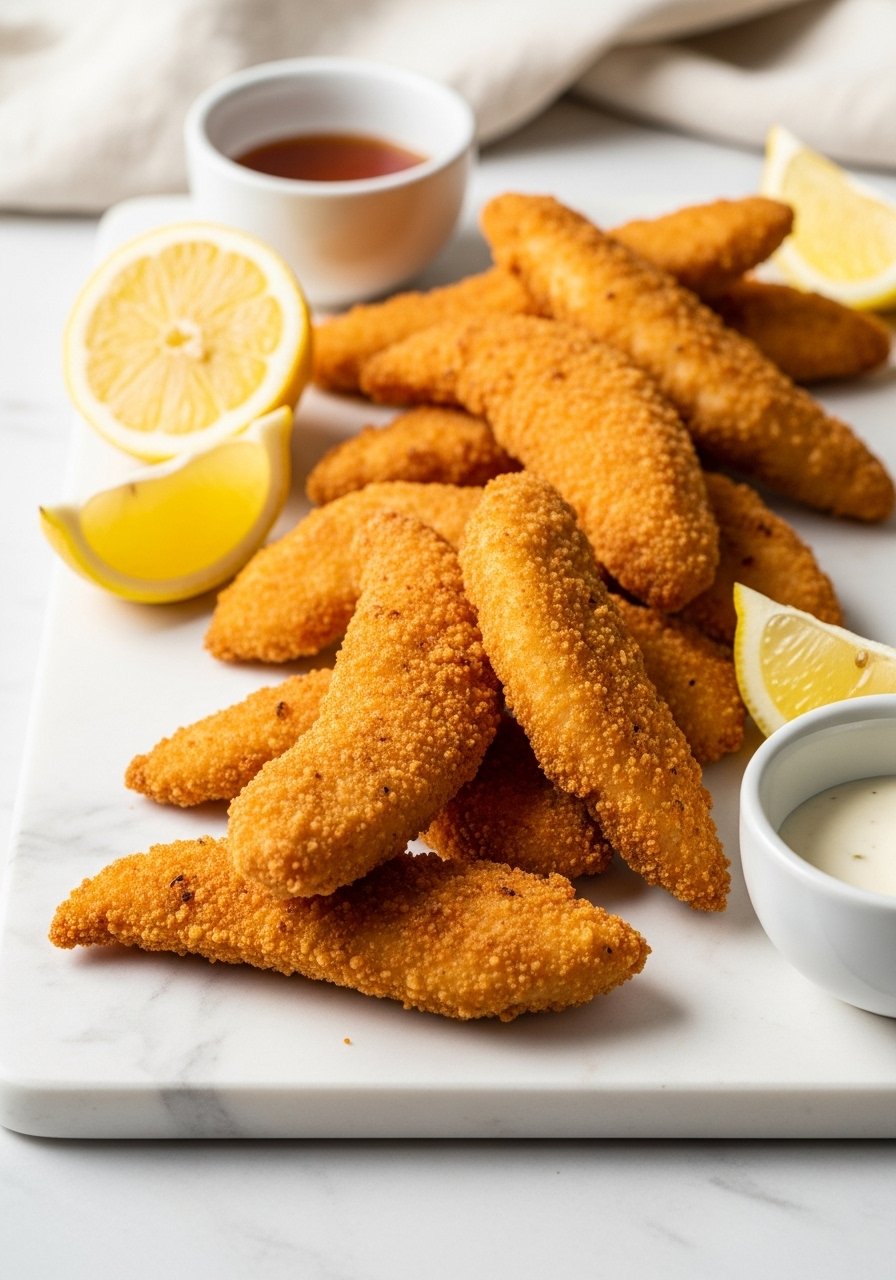
Quick serving tips:
- Toss hot strips with a pinch of flaky salt right after resting.
- Serve with sauces in small ramekins for dipping.
Storage and reheating:
- Cool completely, then store in airtight glass containers in the fridge up to 3 days.
- Re-crisp in a 400°F oven or air fryer for 4–6 minutes. Avoid microwaving—it softens the crust.
Troubleshooting:
- Soggy crust? Next time increase cornstarch or bake/fry a few minutes longer at higher heat.
- Dry meat? Reduce strip thickness or shorten cooking time; always confirm with an instant-read thermometer.
Once you try this system—short soak, cornstarch-flour base, panko final dredge, and resting—you’ll know how to make chicken strips extra crispy without drying them out every time. Save this guide for easy weeknight wins and pin it for later. Which cooking method will you try first: pan-fry, oven, or air fryer? And pick up an instant-read thermometer so you never overcook again.