Cookies are a beloved treat enjoyed all over the world—and learning how to make them at home is both fun and rewarding.
From the smell that fills your kitchen to the first bite of a chewy or crisp cookie, the experience is truly satisfying.
This guide will walk you through the process in simple language but with all the important details included—perfect for beginners or anyone looking to improve their baking skills.
Why Bake Cookies at Home?
Baking cookies at home gives you complete control over ingredients and flavor. Store-bought cookies often contain preservatives and artificial flavors, but when you bake them yourself, you know exactly what’s going in.
You can adjust the sweetness, change the texture, and customize the mix-ins to suit your taste.
Want a softer cookie? Add more brown sugar. Prefer something crisp? Use more white sugar and flatten the dough before baking.
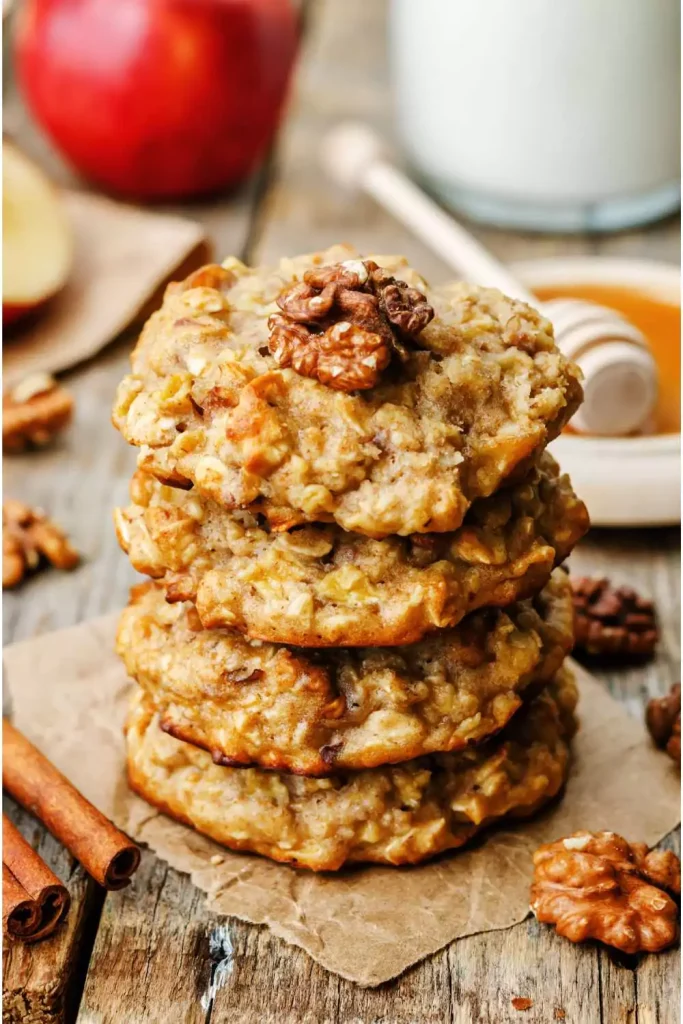
Baking also gives you the chance to be creative, experimenting with different add-ins like chocolate chips, dried fruits, nuts, or spices. It’s a comforting and relaxing activity that you can enjoy solo or with family and friends.
Plus, the warm, inviting aroma of freshly baked cookies is enough to make any home feel cozier.
Homemade cookies also make thoughtful gifts and are perfect for parties, school events, or just enjoying with a glass of milk.
Step-by-Step Process
1. Gather Ingredients and Tools
Before you start baking, make sure you have everything ready. Here are the basic ingredients you’ll need:
- All-purpose flour
- Baking soda or baking powder
- Salt
- Unsalted butter (softened)
- Granulated sugar
- Brown sugar (optional, but ideal for chewy texture)
- Eggs (room temperature)
- Vanilla extract
- Optional mix-ins: chocolate chips, chopped nuts, dried fruit, shredded coconut, oats
You’ll also need a few essential kitchen tools: mixing bowls, measuring cups and spoons (or a digital kitchen scale), a hand or stand mixer, a rubber spatula, baking trays, parchment paper or silicone mats, and a wire cooling rack.
2. Prep Your Kitchen
Start by preparing your workspace. Clear off the counter, gather your ingredients, and line your baking trays with parchment paper or silicone baking mats.
This will prevent the cookies from sticking and make cleanup easier.
Next, preheat your oven to 350–375°F (175–190°C), depending on your recipe. It’s important to bake cookies in a fully preheated oven so they rise properly and cook evenly.
Also, if your butter and eggs are in the fridge, take them out early so they can come to room temperature—this helps them mix more smoothly into the dough.
3. Cream the Butter and Sugar
In a large mixing bowl, add the softened butter, granulated sugar, and brown sugar (if using). Use a hand mixer or stand mixer to beat the ingredients together on medium speed.
This process, known as creaming, takes about 2 to 5 minutes. You’ll know it’s ready when the mixture becomes light in color and fluffy in texture.
Creaming is a crucial step because it incorporates air into the dough, helping the cookies rise and giving them a tender, soft texture. Be sure to scrape down the sides of the bowl with a spatula to ensure everything mixes evenly.
4. Add the Eggs and Vanilla
Once your butter and sugar are well creamed, add the eggs one at a time, beating well after each addition. This helps maintain the smooth consistency of the dough.
After the eggs are mixed in, pour in the vanilla extract and beat again until fully combined.
The eggs act as a binder and add moisture, while the vanilla enhances the flavor of your cookies. Don’t rush this step—proper mixing ensures even texture and taste in every bite.
5. Mix the Dry Ingredients Separately
In another bowl, whisk together the dry ingredients: all-purpose flour, baking soda or baking powder, and salt.
Mixing them separately before adding to the wet ingredients ensures the leavening agent (baking soda or powder) and salt are evenly distributed throughout the flour.
This helps prevent uneven rising or salty spots in your cookies.
Once combined, slowly add the dry mixture to the wet ingredients. Mix gently until everything is just incorporated. Be careful not to overmix the dough at this stage, as doing so can lead to tough, dense cookies due to excess gluten development.
6. Add Your Mix-Ins
Now it’s time to personalize your cookies. Stir in your chosen mix-ins using a spatula or wooden spoon.
Popular choices include chocolate chips, chopped nuts, raisins, dried cranberries, or even pieces of candy. Make sure the mix-ins are evenly spread throughout the dough so every cookie is packed with flavor and texture.
If your dough feels very soft or sticky, this is a good time to chill it before baking.
7. Chill the Dough (Optional but Recommended)
While not always required, chilling the cookie dough for at least 30 minutes can make a big difference. Chilled dough is easier to handle and helps cookies keep their shape as they bake.
It also allows the flavors to develop more fully and results in a thicker, chewier texture.
To chill, simply cover the mixing bowl with plastic wrap and place it in the refrigerator. If you’re short on time, even a 15-minute chill can help firm up the dough.
8. Scoop and Shape the Cookies
Use a cookie scoop or tablespoon to portion out the dough into evenly sized balls. Place them on your prepared baking sheet, leaving at least two inches of space between each one.
Cookies spread as they bake, and spacing ensures they don’t stick together.
If you prefer thinner, crispier cookies, press each ball down gently with your fingers or the back of a spoon. For thicker cookies, leave the dough in round mounds.
9. Bake the Cookies
Place the baking sheet in the center of your preheated oven and bake for 8 to 12 minutes, depending on the size of your cookies and your desired texture.
Keep a close eye on them—cookies can go from perfectly golden to overbaked very quickly.
If you want soft cookies, remove them from the oven when the edges are set and lightly golden but the centers still look slightly underdone.
They will continue to firm up as they cool. For crispier cookies, bake until the edges and tops are evenly golden brown.
10. Cool the Cookies
Once baked, let the cookies sit on the baking sheet for 5 minutes. This allows them to set without falling apart.
After that, transfer them to a wire cooling rack to finish cooling.
This step is important—cooling on the rack allows air to circulate around the cookies, helping them stay crisp and avoid becoming soggy.
Types of Cookie Textures: Choose Your Style
| Texture Type | How to Achieve It |
|---|---|
| Soft & Chewy | Use more brown sugar, chill the dough before baking, and avoid overbaking. |
| Crispy & Thin | Use more white sugar, skip chilling, flatten dough before baking, and bake longer. |
| Thick & Fudgy | Chill dough for several hours, use less butter, and bake at a slightly lower temperature. |
| Cakey & Fluffy | Add more eggs, use baking powder instead of baking soda, and whip the butter longer. |
Conclusion
Baking cookies is a simple process once you understand the steps—and it offers endless ways to be creative.
From the choice of flour to the ratio of sugars and the type of mix-ins, each element lets you shape your perfect cookie.
With the right technique and a little practice, you’ll be able to bake cookies that are just the way you like them every time.