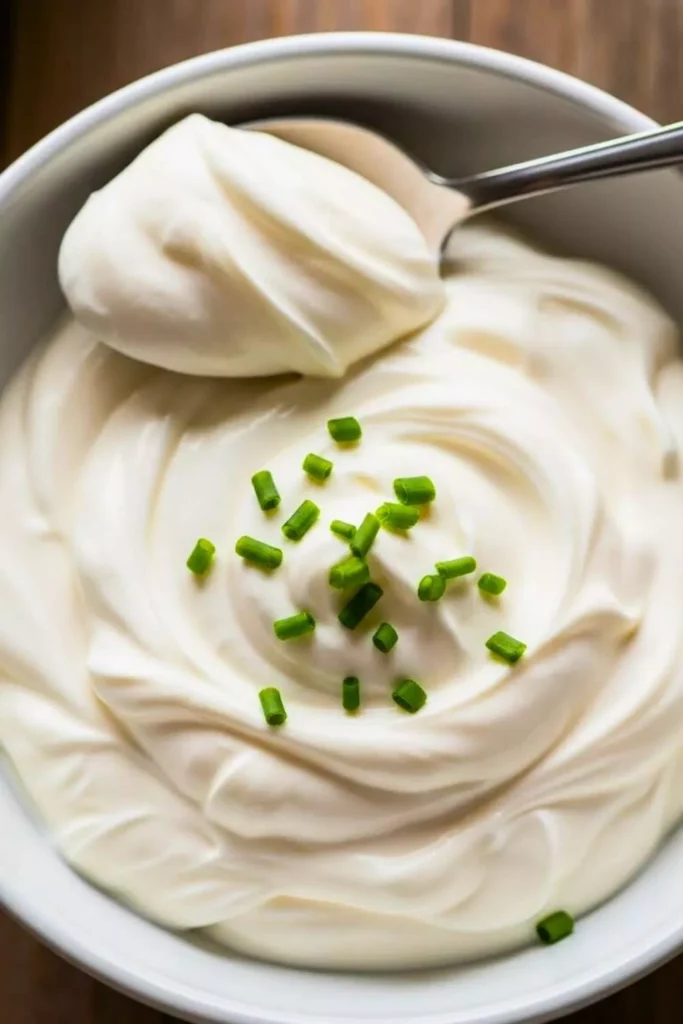
Once you learn how to make sour cream at home, you’ll never look at the store-bought version the same way again.
Homemade sour cream is creamier, fresher, cleaner, and more flavorful. No preservatives. No weird aftertaste. Just real, rich goodness.
And the best part?
It takes only 2 ingredients and 5 minutes of effort.
If you love cooking from scratch, this is one of those small upgrades that makes a huge difference in taste.
What Is Sour Cream?
Sour cream is basically cream that has been gently fermented using a natural acid (like lemon juice or vinegar). This gives it that signature tangy taste and thick, silky texture.
It’s used in:
- Dips
- Sauces
- Tacos & burritos
- Baked potatoes
- Cakes & baking
- Dressings
Once you make it at home, you’ll start using it everywhere.
How to Make Sour Cream (The Classic Method)
Ingredients
- 1 cup heavy cream (fresh, full-fat)
- 1 tablespoon lemon juice or white vinegar
That’s it. No cultures, no complicated steps.
Step-by-Step Instructions
Step 1: Pour the Cream
Take a clean glass bowl or jar and pour in 1 cup of heavy cream. Make sure the cream is at room temperature for best results.
This helps the thickening process start faster.
Step 2: Add the Acid
Add 1 tablespoon of lemon juice or vinegar to the cream. Stir gently until fully mixed.
Don’t overmix. Just a simple stir is enough.
Step 3: Cover and Rest
Cover the bowl loosely with a cloth or lid (don’t seal it airtight).
Leave it at room temperature for 8–24 hours.
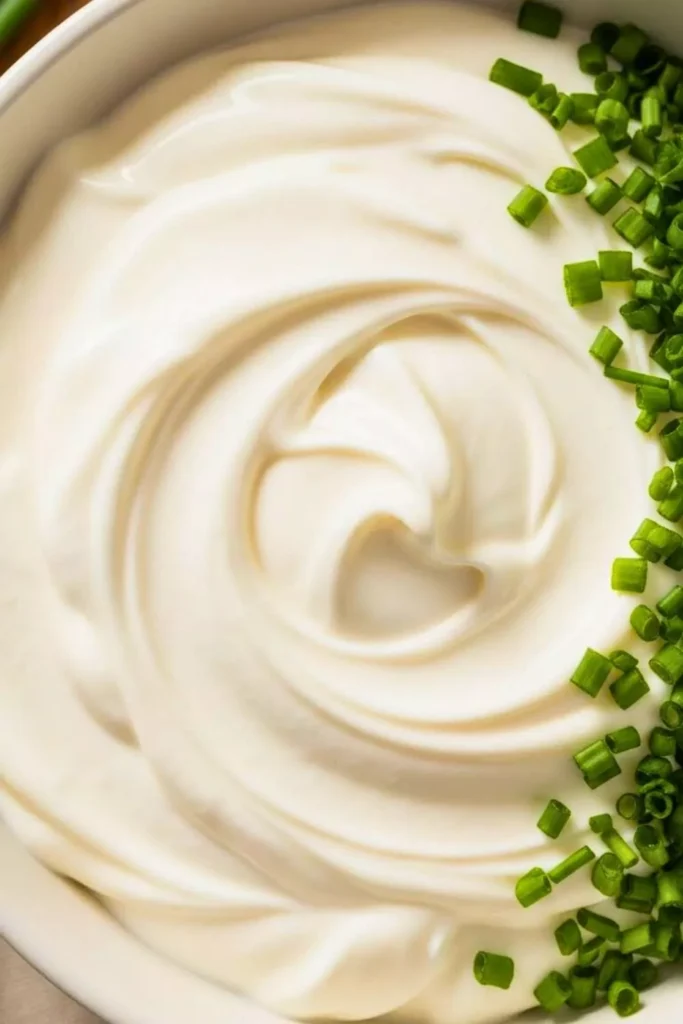
During this time, the cream will thicken and develop that classic sour cream tang.
Step 4: Refrigerate and Set
Once it has thickened to your liking, place it in the fridge for at least 2 hours. This will firm it up and improve the texture.
Now your sour cream is ready to use.
Texture & Taste Guide (What to Expect)
| Time Rested | Texture | Taste |
|---|---|---|
| 6–8 hours | Lightly thick | Mild tang |
| 12 hours | Creamy & spoonable | Balanced sour |
| 24 hours | Thick & rich | Strong, classic sour |
You control how sour you want it. That’s the beauty of homemade.
Different Variations (Easy Options)
- Greek Yogurt Sour Cream – Thick, high-protein option
- Milk + Cream Version – Lighter and smoother
- Dairy-Free Sour Cream – Made with cashews or coconut cream
- Low-Fat Sour Cream – Using light cream or milk
- Buttermilk Sour Cream – Extra tangy and traditional
Common Mistakes to Avoid
Many people fail their first time because of small mistakes. Avoid these:
- Using low-fat cream (it won’t thicken properly)
- Sealing the jar airtight while fermenting
- Using cold cream straight from the fridge
- Expecting instant results (this is a slow process)
Patience = perfect sour cream.
Where to Use Homemade Sour Cream
Homemade sour cream works beautifully in:
- Tacos, wraps & burritos
- Baked potatoes & fries
- Salad dressings
- Cheesecakes & cakes
- Dips & sauces
- Nachos & quesadillas
It melts better, blends smoother, and tastes cleaner than store versions.
Homemade vs Store-Bought Sour Cream
| Feature | Homemade | Store-Bought |
|---|---|---|
| Ingredients | 2 simple items | Preservatives & stabilizers |
| Taste | Fresh & clean | Often artificial |
| Texture | Natural & creamy | Gummy sometimes |
| Control | Full control over sourness | No control |
| Health | Cleaner & lighter | Heavily processed |
Once you taste homemade, it’s hard to go back.
Storage Tips
- Store in an airtight container
- Keep refrigerated
- Use within 5–7 days
- Always use a clean spoon to avoid spoilage
If it smells off or shows mold, discard it.
Final Thoughts
Learning how to make sour cream at home is one of those small kitchen skills that makes you feel like a pro. It’s simple, cheap, and incredibly satisfying.
No machines. No special ingredients. No stress.
Just real cream, real flavor, real results.
Once you try it, you’ll wonder why you ever bought it from the store.