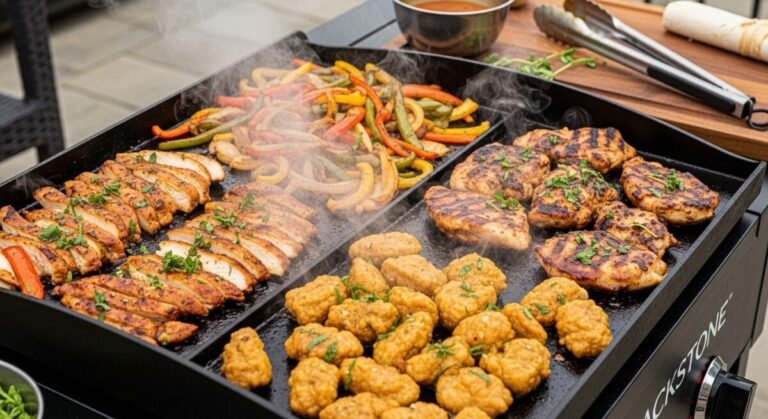
Meal prepping chicken on a Blackstone is the fastest way to get a full week of protein done without heating up your kitchen. You get high heat, tons of surface area, and easy batch cooking—if you set it up the right way.
If you’ve ever ended up with dry chicken, uneven pieces, or a mountain of dishes, this guide walks you through a simple, repeatable system so your chicken stays juicy, portioned, and ready to grab all week.
How To Meal Prep Chicken On Blackstone
You’re going to cook a big batch of evenly sized chicken on your Blackstone, then cool, portion, and store it so it reheats well for the whole week. The key is setting up heat zones, cooking to temperature (not guessing), and packing it correctly so it stays moist.
Step-By-Step Guide
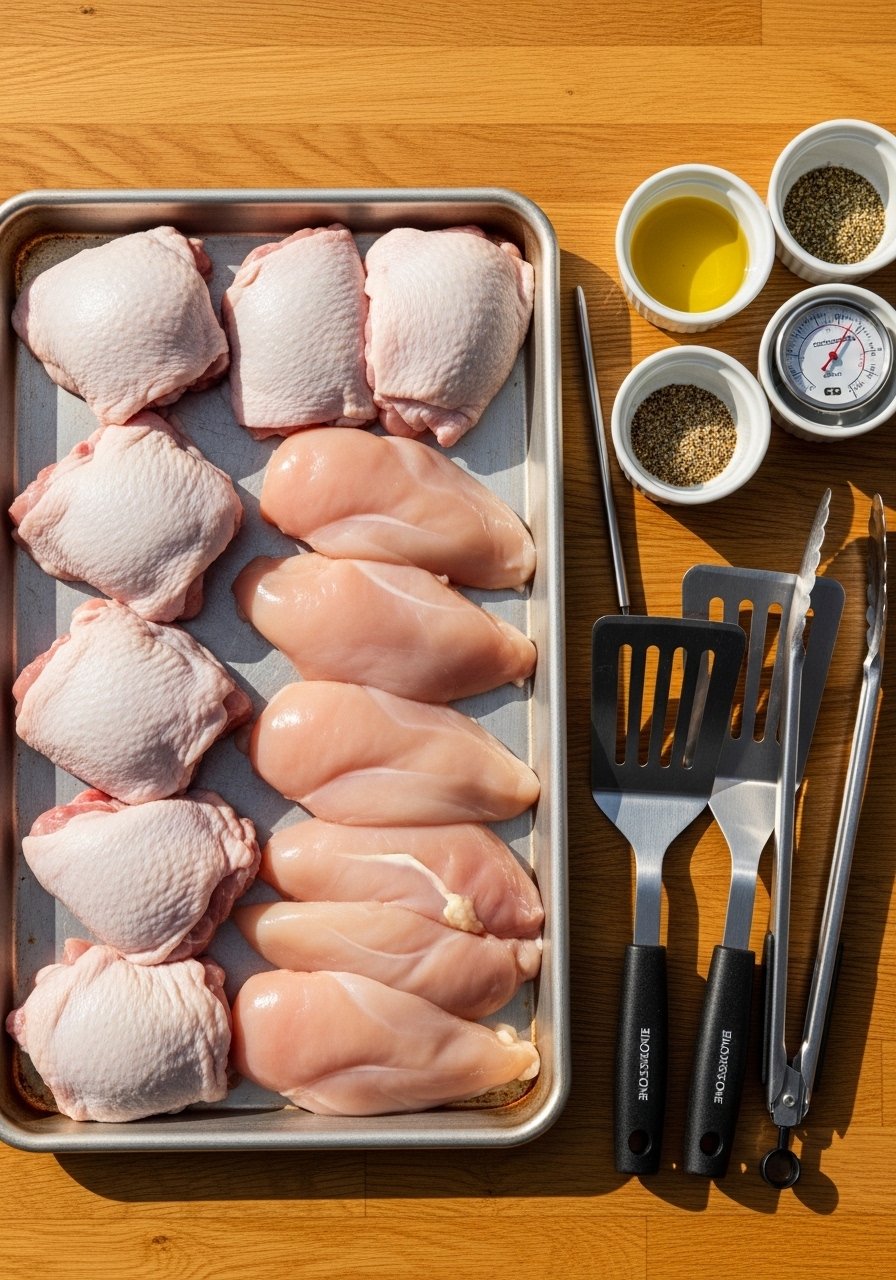
1) Set up your “batch cooking” station (before you heat the griddle)
Start by portioning chicken into similar sizes so everything finishes around the same time. This is the biggest fix for “some pieces are dry, some are undercooked.”
Line up what you need right next to the grill: a sheet pan for raw chicken, a clean sheet pan or tray for cooked chicken, and your containers for storage. Keep a dedicated raw/cooked separation so you don’t accidentally cross-contaminate.
Helpful tools: Nordic Ware Half Sheet Pan, OXO Good Grips Prep & Go Containers
2) Preheat the Blackstone and build two heat zones
Preheat your Blackstone on medium-high for about 8–10 minutes. You want the surface fully hot before the chicken hits it so you get good browning fast (browning = flavor, and it helps prevent sticking).
Create zones by turning one side slightly lower. This gives you a “sear side” and a “finish side,” which is a lifesaver when thicker pieces need more time without burning.
Helpful tool: Blackstone Griddle Infrared Thermometer
3) Oil the surface, then place chicken with space between pieces
Add a thin layer of high-heat oil to the hot griddle. Too much oil can make the chicken feel greasy; too little can cause sticking.
Lay chicken down with a little breathing room so it browns instead of steaming. If your griddle is crowded, cook in two rounds—it’s still fast, and the texture is much better.
Helpful tools: Blackstone Griddle Spatula Set, Avocado Oil
4) Cook to temperature, moving pieces to the cooler zone as needed
Let the first side cook until it releases easily and looks deeply golden. Then flip. Keep an eye on thickness: thinner pieces can stay on the hotter side, thicker pieces can slide to the cooler side to finish gently.
Use a thermometer and pull chicken when the thickest part hits 165°F. Temperature is how you avoid dry meal prep chicken—overcooking by “just a few minutes” adds up across a whole batch.
Helpful tool: ThermoPro Digital Meat Thermometer
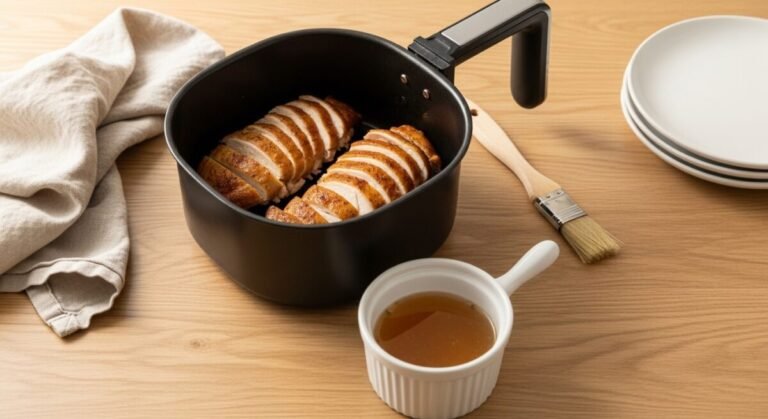
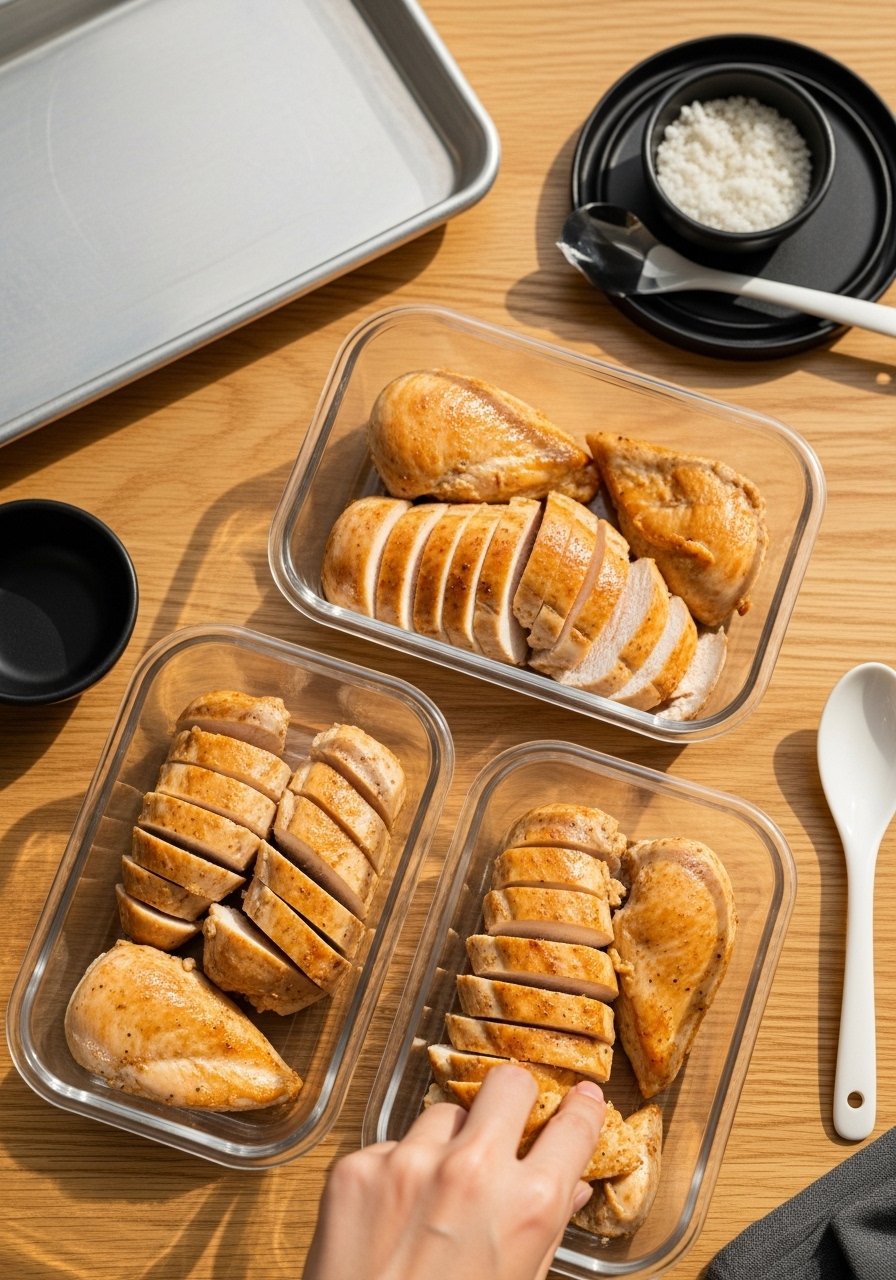
5) Rest, then portion for the week (don’t trap steam)
Move cooked chicken to your clean tray and rest it 5–10 minutes. Resting keeps juices inside instead of spilling out when you slice.
Before you seal containers, let the chicken cool slightly so you don’t trap steam (steam = condensation, and condensation can make chicken feel rubbery). Then portion into airtight containers in the amounts you’ll actually use.
Helpful tool: Rubbermaid Brilliance Food Storage Containers
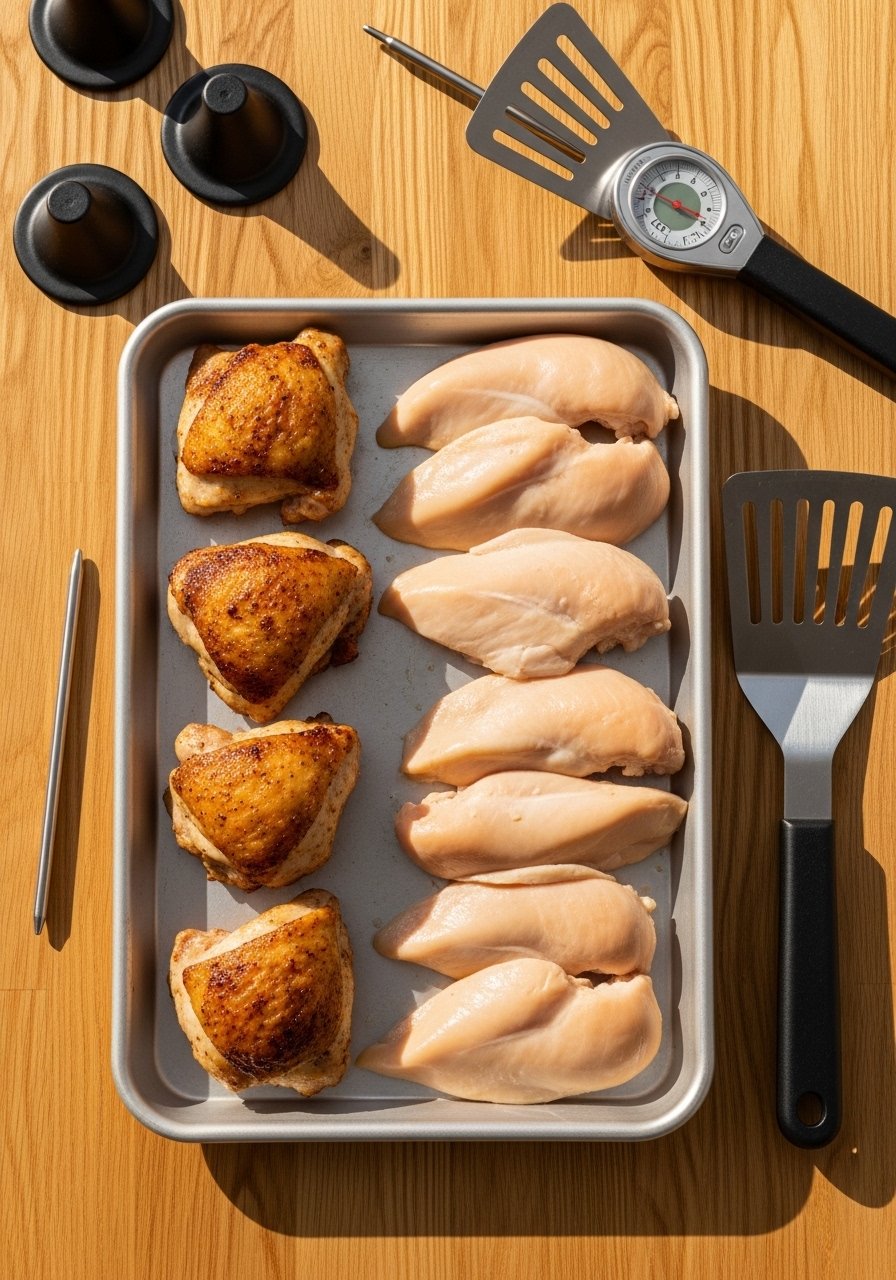
Best Cuts For Blackstone Chicken Meal Prep (So It Cooks Evenly)
Chicken cooks evenly on a Blackstone when the pieces are similar in thickness. If your batch is a mix of thin and thick, you’ll chase doneness and end up overcooking part of it.
- Boneless, skinless thighs: More forgiving and stay juicy all week. Great when you’re learning your heat zones.
- Boneless, skinless breasts: Works well if you pound to even thickness first. Otherwise, the thin end dries out.
- Tenderloins: Fast and consistent, but easy to overcook—thermometer matters.
If you want the easiest weekly routine, choose one cut and stick with it for your batch. Consistency makes timing predictable, which makes meal prep feel automatic.
How To Keep Meal Prep Chicken Juicy All Week
Dry chicken usually comes from two things: cooking past 165°F and storing it in a way that pulls moisture out.
First, rely on temperature. Pull right at 165°F, then rest. On a hot griddle, carryover heat finishes the job without overcooking the exterior.
Second, pack it smart. Let it cool slightly before sealing, and store portions tightly (less air = less drying). If you slice, slice after resting and keep pieces a bit larger so they don’t dry out as quickly.
Helpful tool: Zwilling Fresh & Save Vacuum Starter Set
Portioning, Cooling, And Storing (Food-Safe And Meal-Prep Friendly)
Cool your chicken efficiently so it stays safe and reheats well later. Spread it out on a tray first—stacking hot chicken in a deep container holds heat too long.
Aim to get it into the fridge within about 2 hours of cooking (sooner is better). Once it’s no longer steaming, portion into containers and label by day if that helps you stay consistent.
For the week, keep portions in the coldest part of your fridge and open containers quickly (repeated warming on the counter shortens quality fast).
Timing And Batch Size: A Simple Weekly Blackstone Workflow
A smooth Blackstone chicken prep is less about exact minutes and more about running a repeatable flow: preheat, sear zone, finish zone, thermometer check, rest, portion.
For most batches, plan 8–10 minutes to preheat, then cook in rounds so the griddle isn’t crowded. As pieces finish, slide them to the cooler zone briefly, then transfer to your rest tray.
If you’re scaling up, keep your system the same—just add trays. One for raw, one for cooked, one for resting/portioning. It keeps you fast and organized without guesswork.
Helpful tool: Disposable Food Prep Gloves
Final Thoughts
Once you get your heat zones and thermometer timing down, meal prepping chicken on a Blackstone becomes a weekly rhythm you can repeat without thinking. You’ll cook faster, clean up less, and end up with chicken that stays juicy in the fridge.
Keep the process simple: even pieces, hot surface, 165°F, short rest, then portion. You’ve got this.