You’re about to try 20 beginner-friendly probiotic recipes that are fast, forgiving, and packed with flavor. These recipes focus on simple techniques like brining, culturing, and quick fermentation so you get results without stress.
You’ll find dairy and dairy-free options, drinks, condiments, and snacks. Each recipe lists clear ingredients and step-by-step instructions you can follow right away.
Grab a few jars and a kitchen thermometer, and let’s get you fermenting with confidence.
20 Easy Probiotic Food Recipes For Beginners Anyone Can Make Fast
A quick list to get you started—hands-on but simple, with tips for common mistakes and easy tools to use before each recipe.
1. Classic Stovetop Plain Yogurt
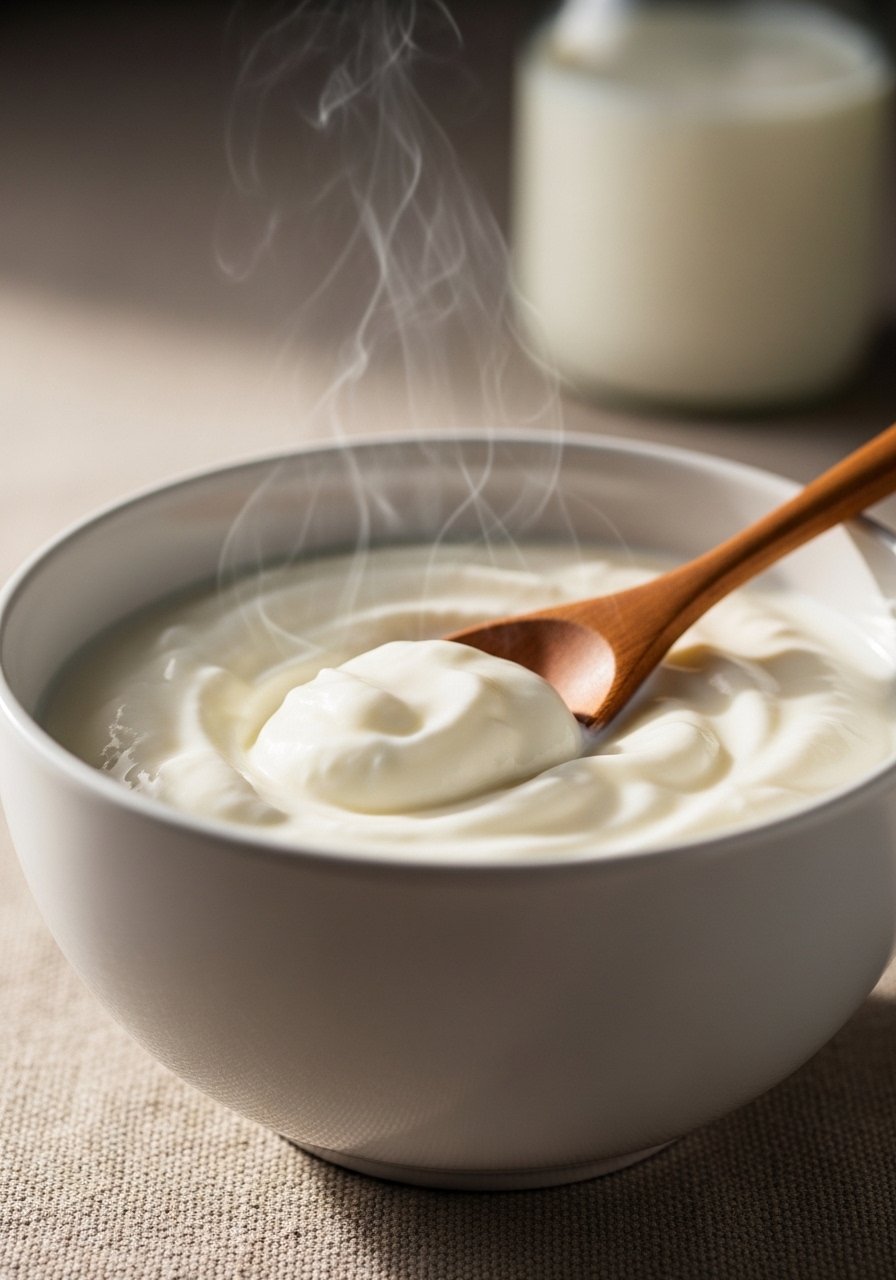
Creamy, tangy, and rich—stovetop yogurt has a silky texture and mild tang. It’s great for breakfasts, dressings, or dips. The method gives reliable thickness without special equipment.
Ingredients (H4)
- 1 quart (4 cups) whole milk (or 2% for lighter texture)
- 2 tablespoons plain yogurt with live cultures (store-bought or from a previous batch)
- Optional: 1–2 tablespoons powdered milk for thicker yogurt
Step-by-Step Instructions (H4)
- Heat Milk — Bring milk to 180°F (82°C)
- Pour milk into a saucepan and heat over medium. Stir occasionally to avoid scalding. Remove at 180°F; small bubbles appear at the edges.
- Cool Milk — Bring to incubation temp
- Let milk cool to 110–115°F (43–46°C). Test with a thermometer or your finger—you should feel warm, not hot.
- Inoculate — Add the starter
- Whisk 2 tablespoons yogurt into 1/2 cup cooled milk, then stir back into the pot evenly.
- Incubate — Keep warm for 6–8 hours
- Transfer to a covered container or yogurt maker and keep at about 110°F. A warm oven (light on) or insulated cooler works. Check thickness after 6 hours.
- Chill — Set and firm
- Refrigerate 4 hours to firm. Strain through a fine mesh for Greek-style yogurt.
2. No-Heat Overnight Yogurt (Cold-Start)
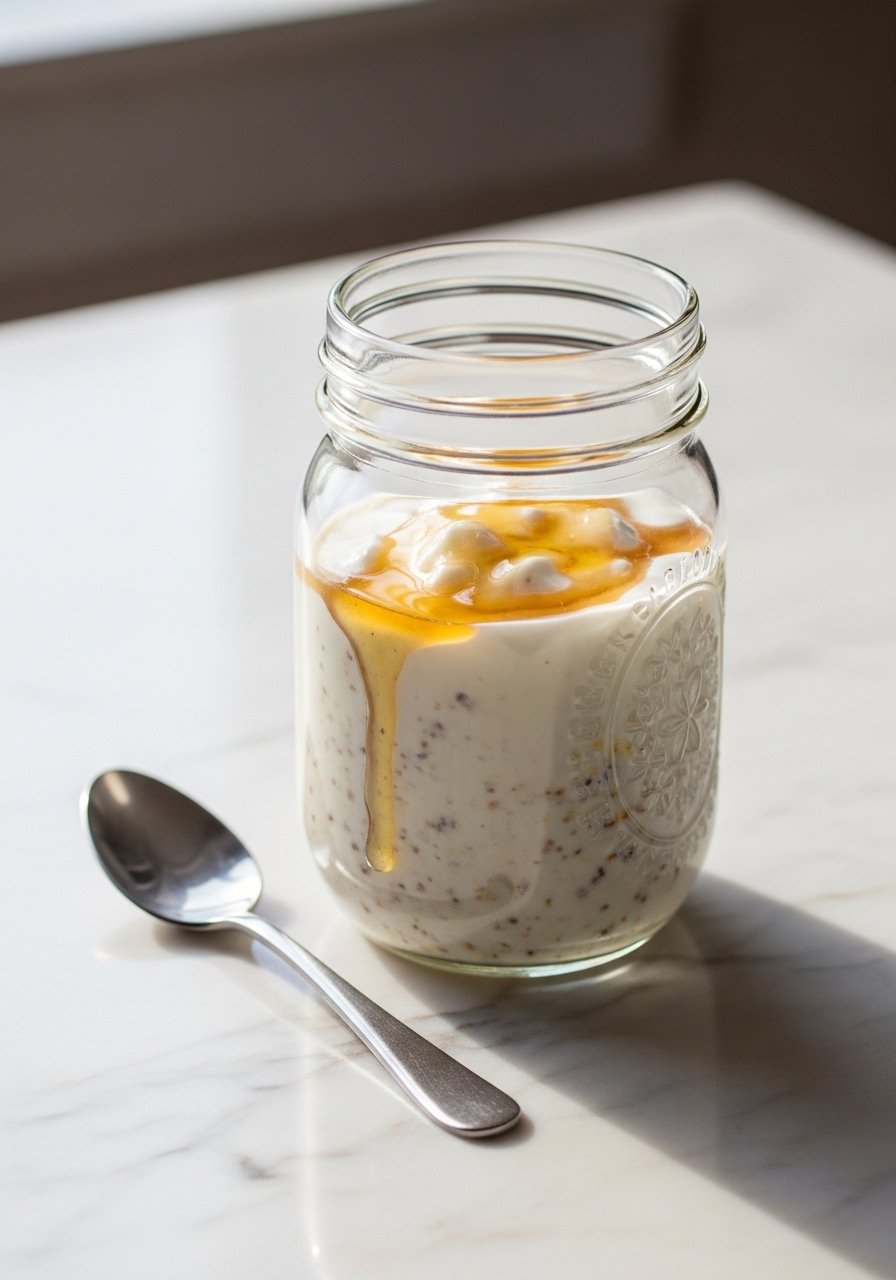
A gentle, no-heat method that’s low-effort. You skip boiling; the culture works slowly overnight. Texture is softer but delicious and effortless for busy mornings.
Ingredients (H4)
- 1 quart whole milk, chilled
- 3 tablespoons plain yogurt with live cultures (room temperature)
- Optional: 1 tablespoon powdered milk for thickness
Step-by-Step Instructions (H4)
- Prepare Milk — Chill and measure
- Use cold milk straight from the fridge. Shake the carton to mix.
- Add Starter — Mix yogurt into milk
- Whisk room-temp starter yogurt into a cup of milk, then stir into the quart gently.
- Incubate Overnight — Keep warm but not hot
- Pour into a covered container and place in a turned-off oven with the light on or wrapped in a towel for 8–12 hours at about 70–80°F (21–27°C).
- Cool & Store — Firm in the fridge
- Chill for 2–4 hours before using. Flavors deepen after a day.
3. Simple Milk Kefir
Tangy, slightly fizzy kefir is an effortless cultured drink. It’s fast to make and great in smoothies or on cereal. You’ll reuse grains for many batches.
Ingredients (H4)
- 1 quart whole milk (or milk of choice)
- 1–2 tablespoons active milk kefir grains (or packet starter)
Step-by-Step Instructions (H4)
- Combine Milk And Grains — Use a clean jar
- Place kefir grains in a glass jar and pour milk over. Cover with a breathable cloth or lid loosely.
- Ferment — Room temp for 24 hours
- Leave at 68–78°F (20–26°C) for 12–48 hours. Look for thickening and a tangy aroma. Time depends on temperature and taste preference.
- Strain — Separate grains
- Pour through a plastic strainer into a clean jar, catching grains to reuse. Store kefir refrigerated and set aside grains for the next batch.
- Serve — Chill and enjoy
- Kefir tastes best cold. Use within 1–2 weeks.
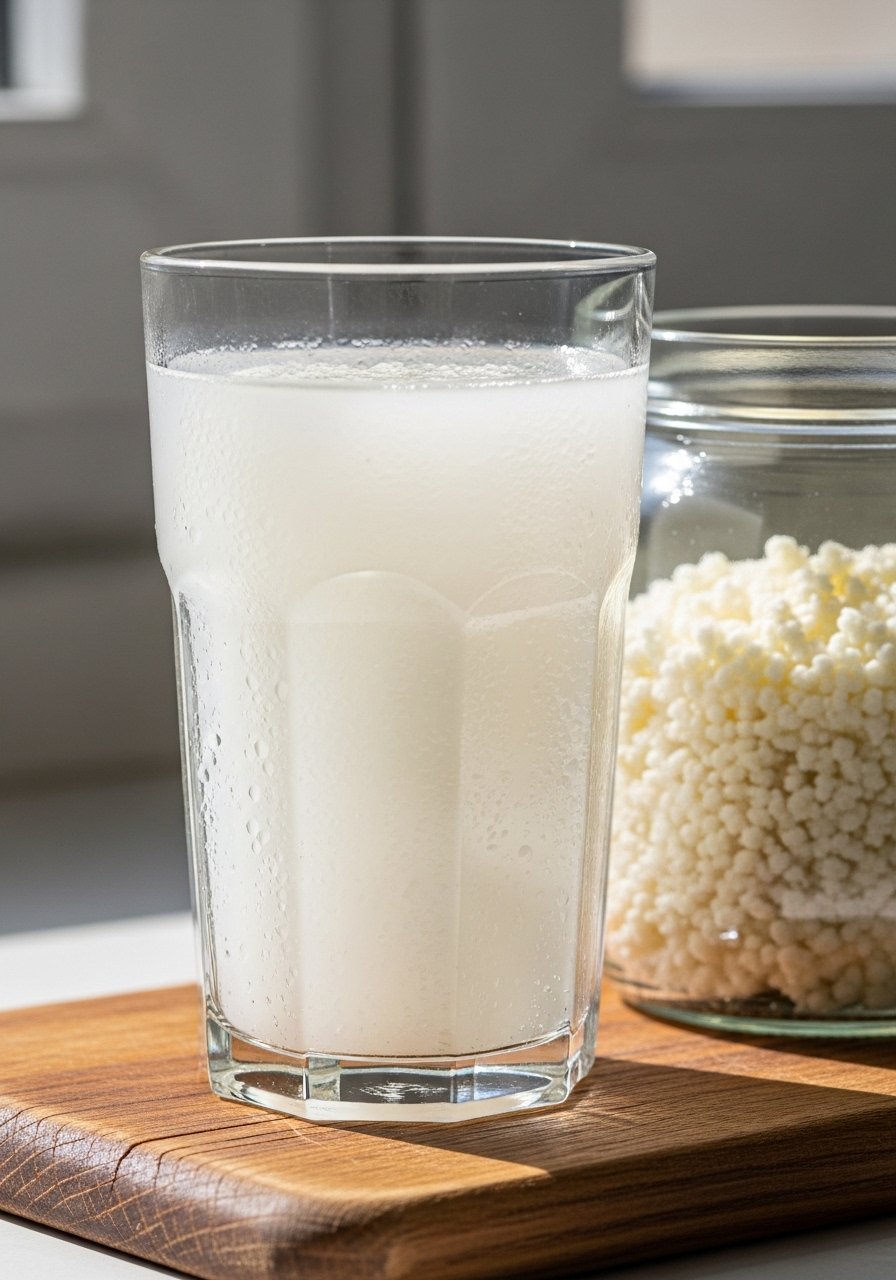
4. Basic Water Kefir
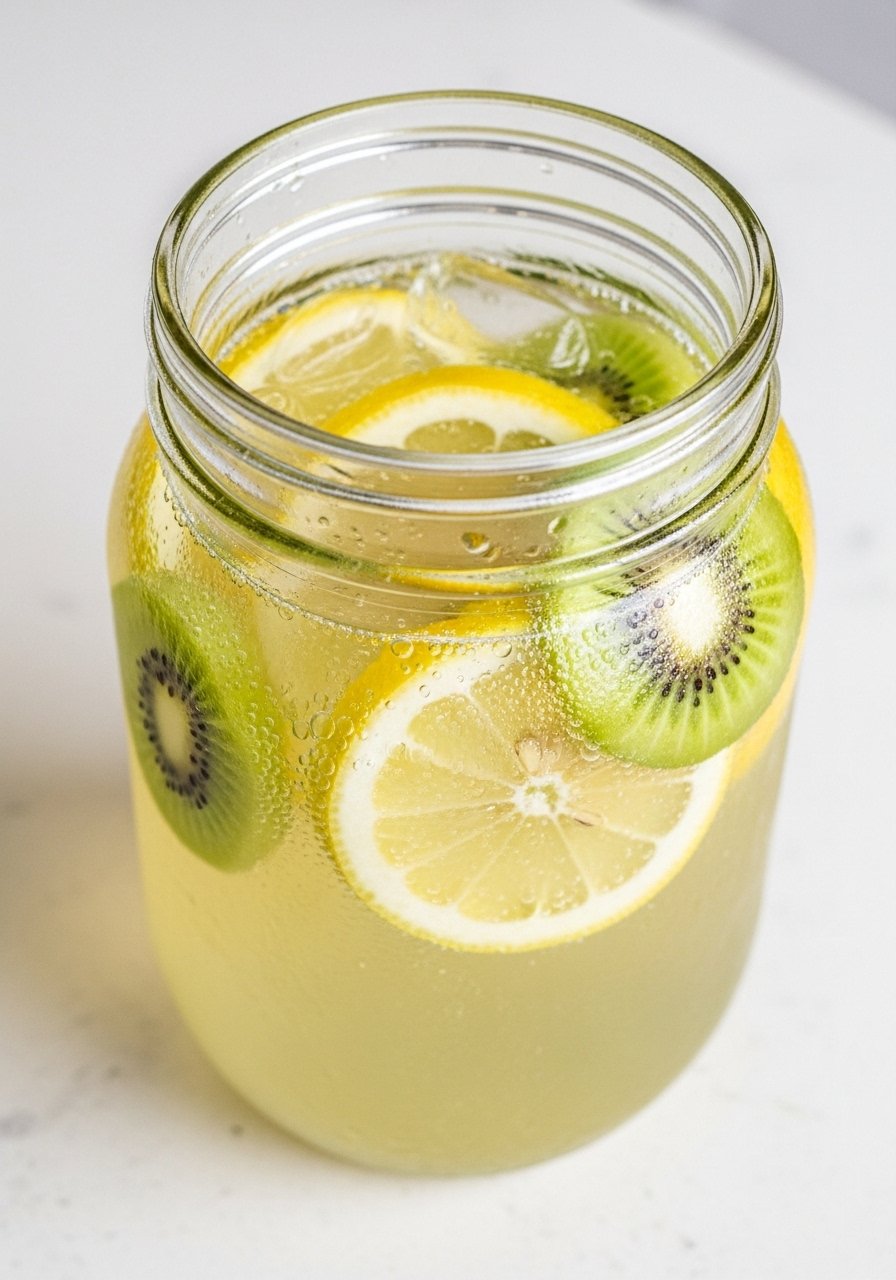
Lightly effervescent and fruity, water kefir is a great soda alternative. It ferments quickly and can be flavored during a short secondary ferment.
Ingredients (H4)
- 4 cups filtered water
- 1/4 cup sugar (cane or cane sugar alternative)
- 3 tablespoons water kefir grains
- Optional: slices of lemon, ginger, or small fruits for flavor
Step-by-Step Instructions (H4)
- Make Sugar Water — Dissolve sugar
- Warm a cup of water, dissolve sugar, then add remaining cool water to room temp.
- Add Grains — Start fermentation
- Add water kefir grains to the jar and cover with cloth.
- Primary Ferment — 24–48 hours
- Keep at room temp (68–78°F). Look for mild carbonation and slightly tangy flavor.
- Secondary Flavoring (Optional) — Bottle for fizz
- Strain out grains and bottle kefir with fruit or ginger for 24–48 hours at room temp for carbonation. Refrigerate when ready.
5. Basic Sauerkraut (Lacto-Fermented Cabbage)
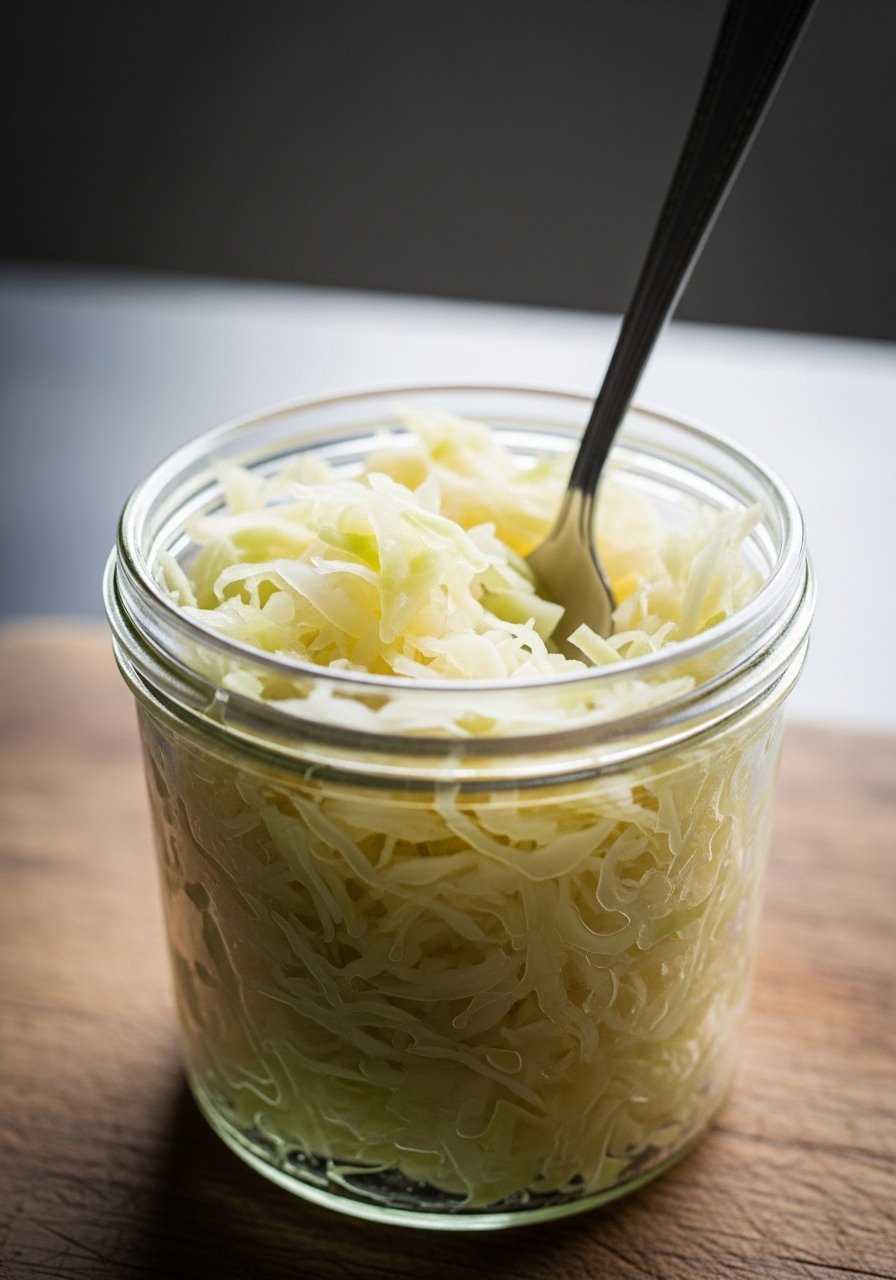
Crunchy, tangy sauerkraut adds bright acidity to meals. This salt-only ferment is forgiving and develops complex flavor in a few days to weeks.
Ingredients (H4)
- 1 medium green cabbage (about 2–3 lbs), shredded
- 1–1.5 tablespoons fine sea salt (non-iodized)
- Optional: 1 teaspoon caraway or juniper berries
Step-by-Step Instructions (H4)
- Shred And Salt — Massage cabbage
- Combine shredded cabbage and salt in a bowl. Massage 5–8 minutes until it releases liquid and becomes limp.
- Pack Jar — Press down tightly
- Transfer to a clean jar, pressing to submerge cabbage in its brine. Leave 1–2 inches headspace.
- Weight & Cover — Keep submerged
- Use a fermentation weight or small jar to keep cabbage under brine; cover with a cloth or lid.
- Ferment — 3–14 days, check daily
- Keep at 65–72°F. Taste after 3 days, then every couple days until desired tang. Refrigerate to slow fermentation.
6. Quick Kimchi (Beginner 24-Hour Version)
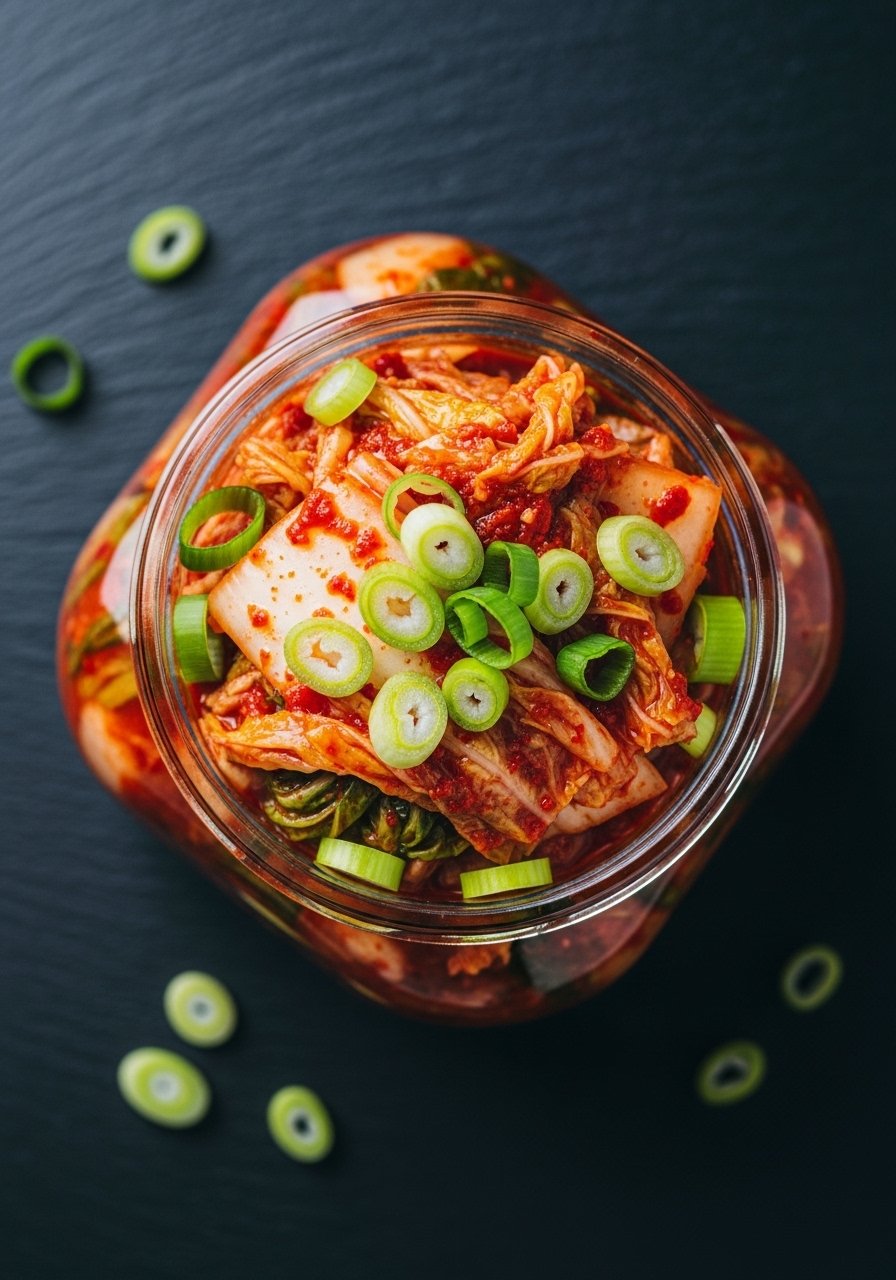
Spicy, garlicky kimchi with crunch and heat—this quick version needs minimal salting time and is ready within a day or two. It’s lively and perfect on rice or noodles.
Ingredients (H4)
- 1 head napa cabbage (about 2 lbs), chopped
- 2 tablespoons kosher salt
- 3 cloves garlic, minced
- 1-inch ginger, grated
- 2 tablespoons Korean red pepper flakes (gochugaru) or to taste
- 2 tablespoons fish sauce or soy sauce for vegetarian
- 2 scallions, sliced
Step-by-Step Instructions (H4)
- Salt The Cabbage — Brighten and soften
- Toss chopped cabbage with salt and let sit 1 hour, tossing occasionally. Rinse lightly and drain.
- Make Paste — Stir aromatics
- Mix garlic, ginger, gochugaru, and fish sauce into a paste.
- Combine — Massage paste into cabbage
- Mix cabbage, scallions, and paste until evenly coated.
- Pack & Ferment — 24–48 hours
- Pack into a jar, pressing down to release juices. Keep at room temp for 24–48 hours, tasting for your preferred tang. Refrigerate to slow culture.
7. Lacto-Fermented Dill Pickles
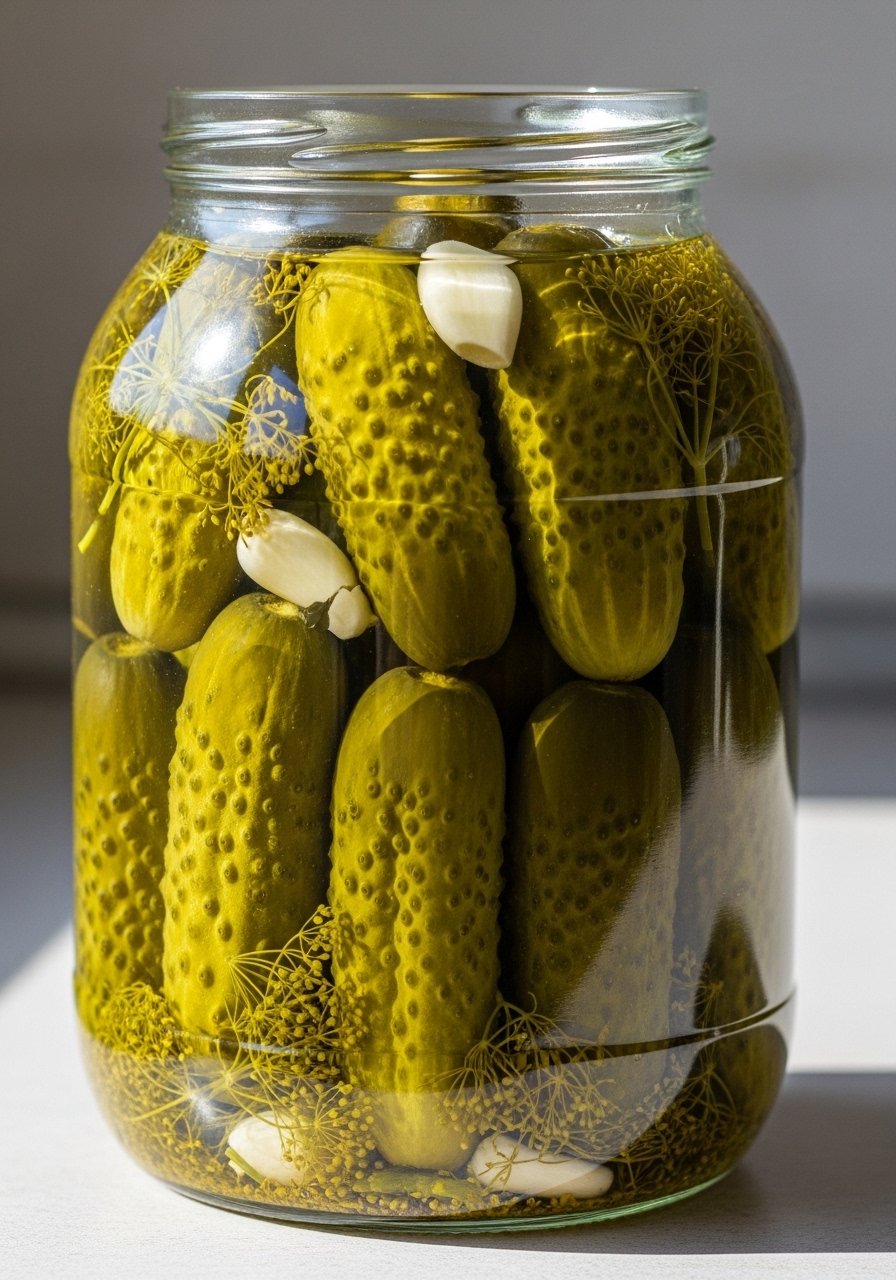
Crunchy, tangy pickles made without vinegar. These have fresh dill and garlic notes and stay crisp when fully submerged in brine.
Ingredients (H4)
- 1 lb small pickling cucumbers, scrubbed
- 3–4 garlic cloves
- 2–3 sprigs fresh dill
- 1 tablespoon sea salt per 2 cups water (brine)
- 2 cups filtered water (adjust to jar)
Step-by-Step Instructions (H4)
- Prepare Brine — Dissolve salt
- Mix salt into filtered water until dissolved.
- Pack Jar — Layer cucumbers and aromatics
- Place garlic and dill in jar. Pack cucumbers tightly upright.
- Pour Brine & Weight — Submerge fully
- Pour brine to cover cucumbers, leaving 1 inch headspace. Use a weight to keep submerged.
- Ferment — 3–7 days at room temp
- Keep around 65–72°F and taste daily. When tangy and crisp, refrigerate to slow fermentation.
8. Spiced Fermented Carrot Sticks
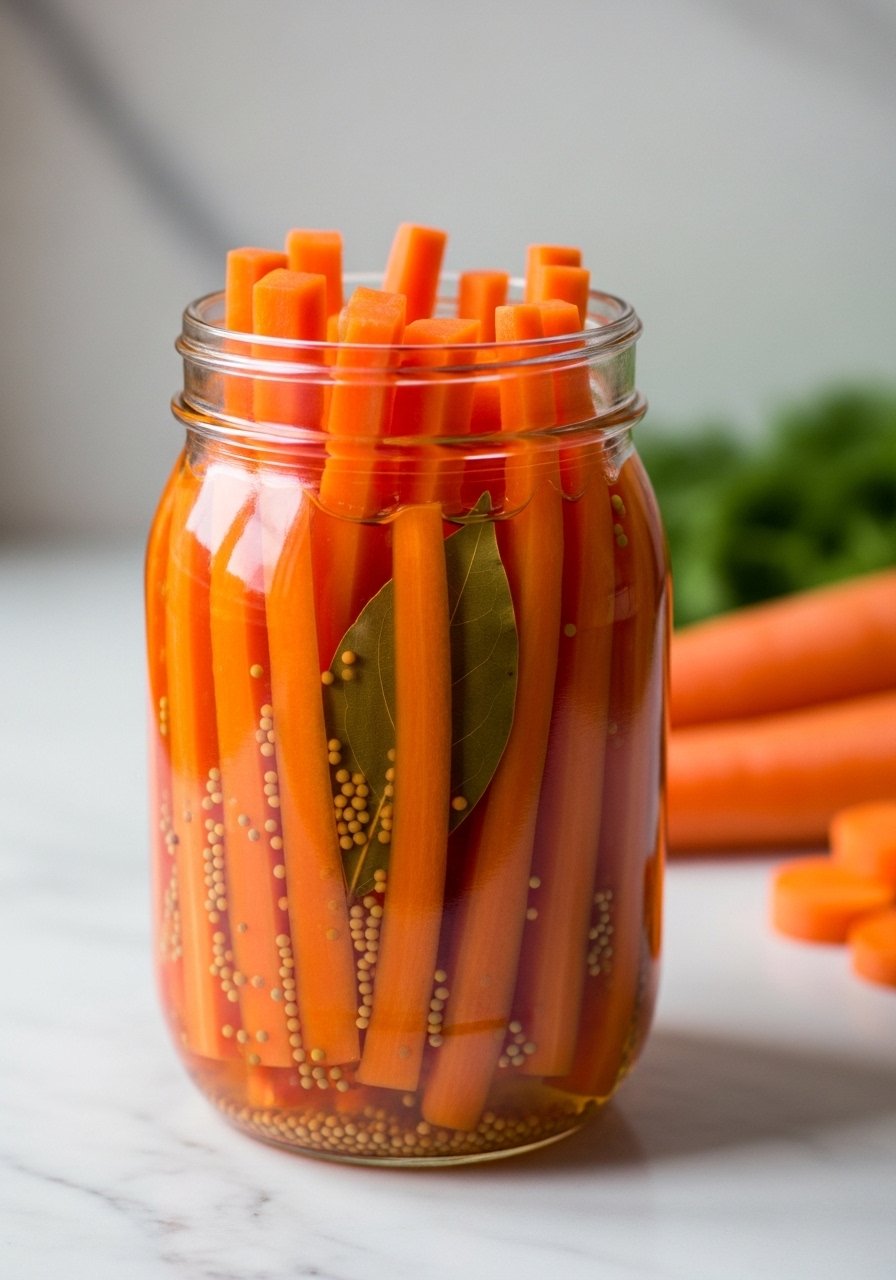
Sweet, crunchy carrots with warm spice notes. This is a colorful, kid-friendly ferment that develops tang quickly and keeps well in the fridge.
Ingredients (H4)
- 1 lb carrots, peeled and cut into sticks
- 2 cups water
- 1 tablespoon sea salt
- 1 teaspoon mustard seeds
- 1 bay leaf
Step-by-Step Instructions (H4)
- Make Brine — Salt water mixture
- Dissolve sea salt in two cups water.
- Pack Carrots — Add spices and submerge
- Pack carrots and spices into a jar. Pour brine to cover, leaving 1 inch headspace.
- Weight & Cover — Keep submerged
- Use a fermentation weight, then cover loosely.
- Ferment — 3–5 days at room temp
- Taste after 3 days. Move to the fridge when tang preferred.
9. Beet Kvass
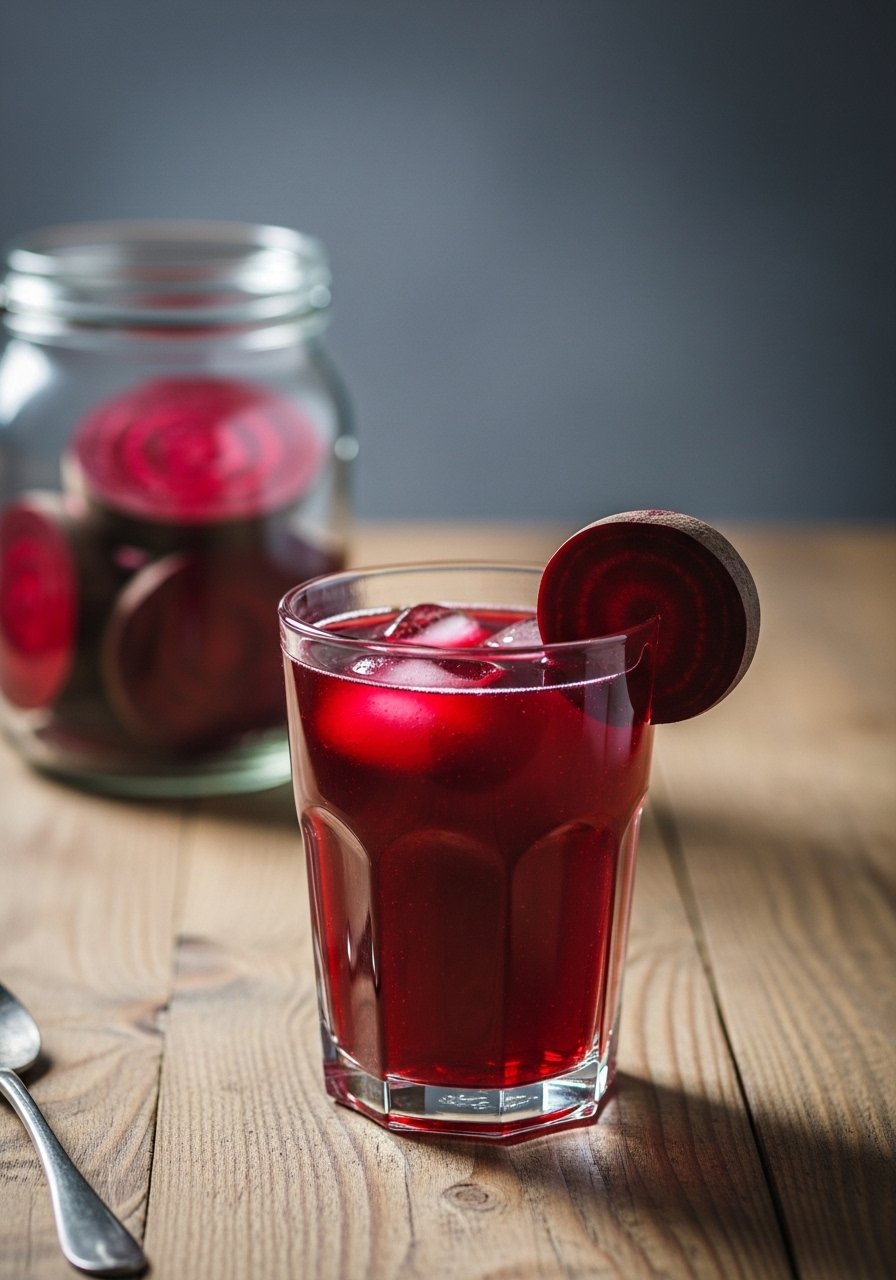
Earthy and slightly salty, beet kvass is a probiotic tonic with vibrant color. It’s quick to start and becomes pleasantly sour within a few days.
Ingredients (H4)
- 2 medium beets, scrubbed and chopped (no need to peel)
- 1 tablespoon sea salt
- 4 cups filtered water
Step-by-Step Instructions (H4)
- Combine Beets And Salt — In a jar
- Place chopped beets in a jar and add salt and water, leaving 1–2 inches headspace.
- Ferment — 2–5 days at room temp
- Cover loosely and keep at ~68–75°F. Check color and taste daily; it turns bright red and tangy.
- Strain & Store — Refrigerate and sip
- Strain into bottles and refrigerate. Use within a few weeks.
10. Beginner Kombucha (First Ferment)

Kombucha yields a fizzy, slightly sweet-sour tea. Start with a store-bought SCOBY or a starter liquid and practice basic brewing methods for safe results.
Ingredients (H4)
- 1 gallon filtered water
- 1 cup sugar
- 8 bags black or green tea
- 1 cup starter kombucha (unflavored) or SCOBY
Step-by-Step Instructions (H4)
- Make Sweet Tea — Dissolve sugar and steep
- Boil water, stir in sugar until dissolved, steep tea 5–10 minutes. Cool to room temp.
- Add Starter — Transfer to fermenter
- Remove tea bags, pour into a wide-mouth glass fermenter. Add starter kombucha and SCOBY.
- Ferment — 7–14 days at room temp
- Cover with cloth and rubber band. Taste after day 7; longer = less sweet, more vinegar.
- Bottle Or Second Ferment — Flavor and fizz
- Remove SCOBY and reserve starter. Bottle and optionally add fruit for 2–5 days to carbonate, then refrigerate.
Tip: A clear, wide glass jar works best. Consider a Kombucha Brewing Jar if you brew often.
11. Lacto-Fermented Salsa
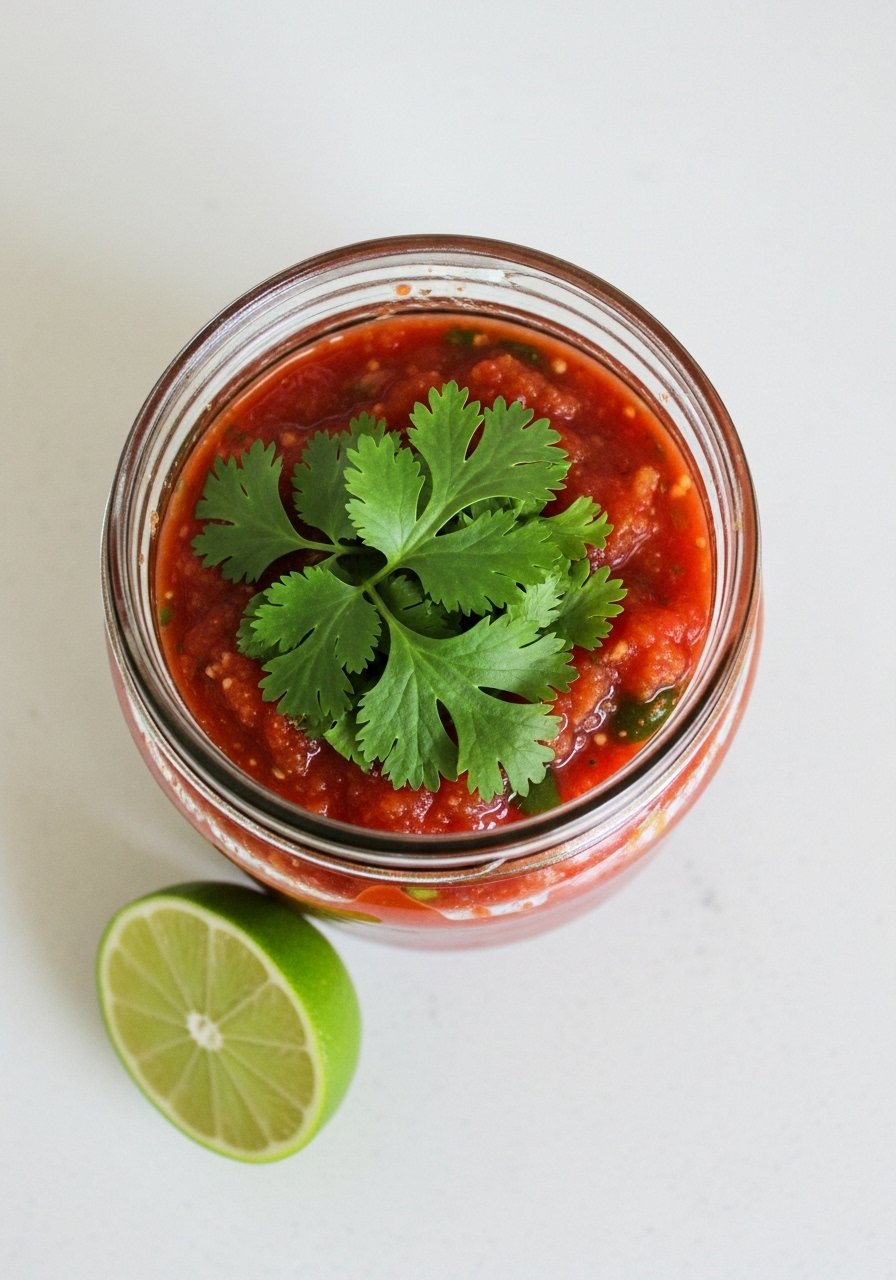
Fresh tomatoes become tangy and bright after a short ferment. This salsa is excellent on tacos or with chips and needs only a few days to develop depth.
Ingredients (H4)
- 4 ripe tomatoes, chopped
- 1 small onion, chopped
- 1 jalapeño, seeded and chopped
- 1/2 cup cilantro, chopped
- 1 teaspoon sea salt
- Juice of 1 lime
Step-by-Step Instructions (H4)
- Mix Ingredients — Toss in a bowl
- Combine tomatoes, onion, jalapeño, cilantro, salt, and lime juice. Let sit 10 minutes to draw juices.
- Pack Jar — Submerge solids in their juice
- Press salsa into a jar, leaving 1 inch headspace. Ensure solids are under liquid.
- Ferment — 2–4 days at room temp
- Cover loosely and taste daily. When tangy and bright, refrigerate to slow ferment.
- Serve — Chill and enjoy
- Salsa keeps for 2–4 weeks in fridge.
12. Quick Fermented Hot Sauce (Blender)
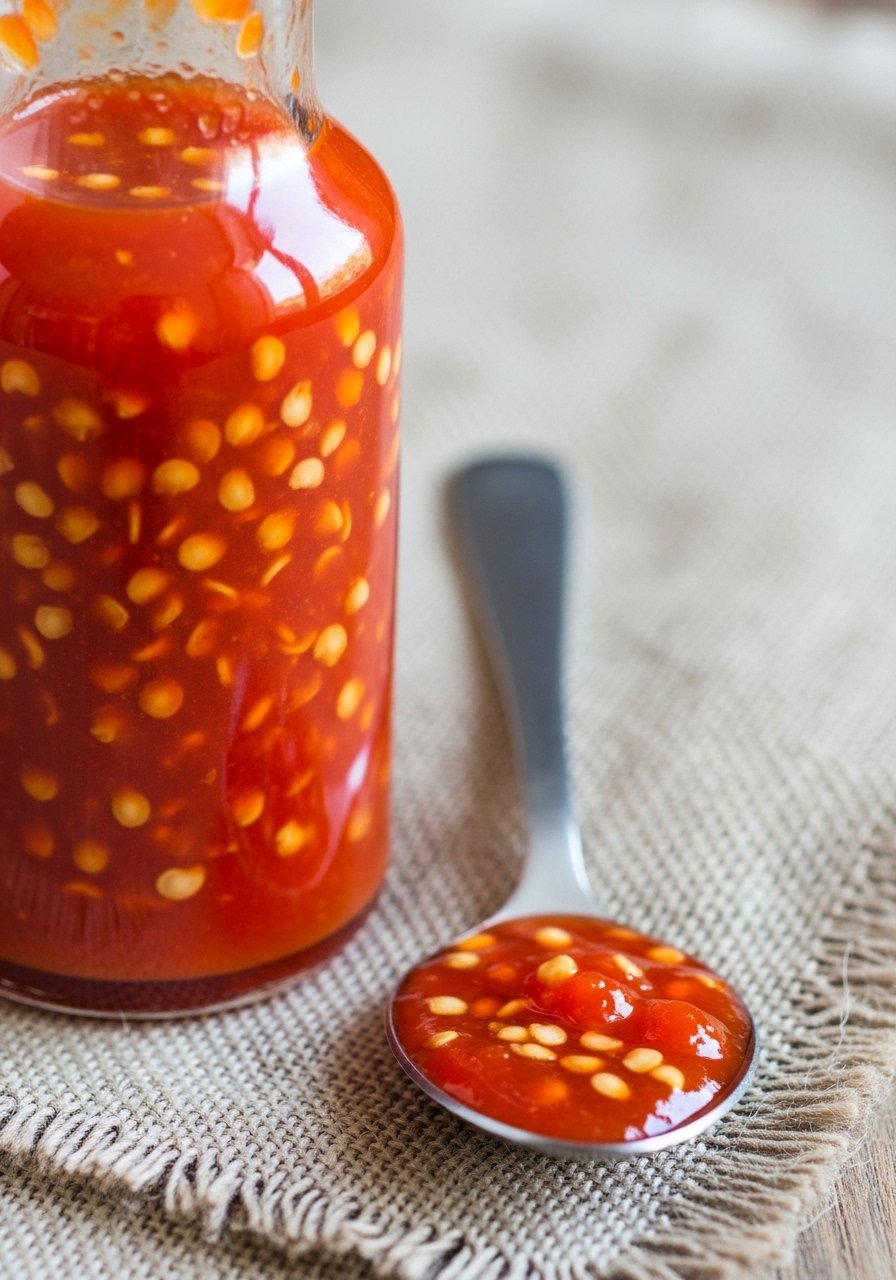
Bold and spicy, this hot sauce is blended then fermented for a few days to develop a complex, tangy kick. It’s great for marinades and drizzling.
Ingredients (H4)
- 1 lb hot chiles (mix of jalapeño, Fresno, or serrano), stems removed
- 4 cloves garlic
- 1 tablespoon sea salt
- 1/2 cup apple cider vinegar (optional for flavor at bottling)
Step-by-Step Instructions (H4)
- Blend — Puree chiles and garlic
- In a blender, pulse chiles, garlic, and salt with 1/2 cup water until smooth.
- Jar & Ferment — Short ferment for depth
- Transfer to a jar, leaving headspace. Cover loosely and keep at room temp 3–7 days, tasting for tang.
- Strain & Vinegar (Optional) — Adjust flavor
- Strain to remove solids if desired. Stir in vinegar for brightness and shelf stability.
- Bottle & Store — Refrigerate
- Store in the fridge and use within a month for best flavor.
13. Miso Soup With Fresh Miso

Using live miso paste gives you an instant probiotic soup. This simple bowl is soothing and fast—just don’t boil the miso to preserve cultures.
Ingredients (H4)
- 4 cups water or dashi
- 2 tablespoons miso paste (unpasteurized, live)
- 1/2 cup soft tofu, cubed
- 2 scallions, sliced
- Optional: wakame seaweed, rehydrated
Step-by-Step Instructions (H4)
- Heat Broth — Warm but don’t boil
- Bring water or dashi to a gentle simmer, then remove from heat.
- Add Tofu And Wakame — Soften gently
- Add tofu and rehydrated wakame and let sit 1–2 minutes.
- Dissolve Miso — Preserve probiotics
- Place miso in a small bowl, add a ladle of warm broth and whisk until smooth. Stir back into pot; do not boil after adding miso.
- Serve — Garnish
- Top with scallions and serve immediately.
Tip: Look for live miso labeled “unpasteurized.” A Japanese soup bowl set makes serving extra pretty.
14. Yogurt Parfait With Honey And Berries
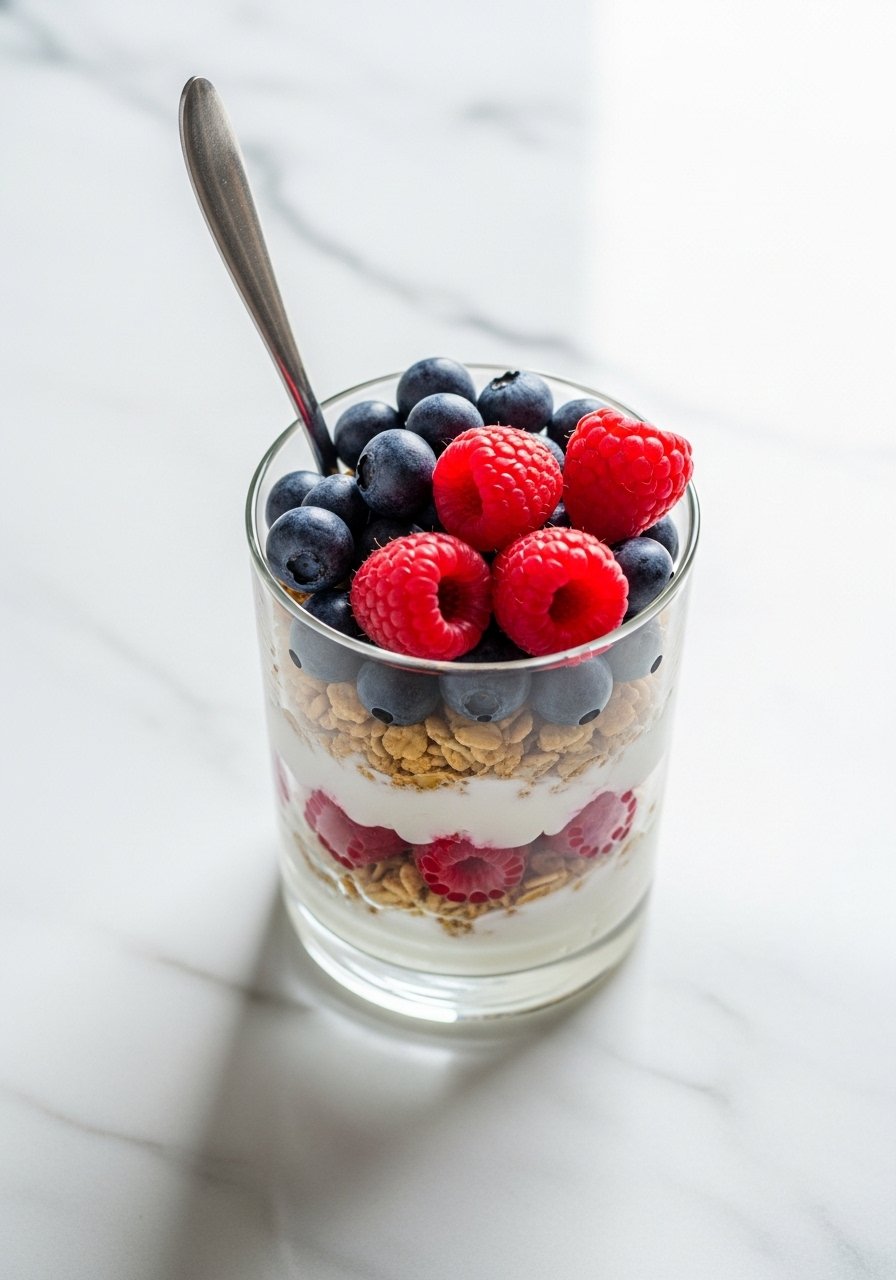
A quick, probiotic-rich breakfast. Layer live yogurt with fresh berries and granola for instant nourishment and texture contrast.
Ingredients (H4)
- 1 cup plain live-culture yogurt
- 1/2 cup mixed berries
- 1/4 cup granola
- 1 tablespoon honey or maple syrup
Step-by-Step Instructions (H4)
- Layer — Build your parfait
- Spoon yogurt into a glass, add berries, then granola.
- Sweeten — Drizzle honey
- Add honey or maple syrup on top.
- Serve Immediately — Enjoy freshness
- Eat right away to keep granola crunchy. Store leftover yogurt separately.
15. Kefir Banana Smoothie
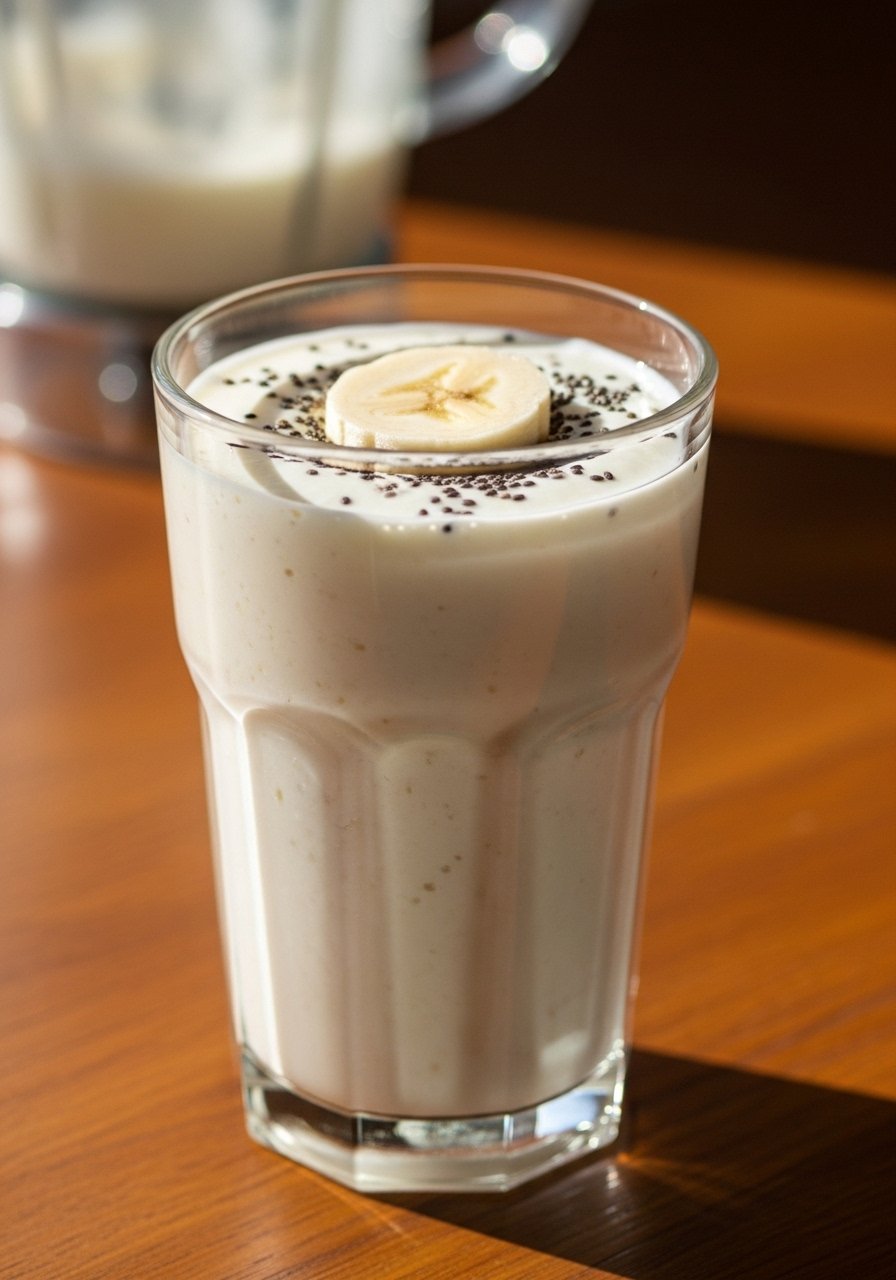
A creamy probiotic smoothie that’s ready in minutes. Kefir gives a natural tang and fizz, paired with banana for sweetness and texture.
Ingredients (H4)
- 1 cup milk kefir
- 1 ripe banana
- 1/2 cup frozen berries (optional)
- 1 tablespoon honey or to taste
Step-by-Step Instructions (H4)
- Combine — Add to blender
- Place kefir, banana, berries, and honey in a blender.
- Blend — Smooth and frothy
- Blend on high 30–60 seconds until smooth.
- Serve — Enjoy chilled
- Pour into a glass and drink immediately.
16. Cultured Buttermilk Dressing
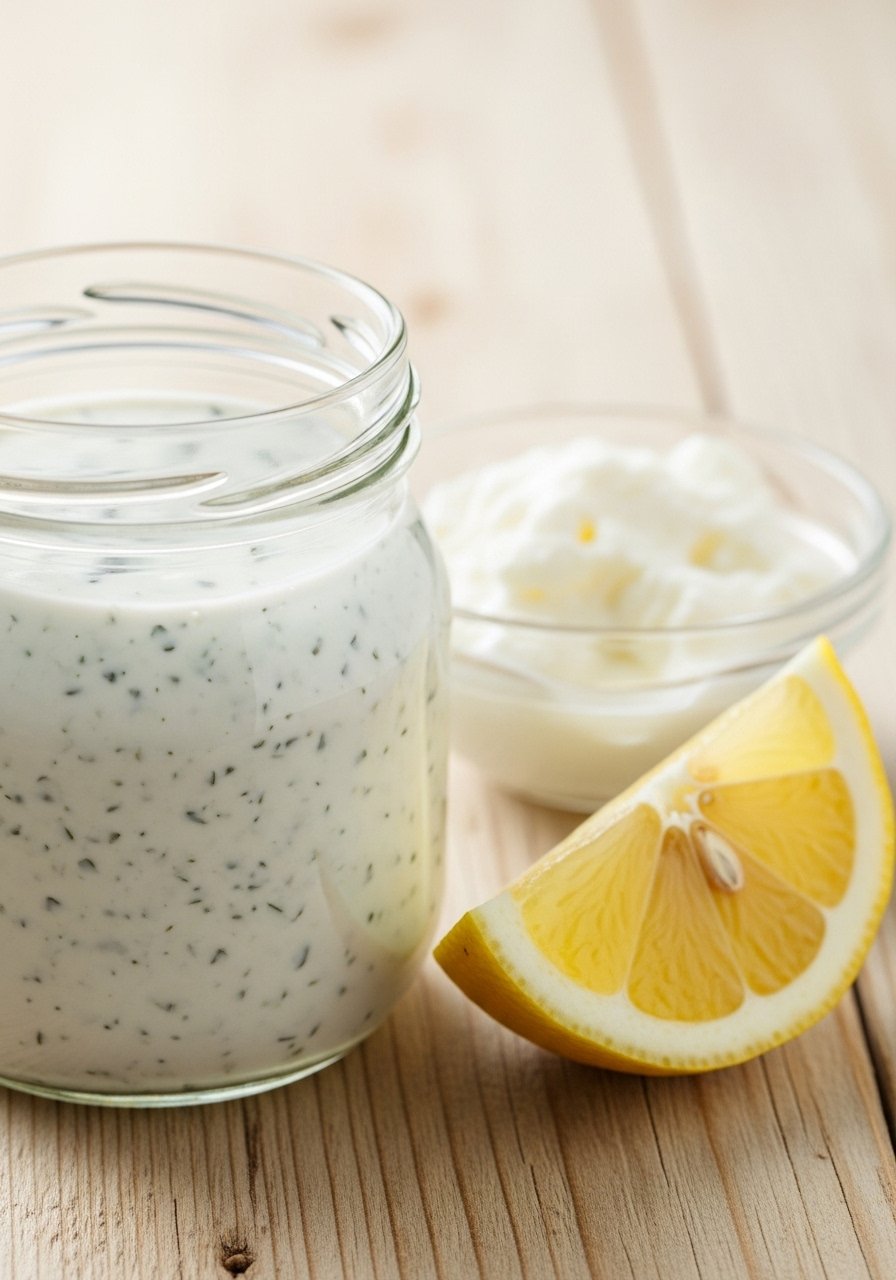
A tangy dressing using cultured buttermilk or kefir gives salads probiotic benefits and bright flavor. It’s fast, creamy, and versatile.
Ingredients (H4)
- 1/2 cup kefir or cultured buttermilk
- 1/4 cup mayonnaise or plain yogurt
- 1 tablespoon lemon juice or vinegar
- 1 teaspoon honey
- 1 tablespoon chopped fresh herbs (dill or parsley)
- Salt and pepper to taste
Step-by-Step Instructions (H4)
- Whisk — Combine wet ingredients
- Whisk kefir, mayo (or yogurt), lemon juice, and honey until smooth.
- Add Herbs & Seasoning — Adjust flavor
- Stir in herbs and season with salt and pepper.
- Chill — Let flavors meld
- Refrigerate 30 minutes before serving for best flavor.
17. Fermented Olives (Brine Cure)
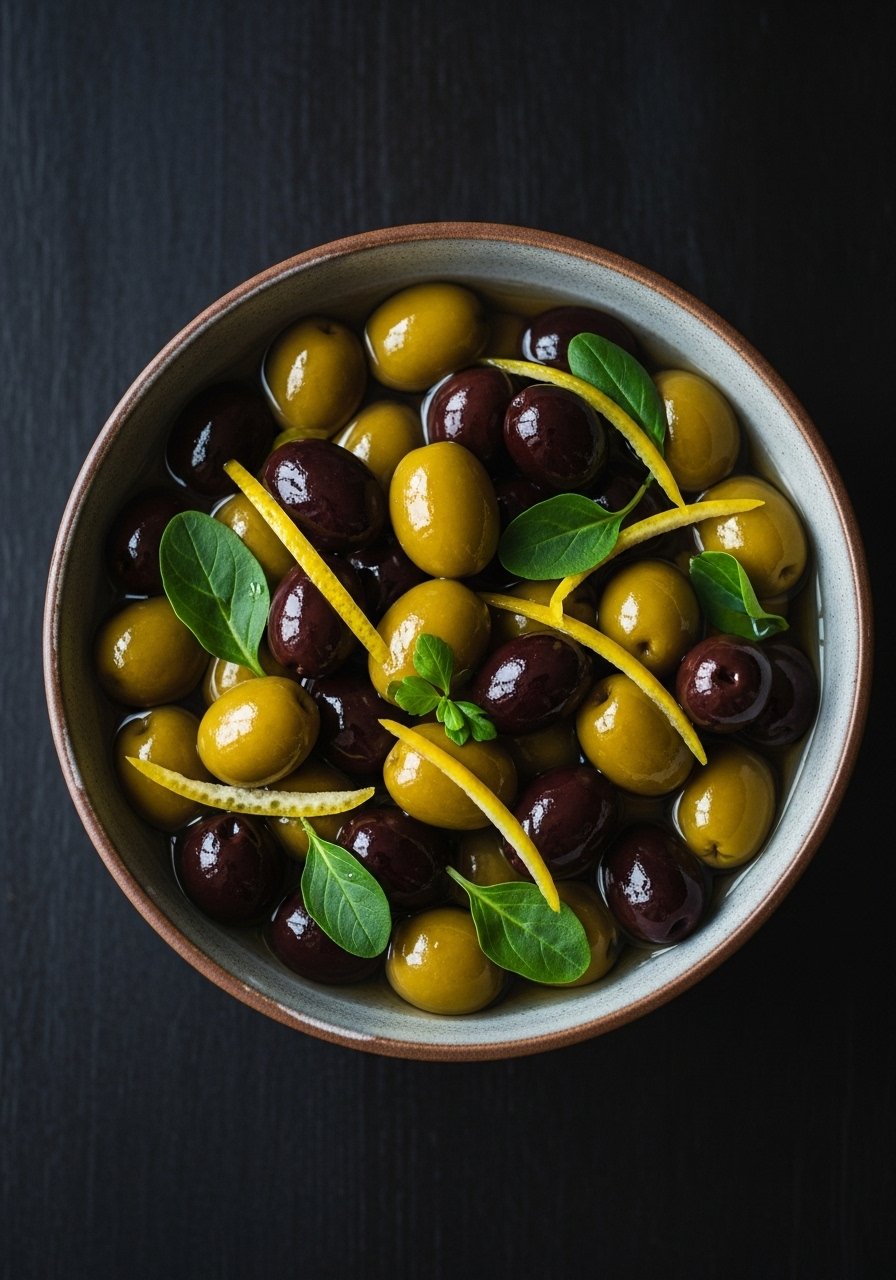
Homemade olives mellow and develop complexity in a brine. This method starts the curing process and introduces beneficial bacteria.
Ingredients (H4)
- 1 lb fresh olives (green or black)
- 4 cups water
- 1/4 cup sea salt
- 1 lemon, sliced
- 1 sprig rosemary or thyme
Step-by-Step Instructions (H4)
- Make Brine — Dissolve salt in water
- Mix until fully dissolved.
- Score Or Crush Olives — Help bitterness leach out
- Lightly crush or slit olives to speed brining.
- Combine & Weight — Submerge in jar
- Add olives, lemon, and herbs to jar, pour brine, and weigh down.
- Ferment — 1–4 weeks, check weekly
- Keep at room temp and taste periodically. When bitterness has diminished and flavor is developed, refrigerate.
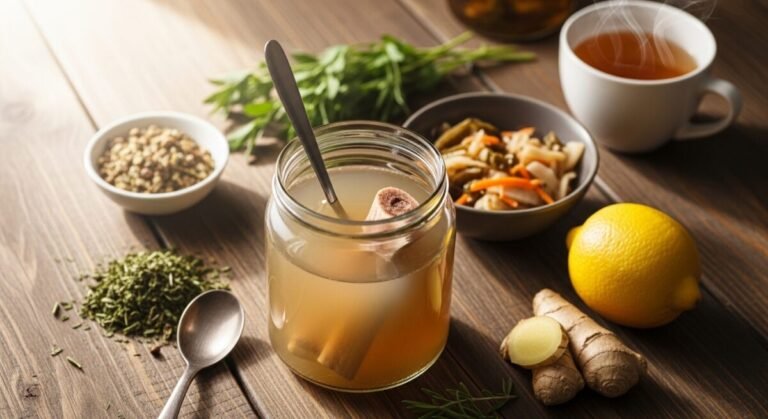
18. Fermented Garlic Honey (Medicinal Syrup)
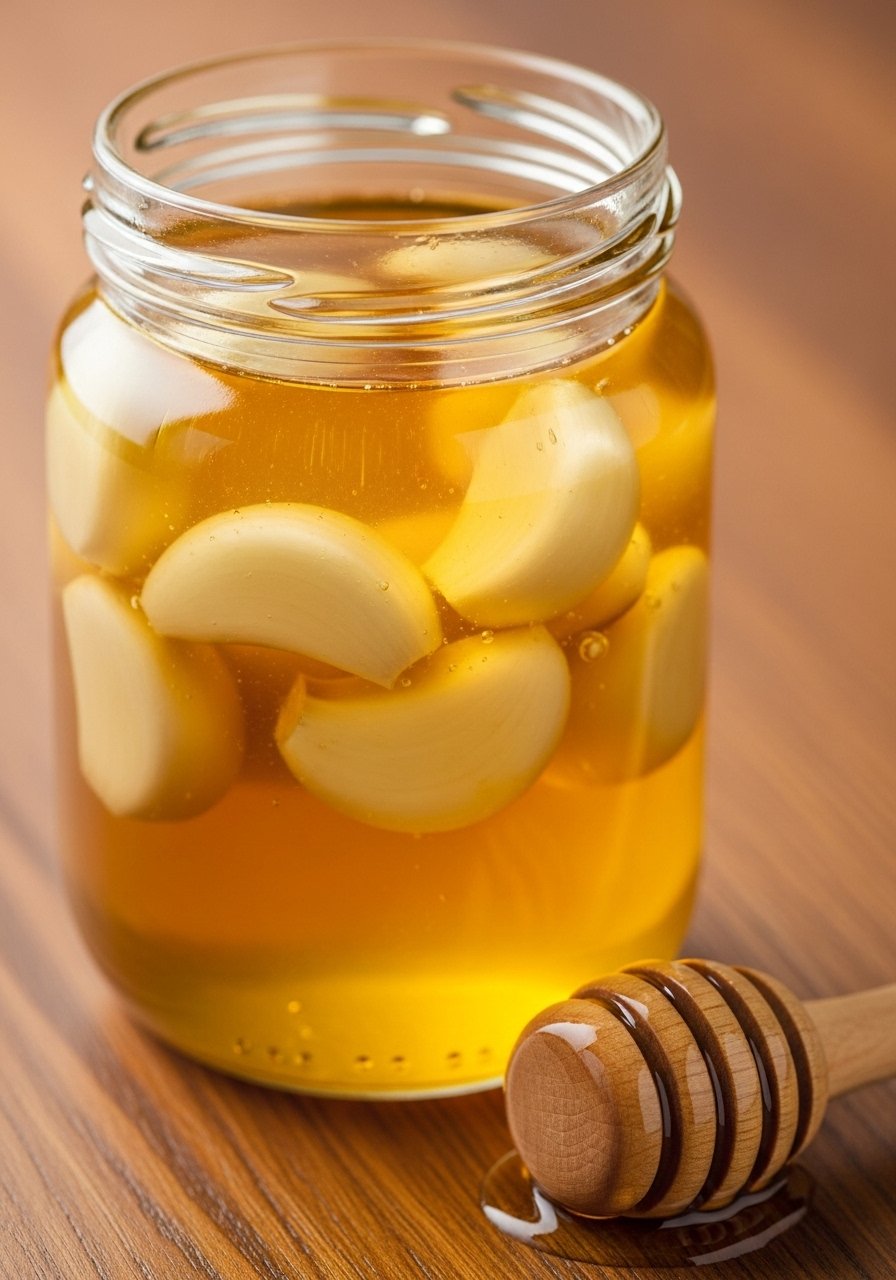
Sweet, mellow, and probiotic-friendly, garlic fermented in honey develops beneficial compounds and makes a great immunity boost spooned into tea or on toast.
Ingredients (H4)
- 1 cup raw honey
- 8–10 peeled garlic cloves
Step-by-Step Instructions (H4)
- Combine — Pack garlic into jar and cover with honey
- Place garlic in a clean jar and pour honey over, leaving small headspace.
- Ferment — 1–3 weeks at room temp
- Cover loosely to allow gases to escape. Tiny bubbles indicate fermentation.
- Taste & Store — Refrigerate or leave at cool temp
- When flavors are balanced, store in the fridge or a cool spot. Use within a few months.
19. Sourdough Starter (Beginner 5-Day Build)
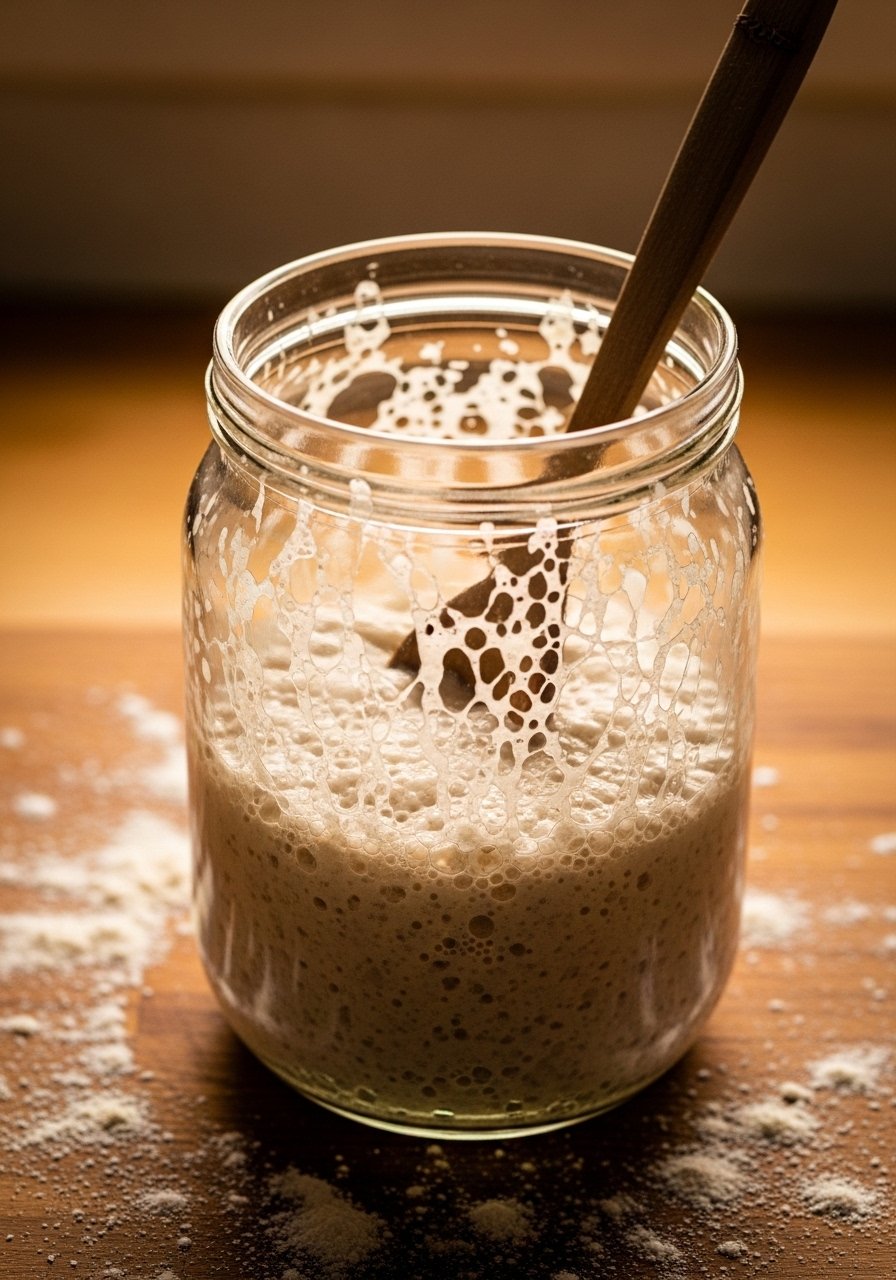
A living starter for sourdough bread—easy to maintain and rewarding. Feed daily and it will be ready for baking in about 5 days.
Ingredients (H4)
- 1/2 cup whole wheat flour (day 1)
- 1/2 cup all-purpose flour (days 2+)
- 1/2 cup filtered water (warm)
Step-by-Step Instructions (H4)
- Day 1 Mix — Create initial starter
- Combine whole wheat flour and water in a jar. Stir and cover loosely. Let sit 24 hours at ~70°F.
- Feed Daily — Discard and add flour/water
- Each day, discard half, then add 1/2 cup all-purpose flour and 1/4–1/3 cup water. Stir and cover.
- Watch For Activity — Bubbles and rise
- By day 4–6 you should see doubling and lots of bubbles. That’s when it’s ready to bake with.
- Store & Maintain — Refrigerate or daily feed
- Keep in fridge and feed weekly or leave at room temp and feed daily.
Tip: A jar set like a Mason Jar Set is handy for starter maintenance.
20. Quick Fermented Apple Chutney
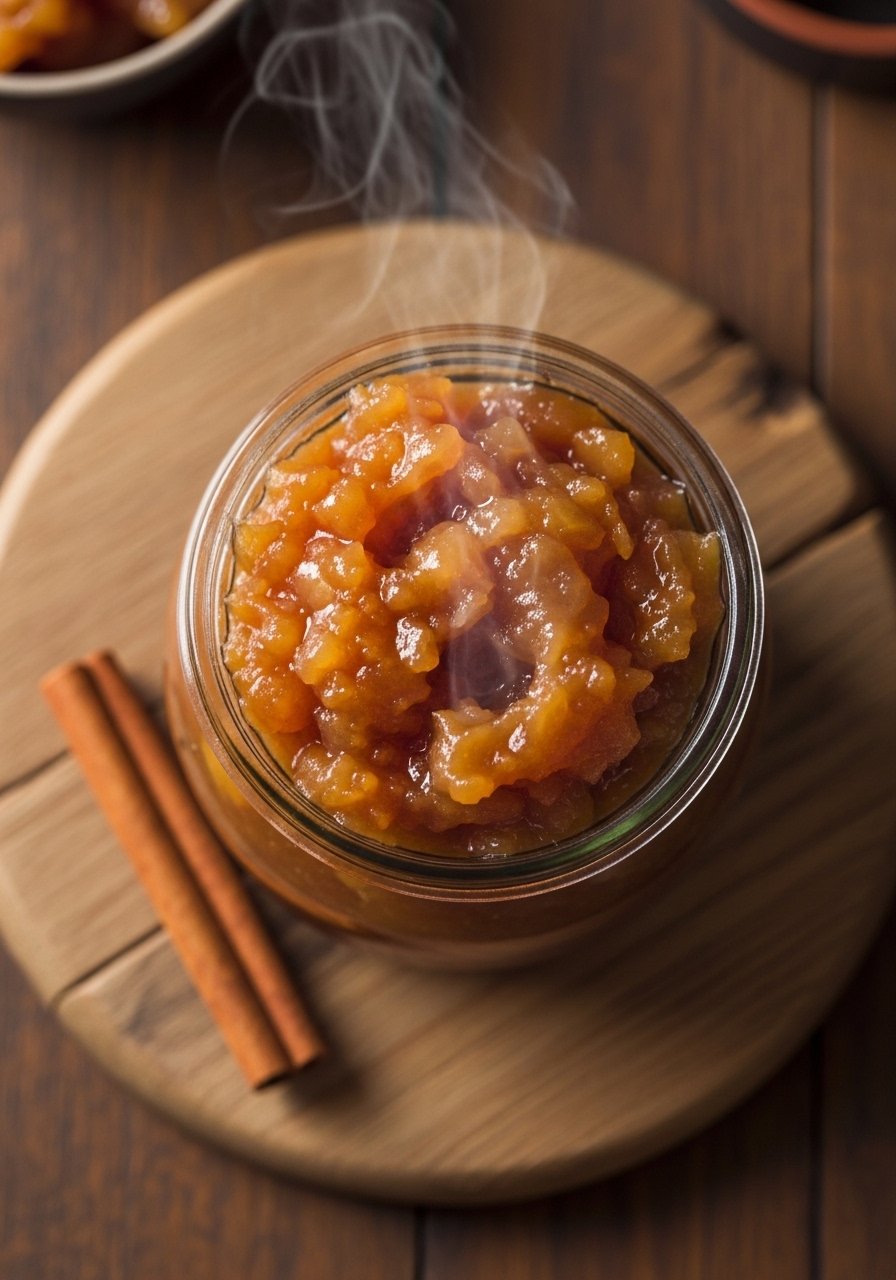
Sweet-tart apple chutney with probiotic lift—great with cheese or roasted meat. Quick ferment brightens flavors in just a few days.
Ingredients (H4)
- 3 apples, peeled and chopped
- 1 small onion, chopped
- 1/4 cup brown sugar or maple syrup
- 1 tablespoon sea salt
- 1 teaspoon ground cinnamon
- 1/2 cup water
Step-by-Step Instructions (H4)
- Cook Lightly (Optional) — Warm to meld flavors
- In a saucepan, simmer apples and onion with water, sugar, and cinnamon 5 minutes just to soften. Cool to room temp.
- Salt & Jar — Prepare for ferment
- Stir in salt, pack into jar, pressing to make juices. Leave 1 inch headspace.
- Ferment — 2–5 days at room temp
- Cover loosely and taste daily. When tangy-sweet, refrigerate to slow cultures.
- Serve — Pair and enjoy
- Chutney keeps for several weeks refrigerated.
FINAL THOUGHTS
You now have 20 approachable probiotic recipes to try. Start with one or two that fit your taste—yogurt, sauerkraut, or kefir are great first picks.
Keep tools simple: jars, weights, a thermometer, and a blender cover most needs. Small mistakes are normal; tasting frequently is your best guide.
Have fun experimenting, and enjoy the fresh flavors and perks of homemade probiotics.
Glass Mason Jars are handy for many of these ferments if you don’t already have them.