You followed the recipe. You measured (mostly). You even set a timer. But when you pulled your cookies out of the oven… they looked like tiny sad pancakes.
We’ve all been there. Flat cookies are one of the most common baking disappointments—and the good news?
They’re also one of the easiest to fix. Once you understand why it happens, you can stop playing baking roulette and start getting that soft, thick, bakery-style cookie you actually wanted.
Let’s break down what’s going wrong and what you can do to fix it.
Main Reasons Your Cookies Are Flat
1. Ingredient Issues
One of the biggest problems behind flat cookies is ingredient imbalance. Using too much butter or sugar creates an overly wet dough that spreads rapidly in the oven before it has time to set.

On the flip side, not using enough flour can weaken the structure of the dough, making it collapse.
And if you’re using baking soda or baking powder that’s expired, your cookies won’t get the rise they need—no puff, no lift, just spread.
2. Butter Temperature Problems
Butter temperature can also sabotage your cookies. When butter is too warm, it melts almost instantly, causing the cookies to spread out like a lake on your baking sheet.
But if the butter is too cold, it won’t cream properly with the sugar.
That airiness you’re trying to create during the creaming process? Gone. And without that air, your cookies don’t rise—they flatten.
3. Incorrect Mixing Technique
Technique matters, too. Over-creaming butter and sugar can seem like a good idea, but it actually incorporates too much air.
Once in the oven, all that air escapes, and your cookies collapse.
Similarly, over-mixing the dough once the flour is added can overdevelop the gluten, giving your cookies a tough texture and making them more likely to spread.
4. Oven Temperature Mistakes
Then there’s the oven itself. If your oven is running cooler than the temperature it says, your cookies won’t set quickly enough.
That gives them time to spread before the structure forms.

If it’s running too hot, the butter melts faster than the dough can hold itself together, leading to—you guessed it—flat cookies.
5. Skipping the Chill Time
And let’s not forget about dough chilling. If you’re skipping this step, your cookies don’t stand a chance.
Chilling the dough gives the butter a chance to firm up and lets the flour hydrate, which helps your cookies stay thick and chewy instead of turning into edible doormats.
6. Hot Baking Sheets
Using hot baking sheets is another silent saboteur. If you’re reusing a tray that just came out of the oven, it’s already too hot when you scoop on new dough.
That instant heat starts melting the butter before the baking even begins, and the result is a batch of wide, flat cookies.
7. Liner or Bakeware Issues
Lastly, the pans and liners you use can change everything. Greased pans and silicone mats can make the surface too slippery, which encourages spreading.
Even the color of your baking sheet matters—dark pans bake faster and can over-brown or overspread cookies, while light pans bake more gently.
Parchment paper on a light metal sheet is usually the safest combo.
How to Fix and Prevent Flat Cookies
Let’s say goodbye to cookie sadness. Here’s how to get it right the next time.
1. Measure Ingredients Accurately
This isn’t the time to go rogue.
- Use a kitchen scale for precision (seriously, it’s a game-changer).
- If you’re using measuring cups, spoons, and a level your flour—don’t scoop straight from the bag like you’re digging for gold.
2. Control Butter Consistency
Think soft, not melty.
- You want butter that’s soft enough to press your finger into—but still holds its shape. Aim for 65–70°F.
- Avoid the microwave. It creates uneven melting that’ll mess with your dough.
3. Always Chill the Dough
Even a 30-minute chill makes a difference.
- For best results, scoop your dough, chill the balls, then bake. It helps them keep their shape and amps up the flavor.
4. Bake on Proper Sheets
Parchment paper = MVP.
- Use ungreased, light-colored metal baking sheets lined with parchment.
- Always cool your pan between batches—either let it rest or run it under cold water.
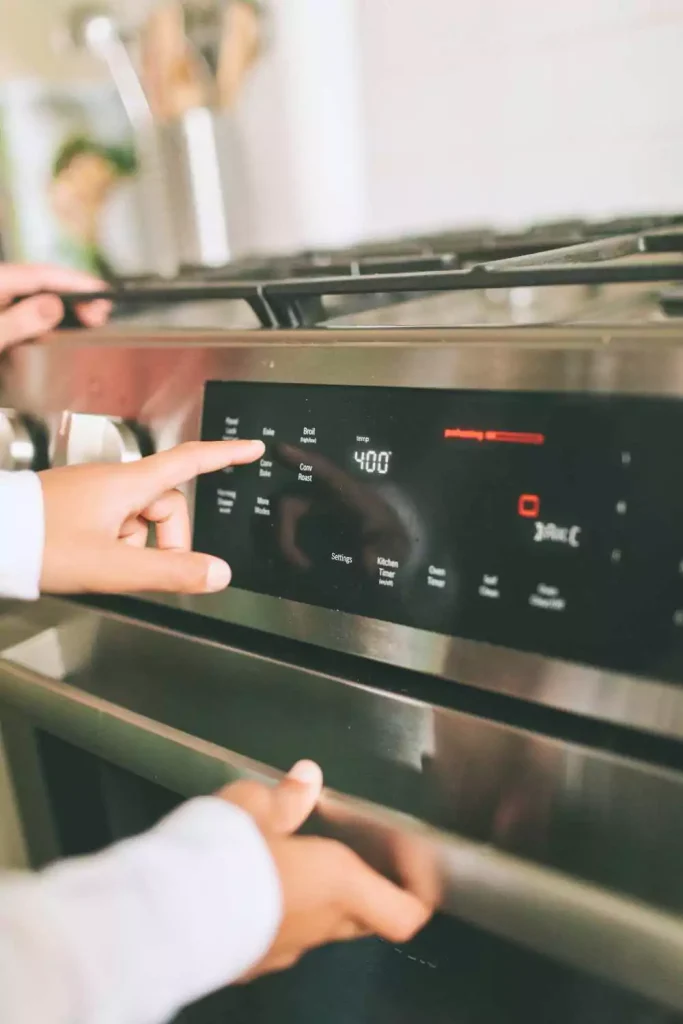
5. Check Your Oven Temperature
Ovens lie. Get the truth.
- Use an oven thermometer. (They’re cheap and worth every cent.)
- Let your oven preheat for a full 10–15 minutes to stabilize the heat.
6. Fresh Baking Soda or Powder
Leavening agents have expiration dates, and they matter.
- Replace them every 6 months.
- You can test baking soda by adding vinegar—it should fizz. No fizz = no rise.
Conclusion
Look, even the best bakers have baked a batch of sad, flat cookies. It happens.
But now you know what causes it—and how to fix it. A little less butter here, a little chill time there, and suddenly your cookies are looking photo-worthy instead of floppy.
So next time your cookies come out of the oven, hopefully you’ll be biting into soft, golden, beautifully thick perfection.
And if not? There’s always cookie dough. We don’t judge.