You followed a recipe exactly (maybe even triple-checked it), popped your dough baby into the oven, and waited like a proud parent.
But then—boom. You slice into it and… it’s heavy, tight, and a bit of a letdown.
Dense bread can feel like a personal failure, but trust me—it’s not you, it’s your dough (and maybe a few sneaky habits we can fix).
Let’s break down why your bread turns out dense—and how to make it light, airy, and fluffy next time.
The Gas Problem
So here’s the basic science: bread rises because yeast eats sugar and releases carbon dioxide (CO₂), aka gas bubbles. Those bubbles are supposed to get caught in a net of gluten.
If your bread is dense, it usually means one of two things:
- Not enough gas was made (your yeast was sleepy or sluggish), or
- The gas escaped (your gluten wasn’t strong enough to hold it).
Getting a good rise is all about creating the perfect environment for both things to work together.
Proofing Pitfalls
Think of proofing like giving your dough a good nap. Too short, and it wakes up cranky and tight. Too long, and it slumps over like someone who hit snooze 14 times.
Under-proofing:
If your dough didn’t rise enough before baking, it probably didn’t have time to build up enough gas. The result? A loaf that looks fine outside but feels like a brick inside.
Signs of under-proofing:
- Tight crumb (no big holes inside)
- Flat taste
- Feels heavy in your hand
Over-proofing:
Now, on the flip side, if you let it rise too long, it expands and stretches itself thin, then collapses when heat hits it in the oven.
Signs of over-proofing:
- Puffy dough that deflates the second you move it
- Loaf that rises and then flattens
- Odd, overly sour flavor (in sourdoughs especially)
Quick Tips:
- Try the poke test: Gently press a floured finger into your dough.
- If it springs back immediately → under-proofed.
- If it doesn’t move at all → over-proofed.
- If it slowly bounces back → perfect.
- Keep an eye on doubling in size, not time. Rising takes longer when it’s cold and faster when it’s warm. Let the dough lead the way.
Gluten Development
You want a solid gluten network to trap those gas bubbles. And you can’t get that by stirring your dough like pancake batter and calling it a day.
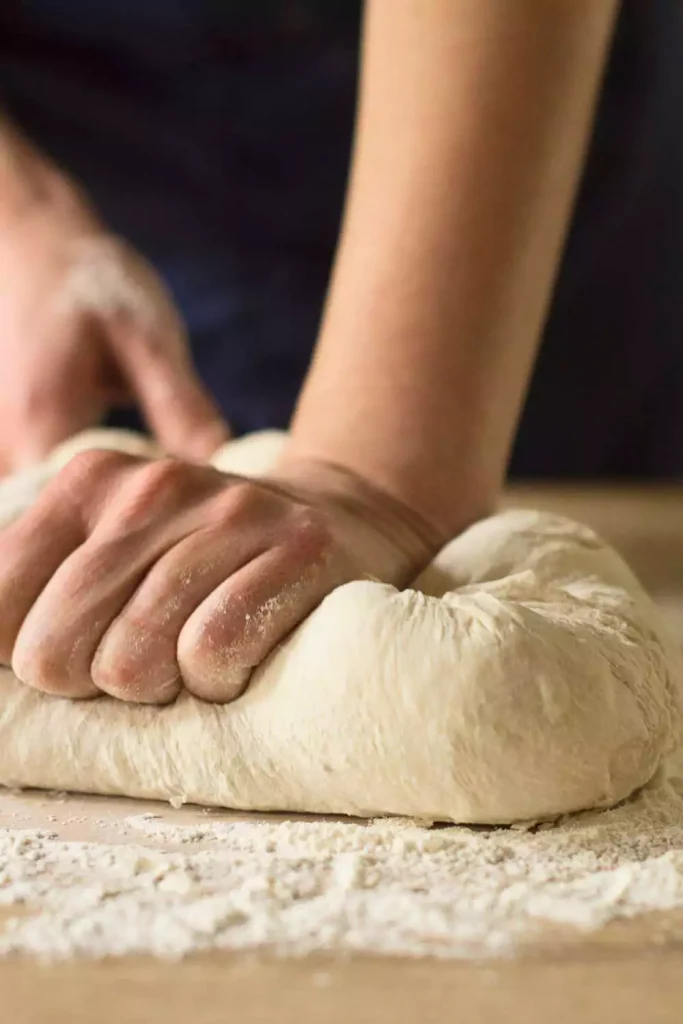
Kneading: Yes, It Matters
Good old-fashioned kneading (or stretch-and-folds if you’re doing no-knead) builds strength in your dough.
You don’t need to go CrossFit on it, but give it enough time to become smooth, stretchy, and elastic.
Warning: Don’t Overmix
Using a stand mixer? Awesome. Just don’t run it like you’re mixing cement. Over-mixing can actually break down the gluten and leave you with a gummy, dense crumb.
Test It:
Try the windowpane test—stretch a bit of dough between your fingers. If it’s thin enough to see light through without tearing, gluten’s good.
Ingredient Check
If your dough has everything going for it and still turns out dense, take a peek at what’s going into it.
Flour
- Bread flour = more protein = stronger gluten.
- All-purpose flour = decent, but may not be enough for high-rise bread.
- Whole wheat flour = heavier, needs more hydration and extra proofing time.
Yeast
- Old yeast is like an old dog—it just wants to nap.
- Always check the expiration date.
- Store it in the fridge or freezer if you’re not using it often.
Salt & Sugar
Both affect yeast activity.
- Too much salt → yeast slows down.
- Too much sugar → yeast gets overwhelmed.
Balance is key. Most recipes already account for this, so don’t eyeball unless you know your stuff.
Hydration & Handling
Too Dry = Too Tight
If your dough feels stiff or cracks when you shape it, it probably needs more water. Dry dough = tight crumb = dense bread.
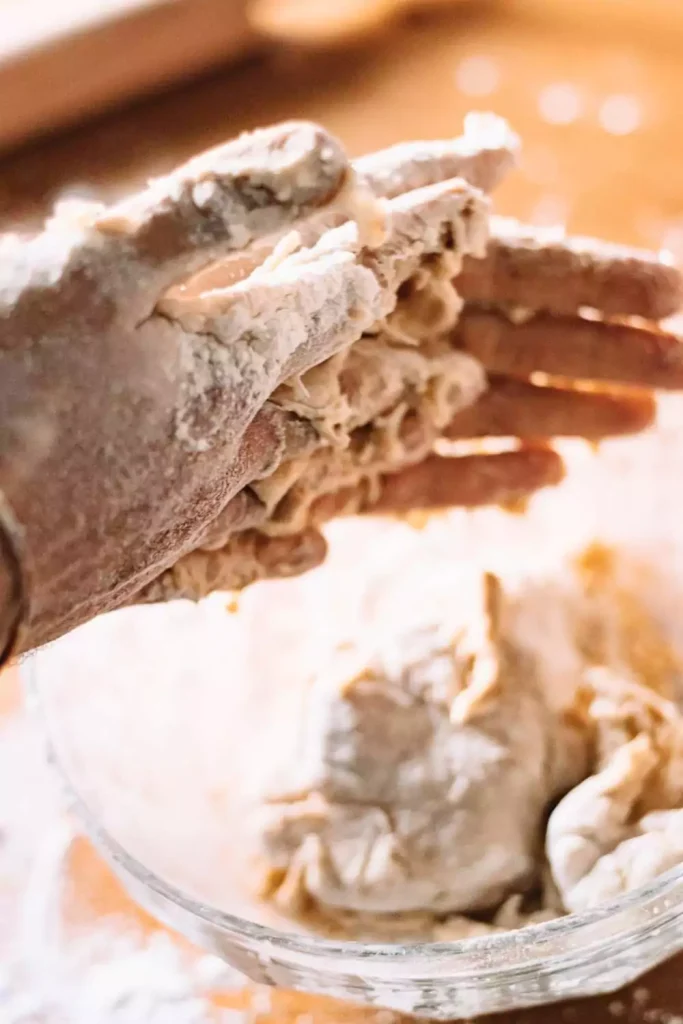
Too Wet = No Structure
If your dough is super sticky and spreading out like pancake batter, that’s too much water (or not enough strength built up yet). Add flour a tablespoon at a time until it’s tacky but not soupy.
Shaping: It’s Not Just for Looks
Creating surface tension when you shape your loaf helps it rise up instead of spreading out. Use your hands to gently tuck and tighten the outer layer before the final proof.
Oven Setup
A lot of magic happens in the oven. You want that first 10 minutes to give your dough a strong final push (called “oven spring”).
Preheat Fully
If you put dough in a lukewarm oven, you’re asking for disappointment. Hot oven = instant rise.
Add Steam
Steam keeps the crust soft just long enough to allow that oven spring.
- Try putting a metal pan of hot water at the bottom of the oven.
- Or bake in a Dutch oven, which traps its own steam like a champ.
Use the Right Bakeware
Heavy pans or Dutch ovens retain heat better and give a better rise. Light, flimsy pans = meh results.
Conclusion
Bread baking is part science, part therapy, and part pure stubbornness. It’s not about being perfect—it’s about learning something new every time.
So, if your bread comes out dense? Don’t beat yourself up. Maybe your yeast was sleepy, or you rushed the rise, or your flour just wasn’t feeling it today.
Try one tweak at a time. Keep notes. Celebrate the small wins.